

My First Peanut Butter Fudge
The first time I made this fudge, I was in a big hurry. My grandson was coming over after school, and I had nothing sweet in the house. I looked in my pantry and found just three things: butter, peanut butter, and powdered sugar. I thought, well, let’s see what happens. I mixed them in a microwave bowl and crossed my fingers. The kitchen filled with that warm, nutty smell. I still laugh at how easy it was. Does your pantry ever surprise you like that?
That day, I learned something important. You don’t need a dozen fancy ingredients to make something wonderful. Sometimes the simplest things taste the best. If you’ve never tried making candy before, this is a good place to start.
The Secret is in the Method
Here is a little trick I learned over the years. When you microwave the butter and peanut butter, do it in short bursts. One minute, stir. Another minute, stir again. This keeps the mixture smooth and prevents it from burning. The batter should look like thick, shiny paste. Doesn’t that smell amazing as it melts?
Why does this matter? Because if you rush, you get lumps. And lumpy fudge is sad fudge. Taking one extra minute to stir gently makes all the difference. It’s like giving the ingredients time to become friends.
A Little History Lesson
Did you know that peanut butter fudge became popular during the Great Depression? People had very little money, but most homes had peanut butter and sugar. Mothers would make this treat to stretch their groceries into something special. It was cheap, filling, and made kids smile.
That story always touches my heart. Back then, a simple recipe like this was a small act of love. Today, we make it because it’s quick and delicious. But the love is still there. *Fun fact: The first peanut butter fudge recipe appeared in a 1932 church cookbook from Indiana.*
How to Spread It Just Right
Once your batter is ready, press it into a lined pan. Here is my key tip: put a second piece of parchment paper on top. Use your palms to press gently and evenly. This helps the fudge spread without sticking to your hands. Then peel off the top paper and smooth the surface. It should look nice and flat, like a little brown square.
I always let my fudge set in the fridge for a full two hours. Patience is hard, I know. But it makes the fudge firm enough to cut into perfect little squares. Have you ever tried to cut soft fudge? It turns into a mess. Trust the fridge.
Why This Recipe Matters
This recipe is a lifesaver on busy days. You can make it in five minutes, and then walk away. It’s perfect for last-minute guests or a sudden sweet tooth. Plus, it only uses three ingredients you probably already have in your kitchen.
But there’s another reason it matters. When you make something with your own hands, you feel proud. You can say, “I made that.” And when you share it, people feel loved. That small square of fudge is a tiny gift of time and care. Have you ever given homemade treats as a gift?
How to Enjoy It
I like to eat my fudge cold, right from the fridge. It has a firm, creamy bite that melts on your tongue. Sometimes I sprinkle a little sea salt on top before it sets. That salty-sweet combo is wonderful. You could also crush some pretzels on top for crunch.
Keep any leftovers in the fridge, covered tight. They will stay good for about a week. But in my house, they never last that long. Kids and grown-ups both sneak pieces when nobody is looking. I still do it myself. Tell me, how do you like to eat your fudge?
Your Turn to Try
Now I hope you feel ready to make this simple, sweet treat. It’s forgiving, so don’t worry about mistakes. If it’s a little soft, just chill it longer. If it’s too sweet, add a pinch of salt. Cooking is about playing and learning. I would love to hear how yours turns out.
Here is a quick poll for you: Do you prefer your fudge soft and chewy or firm and cold? Write your answer in the comments. And if you have a memory of making fudge with someone you love, please share it. Those stories are my favorite part of this kitchen journey.
3-Ingredient Peanut Butter Fudge in 5 Minutes
Step 1: Line an 8×8 inch pan with parchment paper. Let the paper hang over the edges like little handles. It makes lifting the fudge out so easy. (Trust me, I learned this the hard way after a sticky mess.)
Step 2: In a microwave-safe bowl, add your butter and creamy peanut butter. Microwave for one minute, then stir. Microwave another minute and stir until it’s smooth and shiny. Doesn’t that smell amazing?
Step 3: Dump in the powdered sugar. Stir until it turns into a thick, paste-like batter. It will feel like you are mixing a happy, peanut-buttery cloud. Which step feels trickiest to you? Share below!
Step 4: Spread the batter into your lined pan. Lay another piece of parchment on top and press gently with your palms to even it out. Peel off the top paper and smooth the fudge surface with your hands.
Step 5: Pop the pan into the fridge for about two hours. Let it chill until firm. Use a sharp knife to cut the fudge into one-inch squares. Store any leftovers in the fridge.
Creative Twists
Stir in a handful of salted pretzels for a crunchy, salty surprise. Swirl in a spoonful of honey before chilling for extra sweetness. Top with a drizzle of melted chocolate after it sets. Which one would you try first? Comment below!
Serving & Pairing Ideas
Serve these fudge squares with a tall glass of cold milk. They are perfect alongside a bowl of vanilla ice cream for a dessert sundae. You can also crumble them over a warm chocolate cake. Which would you choose tonight?

Storing Your Peanut Butter Fudge the Right Way
I remember the first time I made this fudge. I was so proud I left it on the counter. It turned soft and messy. Always store it in the fridge. That keeps it firm and lovely. Place it in an airtight container with parchment paper between layers. It will last up to two weeks. You can freeze it too. Wrap each piece in wax paper, then put them in a freezer bag. They will keep for three months. To eat, just let it sit out for five minutes. Batch cooking matters because you can make a double batch and have treats ready for weeks. It saves time and stress. Have you ever tried storing it this way? Share below!
Three Common Fudge Problems and Easy Fixes
Problem one: your fudge is too soft. That usually means you did not microwave long enough. Next time, heat the butter and peanut butter for one full minute after it looks melted. Stir well. Problem two: your fudge is too crumbly. I once added too much powdered sugar by accident. It fell apart like sand. The fix is simple. Measure your sugar carefully. Problem three: your fudge is grainy. This happens when the sugar does not dissolve fully. Stir until the mixture is completely smooth. Why does this matter? Fixing these problems makes you a more confident cook. You will also get that perfect, creamy texture every time. Which of these problems have you run into before?
Your Quick Questions, Answered
Can I use crunchy peanut butter instead of creamy?
Yes, you can use crunchy peanut butter instead of creamy. It will change the texture a bit. The little peanut pieces add a nice crunch. Keep in mind that the fudge may be slightly less smooth. The taste will still be wonderful. Just stir it well to make sure the peanut pieces are spread evenly throughout the fudge. Your family might enjoy the extra texture.
How do I store this fudge and how long does it last?
Store this fudge in an airtight container in the fridge. Place parchment paper between the layers so they do not stick. It will stay fresh for up to two weeks. You can also freeze it for up to three months. Just wrap each piece in wax paper first. When you want to eat it, let it sit at room temperature for five minutes. That makes it soft and easy to bite into.
Can I add chocolate chips or cocoa powder to this recipe?
Yes, you can add chocolate chips or cocoa powder. For chocolate chips, stir in half a cup after the fudge is mixed. For cocoa powder, add two tablespoons with the powdered sugar. This will make a chocolate peanut butter fudge. Just know that adding extras might change the texture slightly. The fudge might be a little softer or crumblier. Experiment and see what you like best.
Why is my microwave peanut butter fudge grainy?
Your fudge is grainy because the powdered sugar did not dissolve fully. This can happen if you did not stir enough. It can also happen if the butter and peanut butter were not hot enough. Next time, microwave the butter and peanut butter until they are very hot and bubbly. Stir for a full minute after adding the sugar. The heat helps the sugar melt completely. That gives you a smooth, creamy fudge every time.
Can I make this fudge without a microwave?
Yes, you can make this fudge without a microwave. Use a small saucepan on the stovetop instead. Melt the butter and peanut butter over low heat. Stir constantly so it does not burn. Once it is fully melted and smooth, remove it from the heat. Then stir in the powdered sugar just like the microwave method. It might take a few more minutes, but the fudge will turn out the same. Just be patient and stir well.
Is there a way to make this fudge vegan or dairy-free?
Yes, you can make this fudge vegan and dairy-free. Use vegan butter or coconut oil instead of regular butter. Make sure your peanut butter has no added dairy. Most natural peanut butters are vegan. Use organic powdered sugar to avoid bone char processing. The fudge will set the same way. It will taste rich and creamy. Your vegan friends will love this treat. Which tip will you try first?
A Warm Send-Off from Elowen Thorn
Thank you for spending time in my kitchen today. I hope your fudge turns out perfectly. Remember, cooking is about sharing and trying new things. Do not worry if it is not perfect the first time. The next batch will be even better. Have you tried this recipe? I would love to hear how it went for you. Please leave a comment below and tell me your story. Happy cooking! –Grace Ellington.
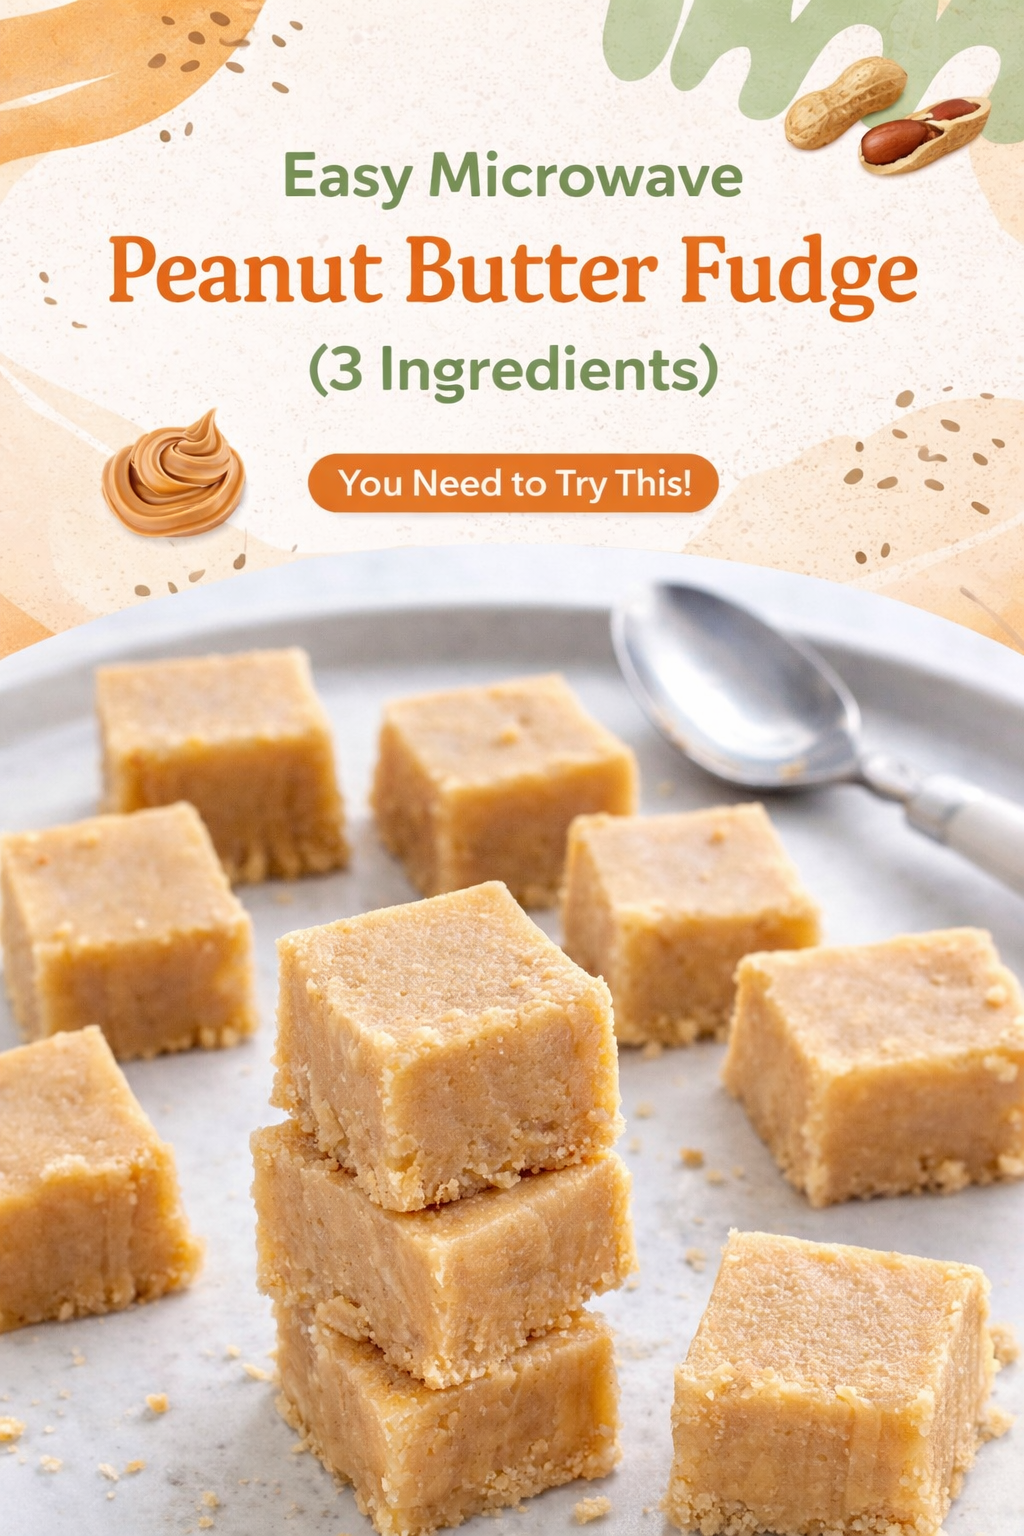

3 Ingredient Microwave Peanut Butter Fudge
Description
This 3 Ingredient Microwave Peanut Butter Fudge is an incredibly easy, rich, and creamy dessert made with just butter, peanut butter, and powdered sugar. Ready in minutes with no baking required.
Ingredients
Instructions
- Line an 8 x 8 inch pan with parchment paper (I recommend making the parchment paper long enough so that it hangs off the edges of the pan on two sides, which will allow you to grip them later to lift out the parchment paper and contents.)
- Combine the butter and peanut butter in a microwave-safe bowl. Microwave for 1 minute and stir. Microwave for 1 more minute and stir again until mixture is completely melted and smooth. Add the powdered sugar to the peanut butter mixture and stir until batter is smooth. The batter should be quite thick, like a paste.
- Spread batter into the lined baking pan. Press another parchment paper on the surface and use your palms to apply gentle pressure to evenly spread the fudge across the entire pan. Lift off the top layer of parchment paper and smooth surface of fudge with your hands. Refrigerate for about 2 hours to let set. Lift fudge out of the pan. Cut into one-inch squares with sharp knife. Keep uneaten portions stored in the fridge.
Notes
- The nutrition information provided are only estimates based on an online nutritional calculator. This is not a comprehensive list of all the nutrients in the recipe (i.e., does not include vitamins, cholesterol, etc). I am not a certified nutritionist. Please consult a nutritionist or doctor for accurate information and any dietary restrictions and concerns you may have.