

Why I Love These Little Pumpkin Bites
I still remember the first time I made these. My kitchen smelled like a cozy fall day. Doesn’t that sound nice? They are so easy a kid can help. No oven, no fuss, just a bowl and a spoon. That is why I call them “grandma-approved.” You can make them in ten minutes flat. That is faster than finding your shoes in the morning.
These bites are perfect for after-school snacks or a quick dessert. I love how the pumpkin mixes with the warm spice. It feels like a hug in a bite. Have you ever tried pumpkin in a no-bake treat? Why this matters: using pumpkin adds a little vitamin A. That is good for your eyes and your skin.
What You Need to Start
You only need a few simple things from your pantry. Grab your favorite nut butter, some pumpkin puree, and maple syrup. Don’t forget the pumpkin pie spice. It makes everything taste like autumn. I like to use coconut flour because it’s light and fluffy. But you can swap it for almond flour if you have that.
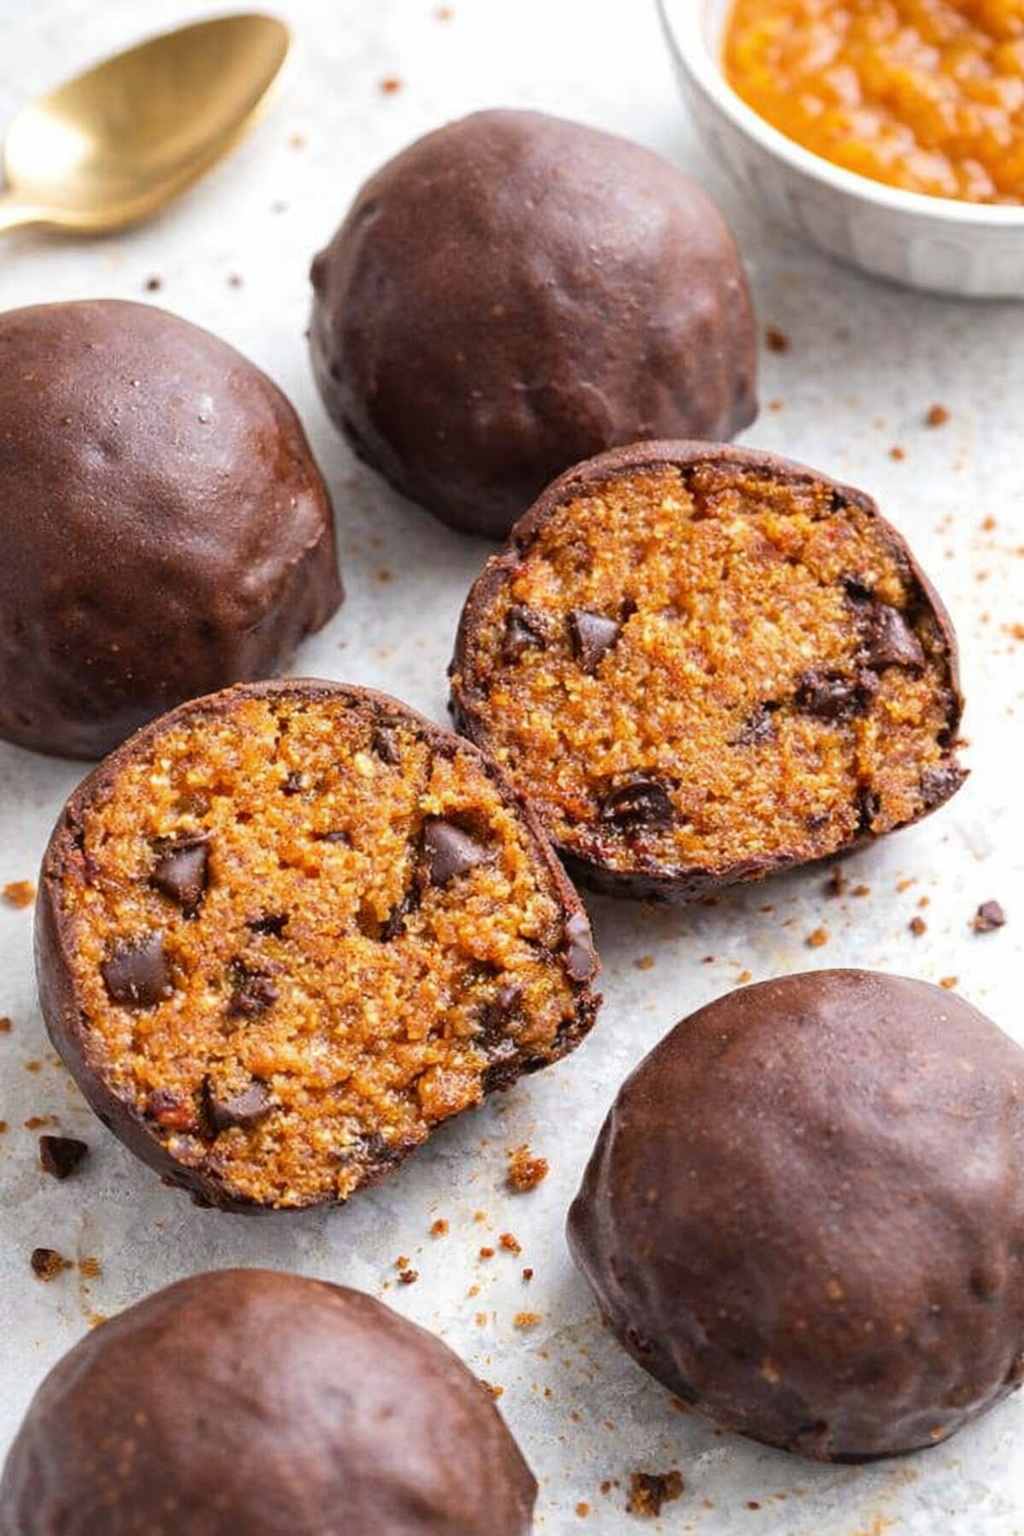
Mini chocolate chips are the secret treasure inside. And melted chocolate for dipping on top. *Fun fact: pumpkin pie spice is usually just cinnamon, nutmeg, ginger, and cloves. You can mix your own if you want. Why this matters: homemade spice blends let you control the sweetness. That means less sugar and more real flavor.
The Simple Steps You Can’t Mess Up
First, mix the nut butter, pumpkin, maple syrup, and vanilla in a big bowl. Stir until it looks like a thick, creamy dough. Then add the flour, pumpkin pie spice, and salt. Stir again. Toss in those mini chocolate chips and fold them in gently. Pop the bowl in the fridge for ten minutes.
While the dough chills, melt your dipping chocolate. I add a teaspoon of coconut oil to make it smooth. Microwave in 30-second bursts, stirring each time. Doesn’t that smell amazing? I always laugh because I sneak a taste of the dough. Take the dough out and roll it into small balls. Dip each ball in the melted chocolate using a fork. Place them on a tray and let them harden in the fridge or freezer.
A Little Story from My Kitchen
One time, my grandson tried to help me roll the balls. He made them huge, like tennis balls. We both laughed so hard. I still laugh at that memory. He said they were “monster bites.” And you know what? They tasted just as good. That is the beauty of cooking—you can always fix things with a smile.
I learned that lesson from my own grandma. She never worried about perfection. She just wanted us to be happy in the kitchen. Why this matters: cooking with family builds memories that last longer than any recipe. What is your funniest kitchen mistake? Share it with me in your heart while you make these.
How to Store and Enjoy Them Later
These bites store really well. Keep them in a sealed container in the fridge for up to a week. You can also freeze them for up to a month. That way you always have a healthy treat ready. I like to grab one before a walk or a bike ride.
They are perfect for lunchboxes or an after-dinner sweet. The chocolate shell stays crunchy, but the inside stays soft. Have you ever frozen a no-bake treat before? I think it makes them even tastier. Try one straight from the freezer on a warm day.
Make Them Your Own Way
You can change this recipe however you like. Swap the nut butter for sunflower seed butter if you have allergies. Add a pinch of cinnamon on top for extra warmth. Or skip the chocolate dip and just roll them in coconut flakes. The choice is yours. That is what makes cooking so fun.
I love seeing how different families make the same recipe their own. Do you prefer dark chocolate or milk chocolate for dipping? I vote dark. It matches the spicy pumpkin flavor so well. Why this matters: small swaps let you eat what you love and still feel good.
Your Turn to Share
I want to hear from you. What is your favorite fall flavor? Is it pumpkin, apple, or maybe something else? Drop a comment on the blog or tell a friend. I bet you will make these bites over and over once you try them. They are just that good.
And if you have a tip for rolling perfect balls, let me know. I still get a little messy sometimes. That is okay. Messy kitchens mean happy hands. Happy creating, my friend. Now go make some magic in your own kitchen.
Instructions
- Step 1: Grab a big bowl and mix your nut butter, pumpkin, maple syrup, and vanilla. Stir it until it looks like a smooth, orangey batter. Doesn’t that smell amazing? (Pro tip: warm your nut butter for 10 seconds if it’s stiff.)
- Step 2: Add your coconut flour, pumpkin pie spice, and a pinch of salt. Stir everything until it forms a thick, soft dough. I once added too much flour and it crumbled — learn from me! Which fall spice makes you smile? Share below!
- Step 3: Fold in the mini chocolate chips gently. Pop the bowl in the fridge for ten minutes. This helps the dough get firm enough to roll into neat little balls.
- Step 4: While the dough chills, melt your dipping chocolate in a microwave-safe bowl. Add one teaspoon of coconut oil for a shiny dip. Heat in 30-second bursts, stirring each time — patience pays off here.
- Step 5: Take the dough out and roll it into bite-sized balls. Dip each ball into the melted chocolate using a fork. Let the extra chocolate drip off before placing them on a tray.
- Step 6: Set the tray in the fridge or freezer for about 15 minutes. The chocolate will harden into a lovely shell. Store these bites in the fridge for up to a week — if they last that long!
Creative Twists
- … Swap the pumpkin for sweet potato puree for a different fall flavor.
- … Roll the finished bites in crushed graham crackers for a crunchy coating.
- … Add a pinch of cayenne pepper to the chocolate dip for a tiny kick.
Serving & Pairing Ideas
Serve these pumpkin spice bites on a small plate with a drizzle of extra maple syrup. They pair wonderfully with a cold glass of oat milk or a warm cup of apple cider. For a fun dessert board, arrange them next to fresh apple slices and salty pretzels. Which would you choose tonight?
Storing Your Pumpkin Spice Bites the Right Way
These little bites are perfect for making ahead. I always keep a batch in my fridge for when a sweet craving hits. Just put them in an airtight container with wax paper between layers. They will stay fresh for up to a week in the fridge.
If you want to keep them longer, freeze them. I remember the first time I froze a batch for a last-minute school party. They thawed perfectly in just ten minutes on the counter. Batch cooking like this saves you time later.
*Fun fact: These bites actually taste better after a day in the fridge because the flavors have time to get cozy.* To reheat, just let them sit at room temperature for five minutes. Do not microwave them or the chocolate will get messy. Have you ever tried storing it this way? Share below!
You can find more friendly kitchen tips on our site. This matters because good storage means less waste and more treats to enjoy. For more sweet ideas, check out our sweet treats collection.
Three Common Problems and Easy Fixes
Sometimes the dough feels too sticky to roll. I once had a batch that was a sticky mess. The fix is simple: add one tablespoon more coconut flour and chill the dough for another five minutes. That will make it firm and easy to shape.
Another problem is when the melted chocolate seizes up. I remember my grandmother showing me this trick. Add a tiny splash of coconut oil and stir gently. It will smooth out right away. This matters because smooth chocolate makes the bites look pretty and taste better.
The last issue is bites that fall apart. This happens if the nut butter is too runny. Use a thick, natural nut butter and this problem goes away. Why this matters: fixing these small problems gives you confidence in the kitchen. Which of these problems have you run into before?
You can explore more tasty bite recipes for new ideas. For healthier options, see our healthy lifestyle tips section.
Your Quick Questions, Answered
Can I freeze these pumpkin spice bites? Yes, you can freeze them for up to three months. Place them in a single layer on a baking sheet first. Once frozen solid, transfer them to a freezer bag. To serve, let them sit on the counter for ten minutes. The chocolate stays perfect, and the texture remains soft. This is a great way to have a healthy snack ready anytime. For more storage tips, visit our about page to learn more about our kitchen secrets.
How long do these pumpkin spice bites last? In the fridge, they stay fresh for about one week. In the freezer, they last up to three months. I always label my container with the date so I know. The flavor actually gets better after day two because the pumpkin and spice mix together. This matters because you can make them ahead without worry. You can find more advice in our contact section if you have questions.
Can I use canned pumpkin puree, or is pumpkin pie filling okay? Use only canned pumpkin puree, not pumpkin pie filling. Pie filling has added sugar and spices that can throw off the recipe. I learned this the hard way once and the bites were too sweet. Puree keeps the texture just right and lets the pumpkin flavor shine. This is a simple tip that makes all the difference. Check out our privacy policy for more info on our recipe guidelines.
What can I substitute for oats in this recipe? The recipe already uses coconut or almond flour instead of oats. You can also use finely ground flaxseed meal for a nutty flavor. If you want a crunch, try crushed pecans or walnuts. Just make sure the flour is fine like powder or the bites will be grainy. I have tried all of these and each one works great. For more substitutions, visit our main site for helpful guides.
Are these pumpkin spice bites healthy or keto-friendly? These bites are naturally gluten-free and can be made keto-friendly. For a low-carb version, use sugar-free chocolate chips and a keto-friendly sweetener like monk fruit. The coconut flour and nut butter keep the carbs low. I make a keto batch for my neighbor who loves them. This matters because you can enjoy treats while sticking to your health goals. Learn more about healthy choices on our healthy tips page.
Can I add protein powder or chocolate chips to these bites? Yes, both work well. If you add protein powder, start with one scoop and add an extra tablespoon of coconut flour to keep the dough firm. For chocolate chips, just fold them in at the end. I add white chocolate chips sometimes for a fun twist. Just keep the total mix-ins to about a quarter cup or the dough gets too dry. Which tip will you try first?
A Warm Send-Off from Elowen Thorn
I hope these tips make your kitchen feel as warm as mine. Remember, cooking is about joy, not perfection. Every batch teaches you something new. I would love to hear how your pumpkin spice bites turn out. Have you tried this recipe? Share your story in the comments below. Your tips might help another cook just starting out. Happy cooking! —Grace Ellington.
For more recipes and stories, visit Spoons Way anytime. We love having you in our kitchen.
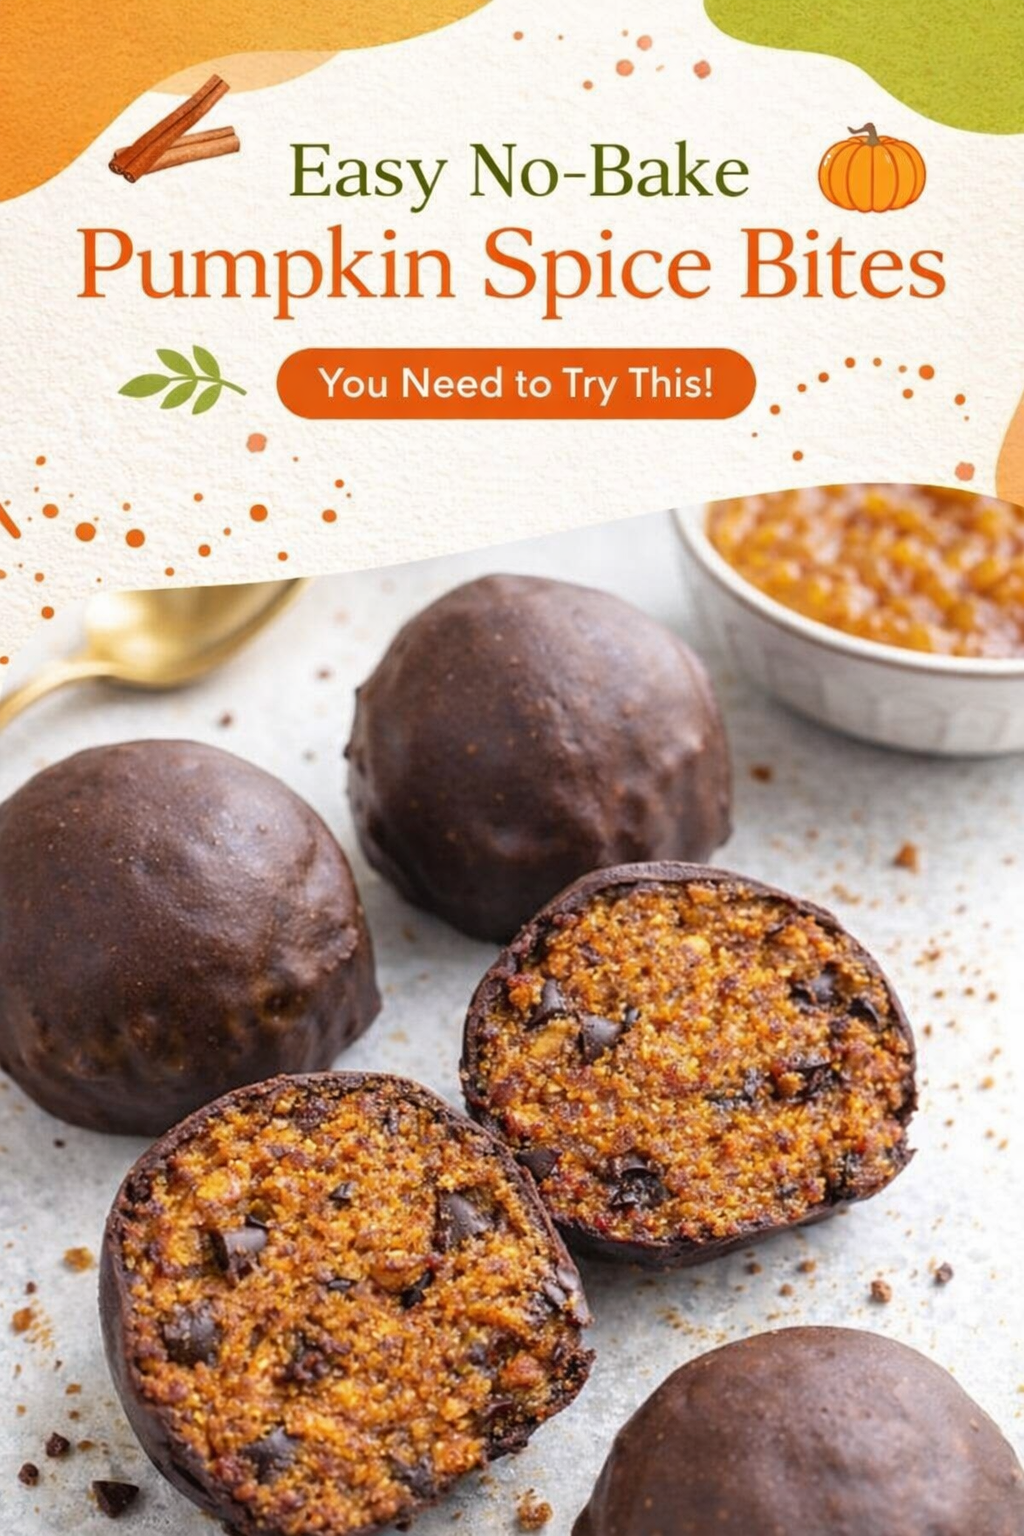

3-Ingredient No-Bake Pumpkin Spice Bites
Ingredients
Instructions
- In a large bowl, mix together nut butter, pumpkin, maple syrup, and vanilla. Add in flour, pumpkin pie spice, and salt. Stir till combined. Stir in chocolate chips. Place in fridge for ten minutes.
- While dough is in fridge, melt chocolate for dipping. I like to add 1 tsp coconut oil to chocolate and melt in 30 second increments in the microwave.
- Take dough out of fridge and roll into balls. Dip in melted chocolate. I like to use a fork for this! Place in fridge or freezer to harden. Store in either.