
My First Red Velvet Surprise
I made my first red velvet cake for a school fair. I was so nervous. But the bright red color made everyone smile. I still laugh at that memory. It taught me food can bring joy with just a look.
This easy recipe mixes a simple cake with a cool, creamy topping. You get two treats in one! That matters because busy days need easy wins. What was the first cake you ever baked?
Why The Color Matters
That red color is pure fun. It does not change the taste. But it makes a normal day feel like a party. I think that is its real magic.
*Fun fact*: Long ago, the red came from a special cocoa. Now, we use a bit of food coloring. The tangy cream cheese frosting is the perfect partner. It balances the sweet cake. For another creamy treat, try these raspberry cheesecake squares. Do you like your cakes more sweet or tangy?
The Secret to a Happy Cake
Do not overbake the cake layer. This is the big rule. Check it with a toothpick a few minutes early. A moist cake makes all the difference. Trust me on this.
Let the cake cool completely. I know, waiting is hard. But a warm cake will melt your fluffy filling. Patience here gives you perfect layers. It is like building a beautiful bundt cake—each step matters.
Making the Cloud-Like Filling
The filling is a no-bake cheesecake. That means no oven needed. Beat the cream cheese until it is fluffy. Doesn’t that smell amazing? Then, fold in the whipped cream gently.
Folding keeps the air in. You want it light as a cloud. This method is great for other cheesecakes, too. Chill it for hours. This wait lets the flavors become friends. What is your favorite cake and frosting combo?
A Cake for Sharing
This cake is rich. A small slice is plenty. It is perfect for sharing with neighbors or friends. Food tastes better when we share it, I think.
Top it with fresh raspberries. Their little pop of tartness is wonderful. It is like the final note in a happy song. For another fruity delight, my spiced apple cake is a cozy choice. Baking is about creating joy, one simple slice at a time.
Instructions
Step 1: First, heat your oven to 350°F. Grease your springform pan well. This keeps everything from sticking. I always use my fingers for this part. It feels like I’m giving the pan a little hug.
Step 2: Now, mix the cake box stuff with the egg, oil, and milk. Beat it for two whole minutes. The batter will turn a lovely, deep red. Doesn’t that smell amazing? Pour it into your pan and smooth the top.
Step 3: Bake for 20-25 minutes. A toothpick should come out clean. Let it cool completely in the pan. (A warm cake will melt your lovely filling later!). Do you check your oven light instead of opening the door? Share below!
Step 4: Beat the cream cheese, sugar, and vanilla until fluffy. In another bowl, whip the cold cream until it forms stiff peaks. This is the magic step for a light cheesecake. Folding them together gently is key.
Step 5: Spread the fluffy filling over the cooled cake layer. Chill it for at least four hours. Overnight is even better. The waiting is the hardest part, I know!
Creative Twists
Chocolate Drizzle: Melt some chocolate and swirl it on top before chilling.
Berry Swirl: Fold a handful of crushed raspberries into the cheesecake filling.
Cookie Crunch: Sprinkle crushed tea cakes or oreos on top for a fun texture.
Which one would you try first? Comment below!
Serving & Pairing Ideas
Serve each slice with a dollop of extra whipped cream. A few fresh raspberries make it so pretty. For a cozy touch, try it with a scoop of vanilla ice cream. It reminds me of a fancy dessert from a diner. Which would you choose tonight?

Keeping Your Red Velvet Cheesecake Fresh
Let’s talk about storing this lovely dessert. The cream cheese filling needs the cold. Always keep it covered in the fridge. A cake dome or some plastic wrap works perfectly. It will stay happy for about four days.
You can also freeze slices for later. Wrap each piece tightly in plastic. Then place them in a freezer bag. I once forgot a slice in my freezer for a month. It was still a wonderful treat with my afternoon tea! This is why batch cooking matters. It turns a busy day into a sweet, simple moment.
To serve, just thaw it overnight in the fridge. I do not recommend reheating this cake. The cold, creamy texture is part of the magic. Have you ever tried storing it this way? Share below!
Simple Fixes for Common Cake Troubles
Even grandmas have kitchen mishaps. Here are three common ones. First, a sunken cake center. This often means it was under-baked. Always test with a toothpick until it comes out clean.
Second, a runny cheesecake filling. Your heavy cream must be very cold. I remember when my cream was too warm. It just would not whip up! Chilling your bowl first can really help. Getting this right matters. It builds your confidence and makes the flavor perfect.
Third, a dry cake. Do not over-mix your batter. Just mix until everything is combined. Over-mixing makes the cake tough. Which of these problems have you run into before? Fixing small issues matters. It makes your baking joyful and delicious every time.
Your Quick Questions, Answered
What makes red velvet cake moist?
The oil and milk in this recipe keep it tender. Buttermilk in traditional recipes adds tang and softness. The key is to not over-bake it. Check it a few minutes before the timer goes off. A perfectly baked cake is the secret to a moist crumb. For another simple, moist cake, try this simple chocolate cake with olive oil.
How to make cream cheese frosting less sweet?
Use full-fat, tangy cream cheese. It balances the sugar. You can also add a tiny pinch of salt. This enhances all the flavors. A bit of lemon zest works wonders too. It brightens everything up without more sugar. The goal is a creamy, rich frosting that is not too sugary.
What is the secret to a fluffy red velvet cake?
Do not over-mix the batter. Mix just until you see no dry spots. Over-mixing makes cake dense. Also, ensure your baking powder in the mix is fresh. *Fun fact: The vinegar in some recipes reacts with baking soda for a lift!* Proper mixing gives you a light, fluffy texture everyone loves.
Can I use buttermilk substitute in red velvet cake?
Yes, you can make a fine substitute. Add one tablespoon of lemon juice or vinegar to a cup of milk. Let it sit for five minutes. It will curdle and thicken nicely. This works in a pinch for that classic tang. For a different tangy dessert, these raspberry almond cheesecake squares are delightful.
Why is my cream cheese frosting runny?
Your cream cheese or butter might be too warm. Always use them straight from the fridge. Also, make sure you whip your heavy cream to stiff peaks first. If it is still runny, just chill the whole bowl for twenty minutes. Then whip it again. This usually fixes it right up.
How to store red velvet cake with cream cheese frosting?
Keep it covered in the refrigerator. The frosting has dairy and can spoil. A cake carrier with a lid is best. You can also use plastic wrap or a domed cake plate. For a similar make-ahead treat, see how to make a creamy vegan pumpkin cheesecake. Which tip will you try first?
From My Kitchen to Yours
I hope you love making this red velvet cheesecake. It is a special dessert for sharing. Baking is about creating sweet memories with every slice. I would love to hear about your baking adventure in the comments.
Tell me all about it. Maybe you decorated it with fresh berries. Or perhaps you tried a spiced apple cake next. Have you tried this recipe? Your stories are my favorite thing to read. Now, go enjoy your beautiful creation.
Happy cooking!
—Clara Cooper
Easy Red Velvet Cheesecake
Description
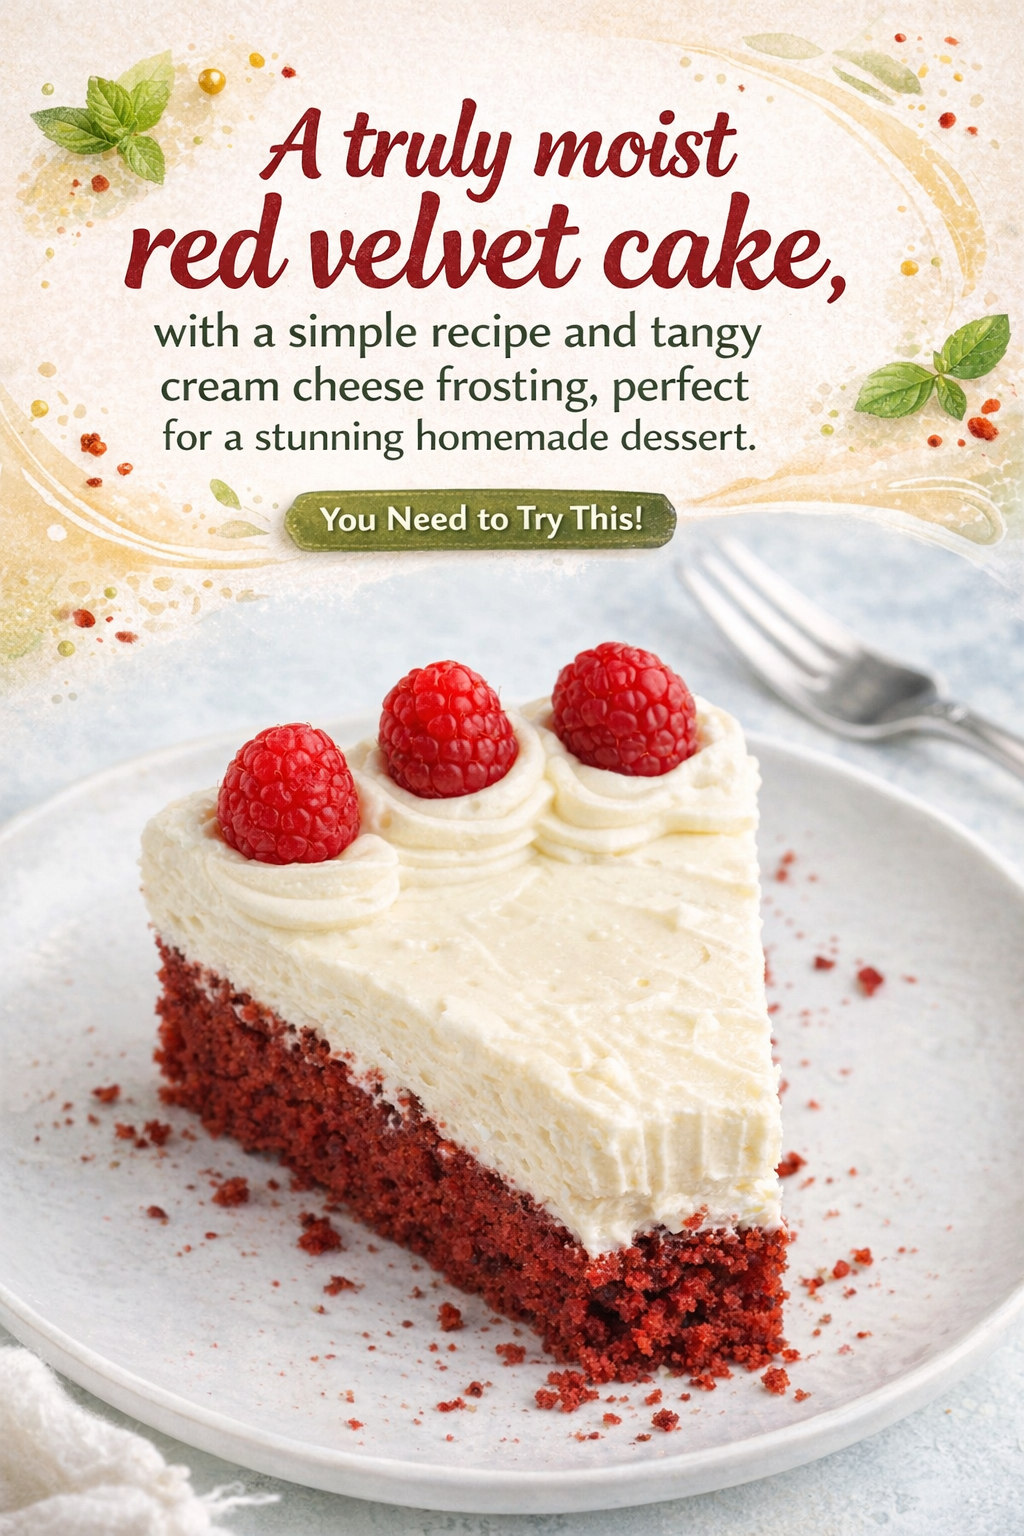
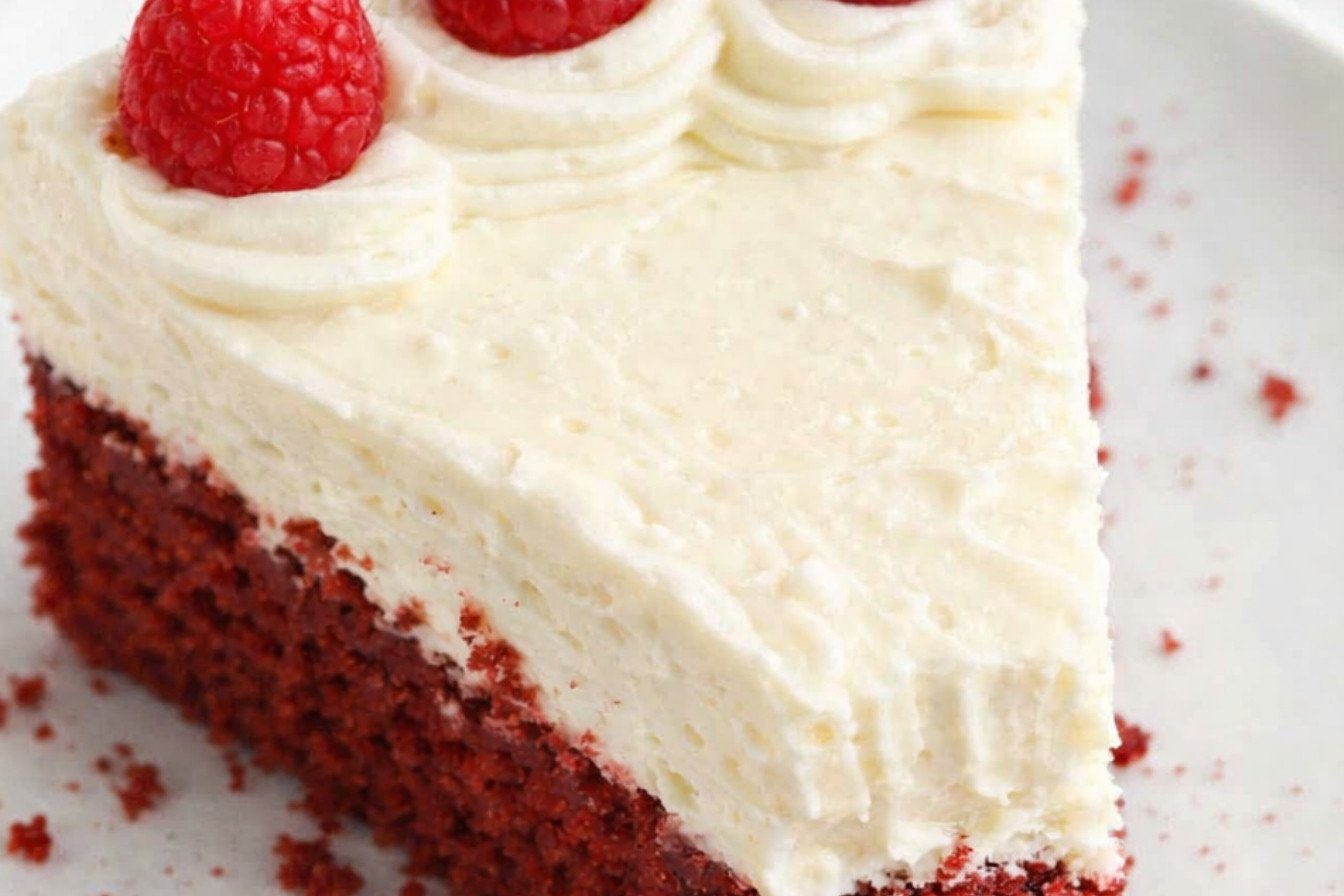
A delightful layered dessert with a moist red velvet cake base and a creamy, tangy no-bake cheesecake topping.
Ingredients
Instructions
- Preheat oven to 350°F. Grease the bottom and sides of a 10-inch springform pan.
- Combine dry cake mix, egg, oil and milk. Mix on medium 2 minutes or until smooth.
- Spread into prepared pan and bake 20-25 minutes or until a toothpick comes out clean. Do not overbake. If needed gently press the edges with a spatula to even and flatten out the cake. Cool completely. Run a butter knife around the edges of the red velvet cake to loosen it.
- Beat together cream cheese, powdered sugar, and vanilla until fluffy. In a separate bowl, beat cold heavy whipping cream on low for 1 minute. Increase the mixer speed to high, and beat for an additional 3 to 4 minutes or until stiff peaks form.
- Fold the whipped cream into the cream cheese mixture. Spread the cheesecake filling evenly over the cooled red velvet layer and refrigerate for at least 4 hours, or overnight.
- Decorate as desired.
Notes
- Nutrition Information per serving: Calories: 466 | Carbohydrates: 39g | Protein: 5g | Fat: 34g | Saturated Fat: 14g | Polyunsaturated Fat: 8g | Monounsaturated Fat: 9g | Trans Fat: 0.1g | Cholesterol: 71mg | Sodium: 401mg | Potassium: 196mg | Fiber: 1g | Sugar: 26g | Vitamin A: 779IU | Vitamin C: 0.1mg | Calcium: 108mg | Iron: 2mg