
The Cake That Tells a Story
This red velvet cake is my favorite. It is not just a dessert. It is a memory on a plate. I first made it for my grandson’s tenth birthday. His eyes got so wide when he saw the red layers. I still laugh at that.
Baking it feels like a warm hug. The smell fills the whole house. It tells everyone something sweet is coming. That is why this matters. Food is more than eating. It is about sharing joy and making moments special. Do you have a dessert that makes you think of a happy time? I would love to hear about it.
Secrets in the Batter
This cake has a few quiet tricks. The vinegar and buttermilk work together. They make the crumb very soft and tender. The cocoa gives a hint of chocolate flavor, not too much. It is just right.
And that bit of sour cream? It is the magic for moisture. It keeps every single bite feeling rich. *Fun fact*: The original red color came from a chemical reaction, not food dye! Today, we use a little coloring for that famous bright look. For another recipe that uses a clever trick for a smooth texture, you should try this velvety celery root puree.
The Frosting That Steals Hearts
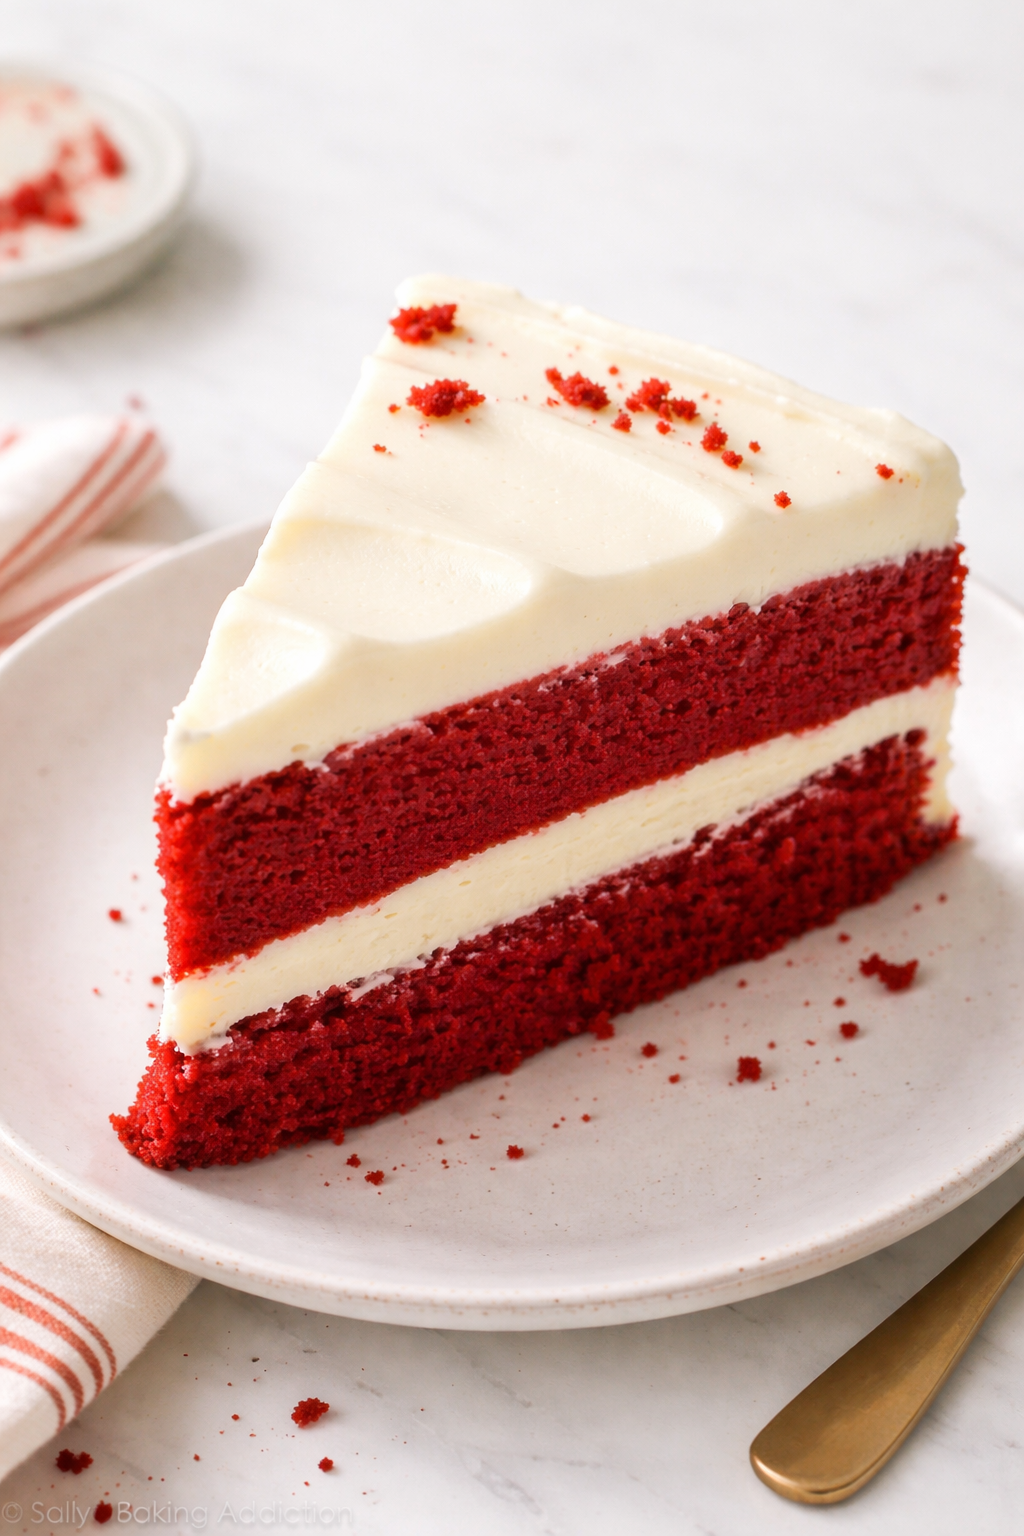
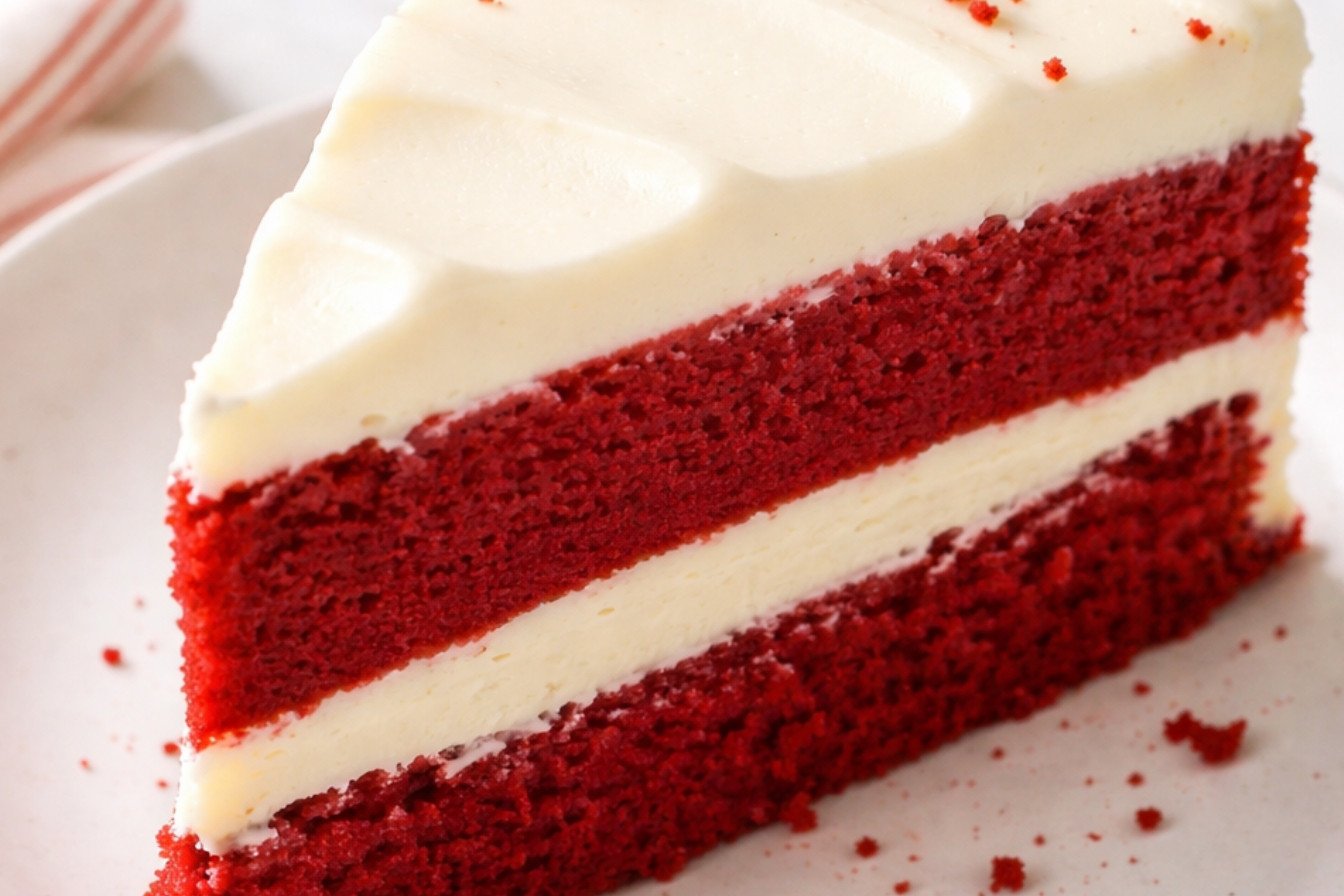
Let us talk about the frosting. Cream cheese frosting is the perfect partner. It is tangy and sweet. The butter must be soft. So must the cream cheese. This stops lumps and makes it fluffy.
Beat it until it looks like a smooth, pale cloud. Doesn’t that smell amazing? That creamy tang cuts the cake’s sweetness beautifully. This balance is important. It keeps the whole cake from feeling too heavy. If you love this combo, you must see my cream cheese stuffed red velvet cookies.
Putting It All Together
Cooling the cakes is the hardest part. You must wait. But it is worth it. A warm cake will melt your lovely frosting. Patience is a baker’s secret tool.
I like to crumble the trimmed cake tops on top. It looks pretty and tastes good. No waste! It adds a nice little texture. Frosting a cake is fun. There is no wrong way. Do you like lots of frosting in the middle, or just a thin coat? Tell me your style! For a different kind of layered treat, these red velvet pancakes are a fun breakfast.
More Than Just a Pretty Color
Why does this cake matter? It teaches us about balance. Sweet with tangy. Soft with creamy. Even the color brings a smile. It is a celebration cake.
Making it for someone is an act of love. Every step is a gift. That is the real recipe. The one not written down. What is the next celebration you will bake for? I hope it is filled with as much joy as this cake. And if you want another rich, creamy sauce to master, this creamy peppercorn sauce is wonderful on steak.
Instructions
Step 1: First, get your oven warm and ready. Grease your cake pans well. I always line the bottoms with parchment paper. It makes the cakes pop right out later. (A little flour dusted on the greased sides works wonders.)
Step 2: Whisk your dry friends in one bowl. In another, mix the buttermilk, food coloring, and vinegar. That vinegar is a secret helper! It makes the crumb so tender. Doesn’t that red color look amazing already?
Step 3: Now, cream the butter and sugar until fluffy. Add eggs one at a time. This builds a strong, velvety base. Alternate adding the dry and wet mixes. Mix just until you stop seeing flour. (Overmixing makes a tough cake!)
Step 4: Pour the batter evenly into your pans. Bake until the top springs back. Let them cool completely before frosting. I know, waiting is hard! What’s your favorite part of baking? Share below!
Step 5: For the frosting, beat the butter and sugar first. Then add the cream cheese and vanilla. Beat just until smooth. Frost your cooled layers. I still laugh at my first lopsided cake! Try these velvet frosted holiday cookie bites next time.
Creative Twists
…Cupcake Time! Bake the batter in muffin tins for perfect single servings.
…Cookie Surprise! Use the batter to make cream cheese stuffed red velvet cookies.
…Color Swap! Try green food coloring for a fun St. Patrick’s Day treat.
Which one would you try first? Comment below!
Serving & Pairing Ideas
Serve a tall glass of cold milk with each slice. It’s the classic pairing. For a fancy touch, add a few berries on the side. A simple velvety sauce is great on savory dishes, but for this sweet cake, try a dollop of whipped cream. You could even make layered red velvet pancakes for a special breakfast. Which would you choose tonight?
Keeping Your Red Velvet Cake Fresh
Let’s talk about storing this beautiful cake. First, always cool it completely. Then, wrap unfrosted layers tightly in plastic. They can live in the freezer for up to three months. This is perfect for batch cooking ahead of a busy week.
I remember my first layered cake. I frosted it warm! The frosting melted into a puddle. Now I wait patiently. A frosted cake stays fresh in the fridge for about five days. Just cover it with a cake dome or loose foil.
Why does this matter? Good storage saves your hard work. It also means sweet treats are always ready for surprise guests. Have you ever tried storing it this way? Share below!
Simple Fixes for Common Cake Troubles
Even grandmas have kitchen hiccups. Here are three common ones. First, a dry cake. This often means you over-mixed the batter. Mix just until you see no more dry flour.
Second, frosting that slides off. Your cake or frosting was likely too warm. Chill everything for 20 minutes before you start. I once tried to frost cookies straight from the oven. What a mess!
Third, a dense texture. Your baking powder might be old. Test it with hot water. If it doesn’t bubble, buy a new tin. Fixing these issues builds your confidence. It also makes every bite taste just right. Which of these problems have you run into before?
Your Quick Questions, Answered
What is Velvet Dream Cream Cheese Cake?
It is a wonderfully soft and moist red velvet cake. The “velvet” name comes from its fine, tender crumb. It is always paired with a rich, tangy cream cheese frosting. This classic combination is a favorite for birthdays and holidays. The texture is what makes it truly special and dreamy.
How to make Velvet Dream Cream Cheese Cake?
You start by creaming butter and sugar until fluffy. Then add eggs one by one. Mix your dry and wet ingredients separately. Add them to the butter mix, alternating between dry and wet. Bake the layers and let them cool completely. Finally, make the frosting and assemble your beautiful cake.
What are the ingredients for Velvet Dream Cream Cheese Cake?
Key cake ingredients are all-purpose flour, cake flour, cocoa, buttermilk, and sour cream. You also need butter, sugar, eggs, vinegar, and red food coloring. The frosting needs cream cheese, butter, powdered sugar, and vanilla. Room temperature ingredients are the secret to a smooth batter and perfect frosting.
Why is it called velvet cream cheese cake?
The name “velvet” describes the cake’s texture. It is incredibly soft, smooth, and fine-crumbed. This comes from using cake flour and the buttermilk reaction. The cream cheese part is for the frosting. Together, they create a luxurious feel in your mouth. It truly is like eating a sweet, velvety dream.
What is the difference between velvet dream and regular cheesecake?
They are very different. A regular cheesecake uses a creamy, dense filling made mostly of cheese. Velvet dream cake is a light, fluffy layer cake. It is leavened with baking powder and soda. The “cheese” is only in the frosting on the outside. It’s a cake with cheese frosting, not a cheese pie.
Can velvet dream cream cheese cake be made without baking?
No, this particular cake must be baked. The chemical reaction in the oven gives it its rise and texture. But you can make no-bake cheesecakes that are also creamy and delicious. For a true red velvet flavor and that special velvety crumb, the oven step is essential. Which tip will you try first?
From My Kitchen to Yours
I hope you feel ready to bake this lovely cake. Remember, baking is about joy, not perfection. A *fun fact*: the vinegar in this recipe helps the red color stay bright! It’s a little kitchen magic.
I would love to hear about your baking adventures. Did your family enjoy it? What did you learn? Your stories make my day. Have you tried this recipe? Tell me all about it in the comments below.
Happy cooking!
—Clara Cooper
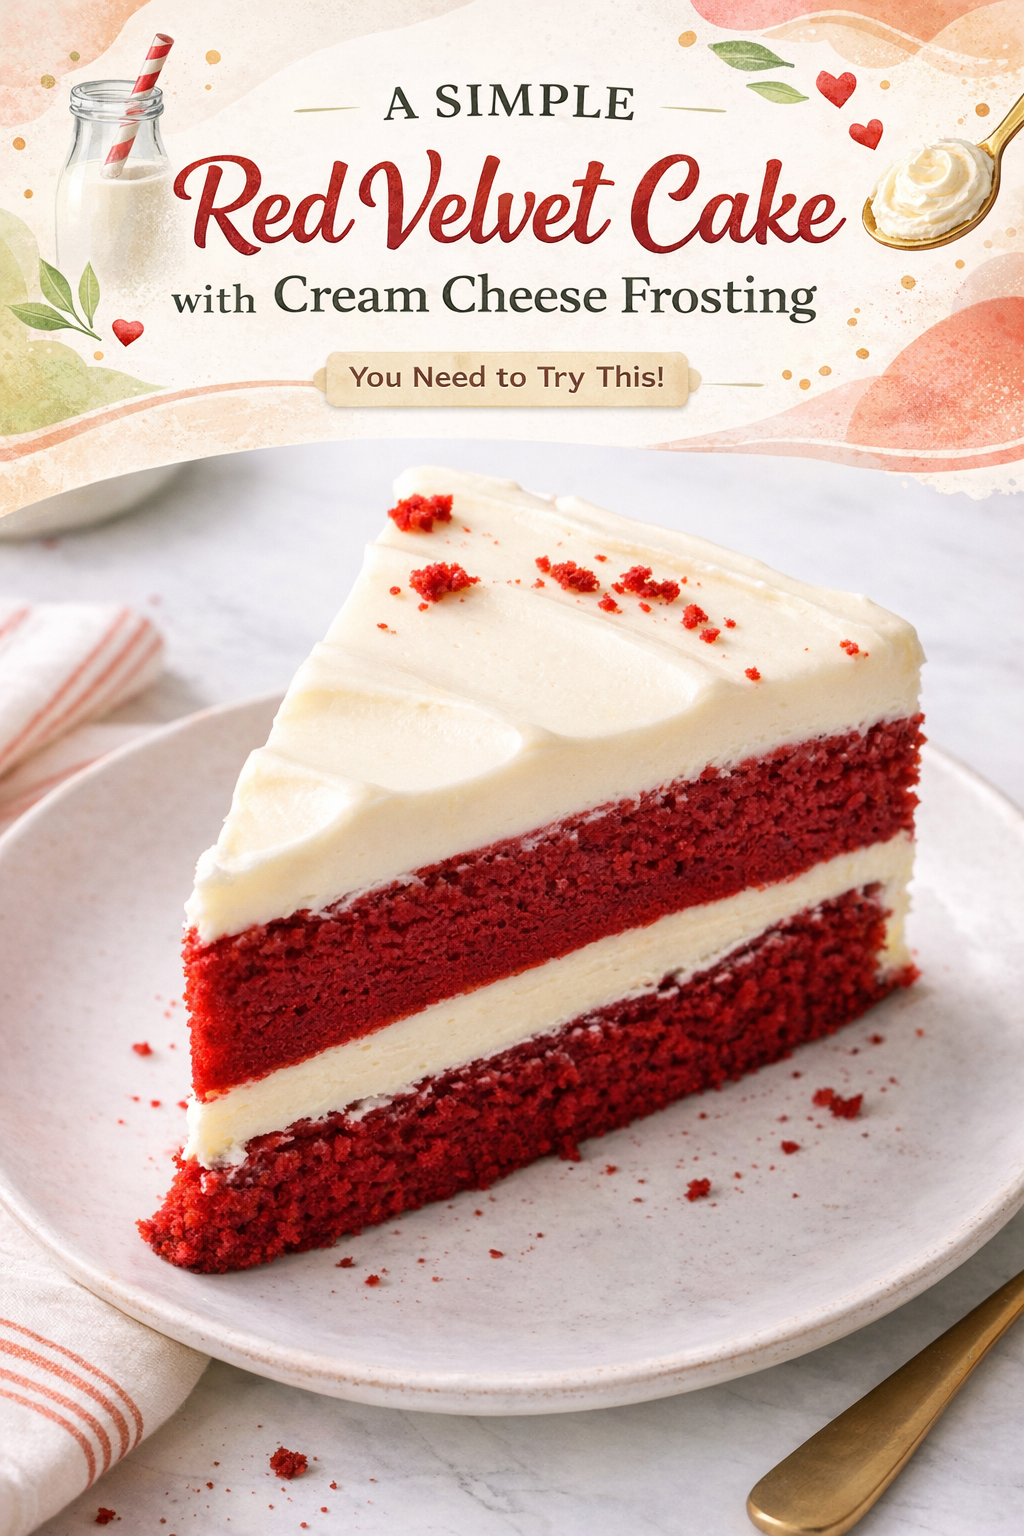
Velvet Dream Cream Cheese Cake
Description
Red Velvet Cake with Cream Cheese Frosting
Ingredients
Cake Layers
Cream Cheese Frosting
Instructions
- Preheat oven to 350° F and set one rack to the middle position. Prepare two 9-inch cake tins by greasing them, covering the bottom in a circle of parchment paper, and dusting the sides with flour.
- In a small mixing bowl, whisk together the flours, cocoa powder, baking powder, baking soda, and salt. In a liquid measuring cup or bowl, whisk together the buttermilk, sour cream, vegetable oil, vanilla, vinegar, and food coloring.
- In the bowl of a stand mixer, or in a large mixing bowl with a hand-held mixer, cream together the butter and sugar on medium speed until white and fluffy. Add in the eggs, one at a time, mixing until combined and scraping down the sides of the bowl after each addition.
- Into the egg, sugar, and butter mixture, beat in one-third of the dry ingredients, then one-third of the wet ingredients, alternating until all the ingredients have been added. Turn off the mixer just before everything is combined. Scrape the sides of the bowl one last time and give everything one final stir.
- Divide the batter equally into both tins. It helps to weigh them on a digital scale to ensure evenness. Bake on the middle rack for about 30-32 minutes or until a cake tester comes out clean and the cake’s top bounces back when gently pressed.
- Let the cakes cool in their tins for about 10 minutes then turn them out onto wire racks to finish cooling.
- Make the cream cheese frosting. In the bowl of a stand mixer fitted with the paddle attachment, cream together the butter, powdered sugar, and a pinch of salt until white in color and fluffy. Add in the vanilla and cream cheese and beat on low for about 30 more seconds.
- Once the cakes are fully cooled, it’s time to assemble. If your cakes have a domed top, you can level them off with a bread knife and reserve the tops. Frost and decorate the cake however you like. I used the reserved cake tops to crumble up and sprinkle on the cake at the end.
Notes
- Ensure all ingredients are at room temperature for best results. For a neater slice, chill the frosted cake for 30 minutes before serving.