
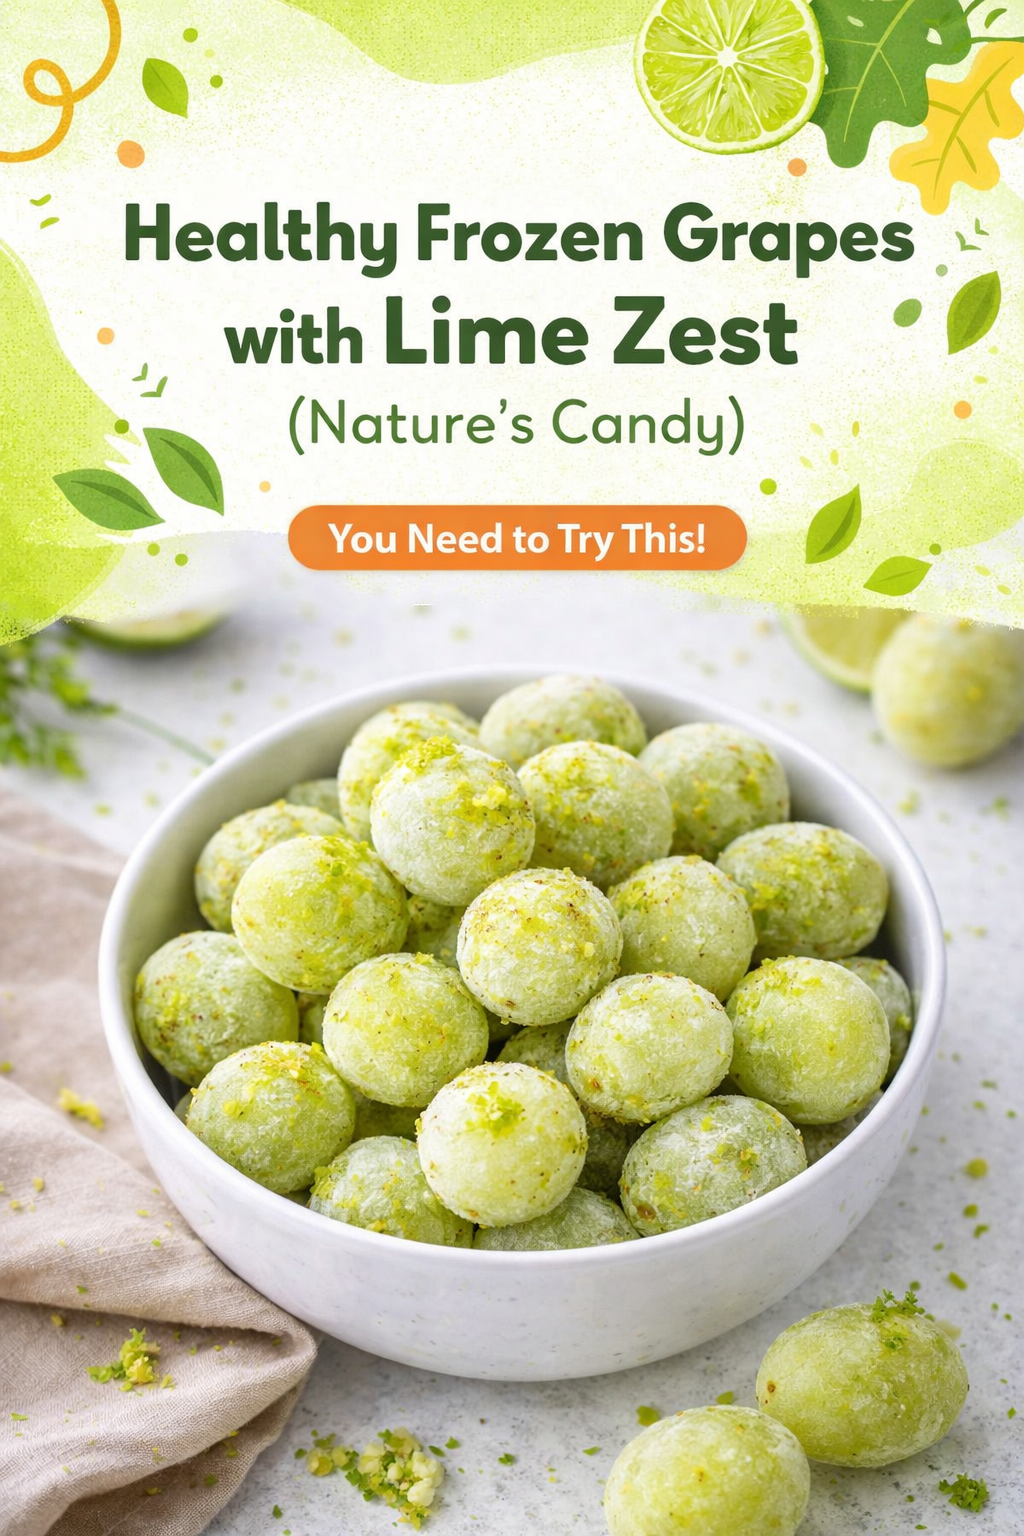
My Summer Trick for a Sweet Treat
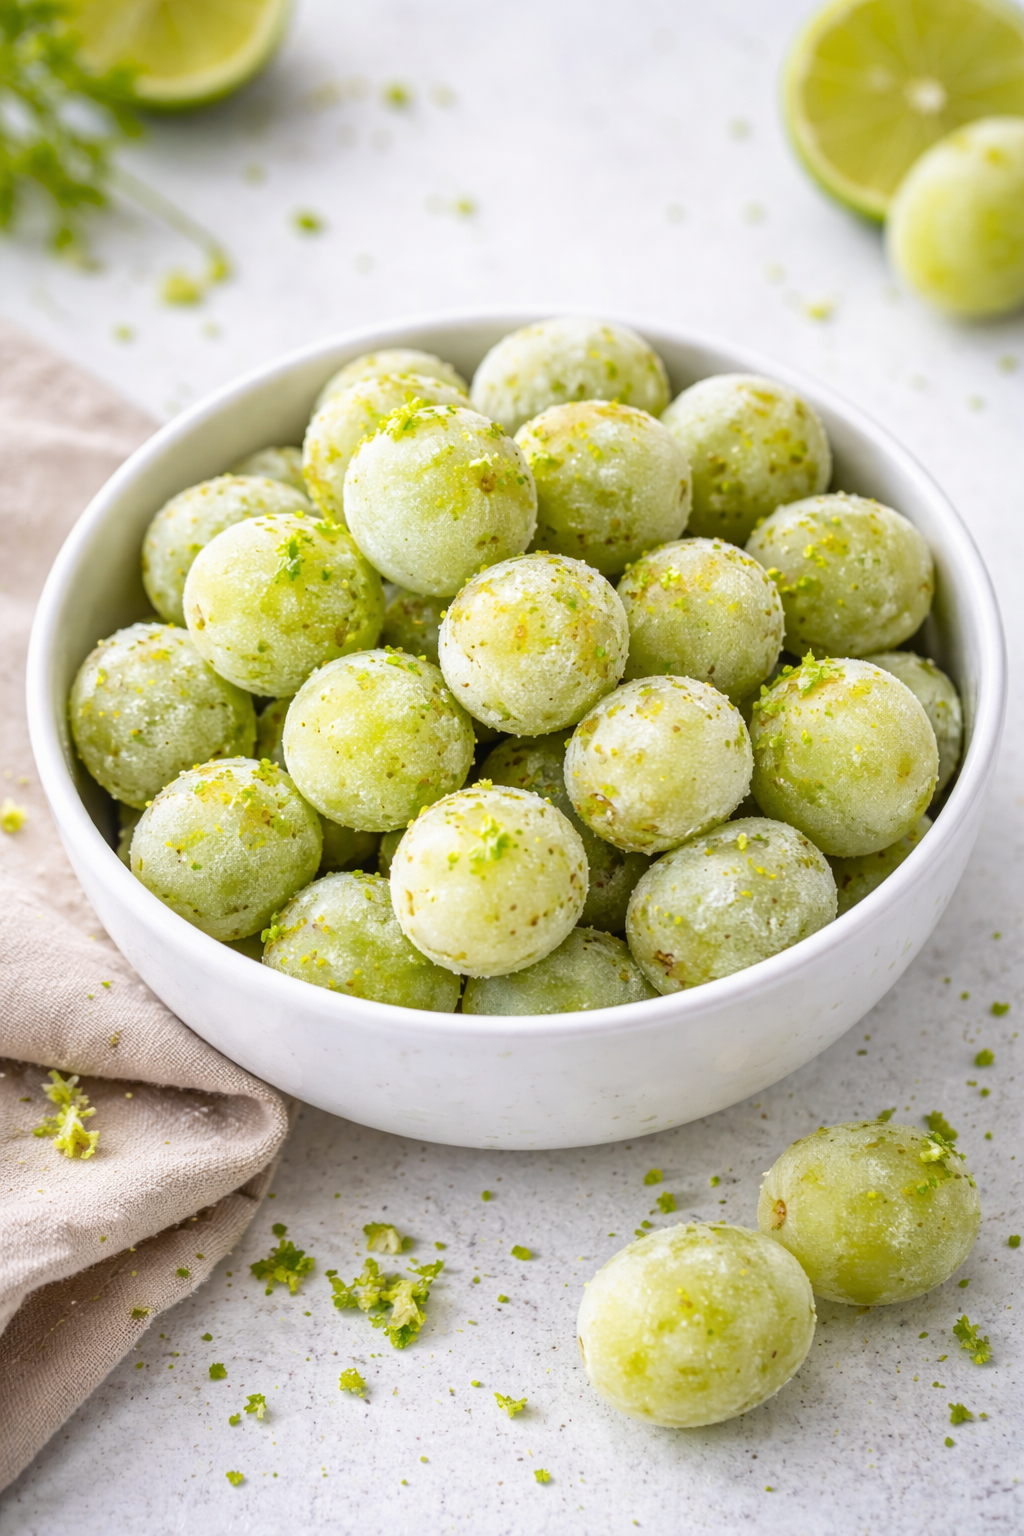
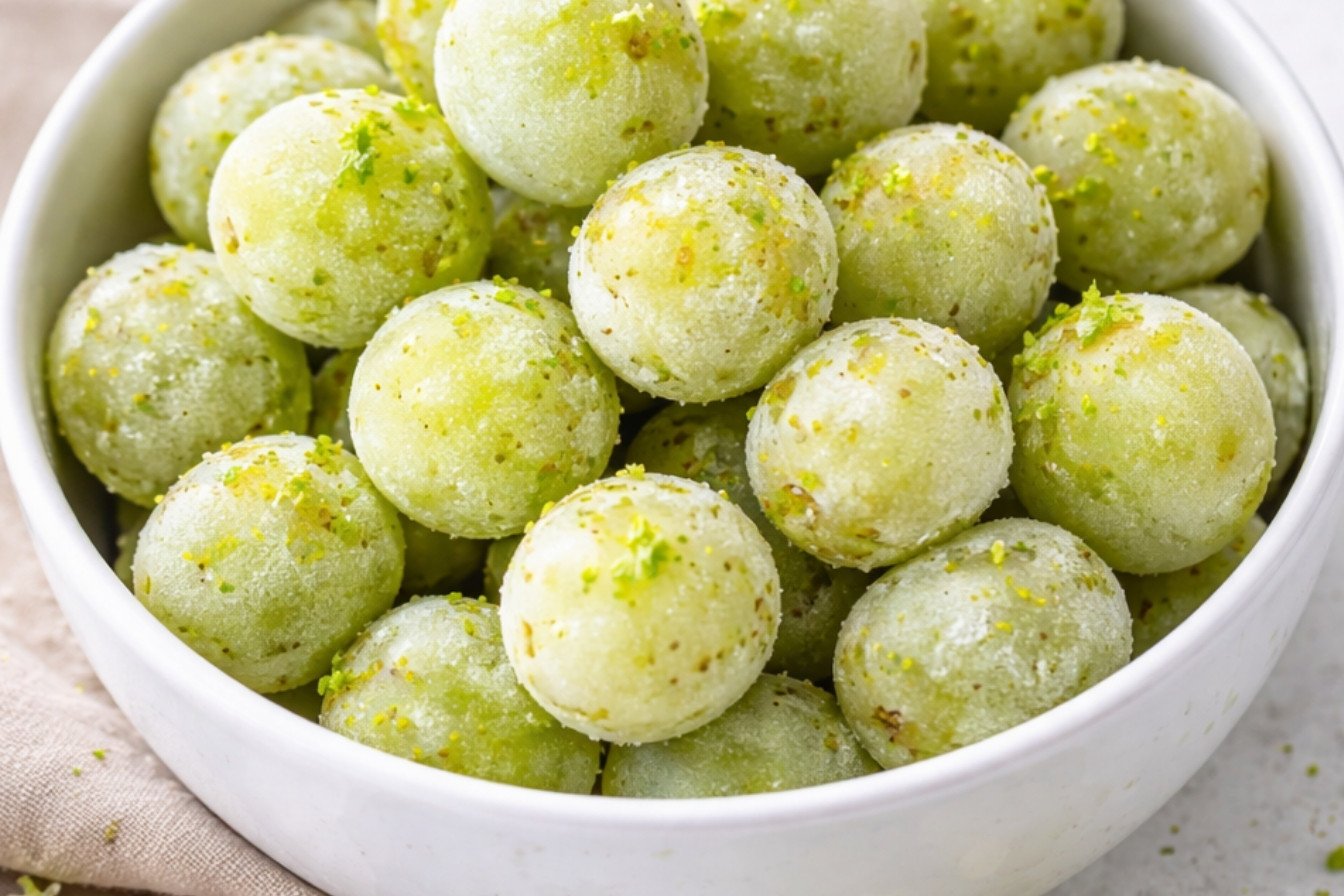
Let me tell you about my favorite hot-day trick. I freeze grapes. It is so simple. They turn into little popsicles. Nature makes the best candy, I always say. I add a sprinkle of lime zest. It makes them taste like a tiny party.
My grandson calls them “frosty jewels.” I still laugh at that. He runs to the freezer when he visits. It makes my heart happy. This matters because it is a healthy choice. It feels like a treat but is just fruit. What was your favorite frozen snack as a kid?
Why a Little Lime Makes Magic
The lime zest is the secret. It is not sour like the juice. Zest is just the bright green skin. It has amazing oils. Doesn’t that smell amazing? It wakes up the sweet grape flavor.
*Fun fact*: The zest holds most of the lime’s fragrance. That is why it works so well. This little step matters. It turns simple fruit into something special. It shows how a tiny change can make big joy. I love using lime in other ways too, like in these lime coconut cookies.
How to Make Your Own Nature’s Candy
First, wash your grapes well. Pat them dry with a towel. Wet grapes will stick together in a big lump. We want separate jewels. Put them in a bowl.
Use a fine grater for the lime. Just get the green part. Sprinkle the zest over the grapes. Toss them gently with your hands. Then spread them on a tray. Freeze for two hours. So easy! Do you like your snacks more sweet or tangy?
A Story from My Porch
One summer, my neighbor’s grapevine went wild. She gave me two big baskets. I had grapes everywhere. I started freezing them all. We sat on the porch eating them. We talked for hours. It became our weekly habit.
That is the real magic of food. It brings people together. A simple frozen grape can start a long chat. This matters more than the recipe. It is about the moment you share. For another simple, shareable side, try this cilantro lime slaw.
Keep Your Batch Perfect
After they are frozen, put them in a bag. They will keep for months. But mine never last that long. They are perfect for a quick cool-down. Toss a few in your water glass. It keeps the drink cold and tastes nice.
You can try this with other citrus too. Orange zest is lovely. Lemon is nice and bright. The idea works for many meals. I even use lime in savory dishes, like these chipotle lime sweet potatoes or this spicy cilantro lime shrimp. What fruit would you like to try freezing?
Instructions
Step 1: First, wash your grapes well. Pat them completely dry with a towel. This is very important. Wet grapes will freeze into a solid block. I learned that the hard way once!
Step 2: Next, pull the grapes off their stems. Toss them into a bowl. Zest one lime right over the top. Doesn’t that smell amazing? The green zest looks like fairy dust.
Step 3: Now, give everything a gentle mix. You want each grape to get a little lime hug. (A tiny pinch of salt makes the flavors pop, trust me!). Spread them on a tray lined with parchment paper.
Step 4: Finally, pop the tray into your freezer. Let them freeze solid for about 2 hours. What’s your favorite frozen summer treat? Share below! Then, enjoy your nature’s candy straight from the bowl.
Creative Twists
Coconut Lime: Toss grapes with lime zest and a sprinkle of unsweetened coconut flakes before freezing. It’s a tropical vacation in a bowl!
Honey & Lime: Drizzle grapes with just a teaspoon of honey and lime zest. It adds a lovely, light sweetness.
Spicy Lime: Add a tiny, tiny pinch of chili powder with the lime zest. Sweet, tangy, and with a little kick!
Which one would you try first? Comment below!
Serving & Pairing Ideas
These frozen grapes are perfect all on their own. I love them as a cool snack on a hot day. For a fun dessert, mix them into a bowl of plain yogurt. It’s like a frosty tropical parfait! You could also toss a handful into a glass of lemonade or iced tea. They act like little, flavorful ice cubes. Which would you choose tonight?
Keeping Your Frozen Grapes Perfect
Let’s talk about storing your frozen grape bites. First, wash and dry your grapes well. A single wet grape can make the whole bag icy. I learned that the hard way with my first batch! Toss them with lime zest right before freezing. Then spread them on a tray. This stops them from clumping into one big grape ball.
Once frozen solid, pop them into a bag. Squeeze out all the air. They will keep for months. Batch cooking like this saves so much time. It means a sweet, healthy treat is always ready. You can find more ideas for lime treats, like these lime coconut cookies, on my blog. Have you ever tried storing it this way? Share below!
Simple Fixes for Common Snack Problems
We all face little kitchen troubles. Here are three easy fixes. First, grapes not freezing right? They must be bone dry. I remember when my grapes froze in a solid block. It was a mess! Second, zest not sticking? Pat grapes lightly with a paper towel first. This gives the zest something to grab onto.
Third, snack too sour? Use less zest next time. You can always add more. Fixing these small issues builds your cooking confidence. It also makes the flavor just right for you. For another zesty side, try this cilantro lime rice. Which of these problems have you run into before?
Your Quick Questions, Answered
Can you freeze grapes with lime zest?
Yes, you absolutely can! It is the best way to make this snack. The zest sticks to the grape skin when frozen. This gives you a burst of lime flavor with every bite. Just make sure your grapes are completely dry first. This prevents ice crystals from forming. A fun fact: the zest contains bright oils that flavor the grape perfectly.
How long do frozen grape bites last?
They will keep well for about 8 to 10 months. Store them in a tight-sealing bag. Always push out the extra air first. This stops freezer burn. Label the bag with the date so you remember. They are best eaten within a year for the best texture and taste. It is a great make-ahead snack.
What are the benefits of lime zest on frozen grapes?
The zest adds a wonderful citrus flavor without extra sugar. It makes the grapes taste like a fancy treat. The natural oils in the zest are full of aroma. This turns simple frozen fruit into something special. It is a healthy way to satisfy a sweet craving. For another healthy, zesty dish, try these cilantro lime baked shrimp.
Can you use bottled lime juice instead of zest?
I do not recommend it. The juice will freeze into ice on the grapes. This makes them sticky and icy. The zest gives flavor without the wetness. Zest is the green part of the peel, not the white pith. If you need zest but have no lime, try lemon or orange zest instead. They work beautifully too.
Are frozen grapes a healthy snack?
Yes, they are a very healthy choice. Grapes are full of vitamins and antioxidants. Freezing them makes a naturally sweet, icy treat. The lime zest adds flavor with almost no calories. It is much better than store-bought popsicles or ice cream. This snack is refreshing and good for you. It is nature’s candy!
What other citrus zests work with frozen grapes?
Lemon and orange zest are both fantastic. They each give a different, sunny flavor. Grapefruit zest is lovely too, but it is a bit bitter. Try mixing different zests for your own signature snack. It is a fun way to experiment. Which tip will you try first?
From My Kitchen to Yours
I hope you love these frozen grape bites as much as I do. They remind me of summer, even in winter. Cooking is about sharing joy and simple pleasures. I would love to hear about your kitchen adventures. For another burst of lime flavor, you must try these coconut lime bliss bites. Have you tried this recipe?
Please tell me all about it in the comments below. Happy cooking!
—Grace Ellington.
Lime Zest Frozen Grape Bites
Description
A classic and simple vanilla loaf cake, perfect for any occasion.
Ingredients
Instructions
- Preheat oven to 350°F (180°C). Grease and flour a 9×5 inch loaf pan.
- In a medium bowl, whisk together the flour, baking powder, and salt.
- In a large bowl, cream together the butter and sugar until light and fluffy. Beat in the eggs one at a time, then stir in the vanilla.
- Gradually blend in the flour mixture alternately with the milk, beginning and ending with the flour mixture.
- Pour batter into prepared pan. Bake for 50 to 60 minutes, or until a toothpick inserted into the center comes out clean.
- Let cool in pan for 10 minutes, then turn out onto a wire rack to cool completely.
Notes
- For best results, ensure all ingredients are at room temperature before starting. The cake can be stored in an airtight container at room temperature for up to 3 days.