

The Cookie That Started a Picnic Tradition
Every family has a cookie story. Ours started with a rushed picnic and a forgotten dessert. I grabbed a bowl and threw these ingredients together in a panic. The cookies turned out so chewy and perfect that my kids still request them for every outing. Have you ever made a mistake in the kitchen that turned into a happy accident? That day taught me something simple. Good cookies don’t need fancy tricks. They just need the right balance of butter, sugar, and love. Why this matters: When you bake from scratch, you control everything. You can make a cookie that tastes like your childhood, not like a store-bought bag. I still laugh at how worried I was that day. The picnic turned out wonderful, and those cookies stole the show.The Secret to Chewy Every Time
Most people think cold eggs ruin cookies. That is not true at all. Cold eggs help the cookie keep its shape while it bakes. The butter should be slightly cold too, not soft and mushy. This little trick makes the edges golden while the middle stays soft and tender. What is your biggest cookie baking fear? Another secret is not overmixing. When you add the flour, let the mixer run on low just until everything comes together. Stop the second you don’t see white streaks. Overmixing makes cookies tough, like little rocks. Why this matters: A chewy cookie is a happy cookie. It bends without breaking and melts in your mouth. Doesn’t that sound better than a crunchy, hard disk?A Little History for Cookie Lovers
Chocolate chip cookies were invented by accident in the 1930s. A woman named Ruth Wakefield ran out of baker’s chocolate. She chopped up a Nestle chocolate bar instead, expecting it to melt into the dough. The chunks stayed whole, and a legend was born. Now billions of cookies are baked every year. Our version carries that same spirit of happy accidents. Using both white and brown sugar gives the cookie depth, just like Ruth’s original recipe. The brown sugar adds moisture and that caramel touch we all love. *Fun fact: Brown sugar is just white sugar with molasses added. That molasses is what keeps your cookies soft for days.* Tell me, do you prefer milk chocolate or dark chocolate chips in your cookies?How to Know When They Are Done
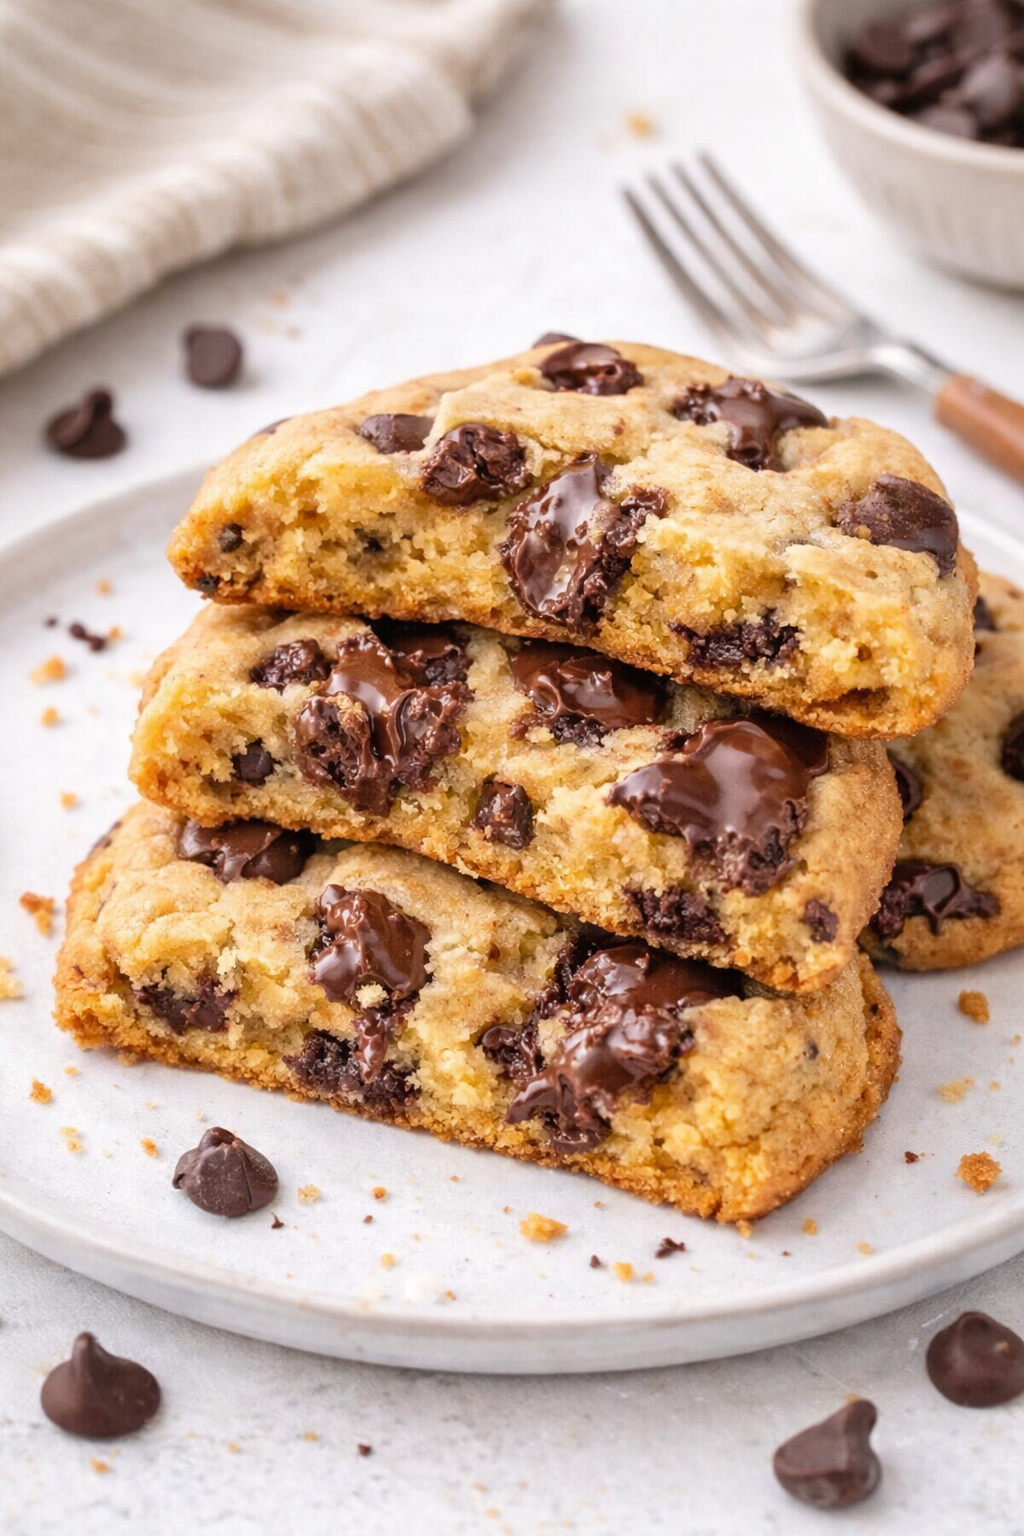
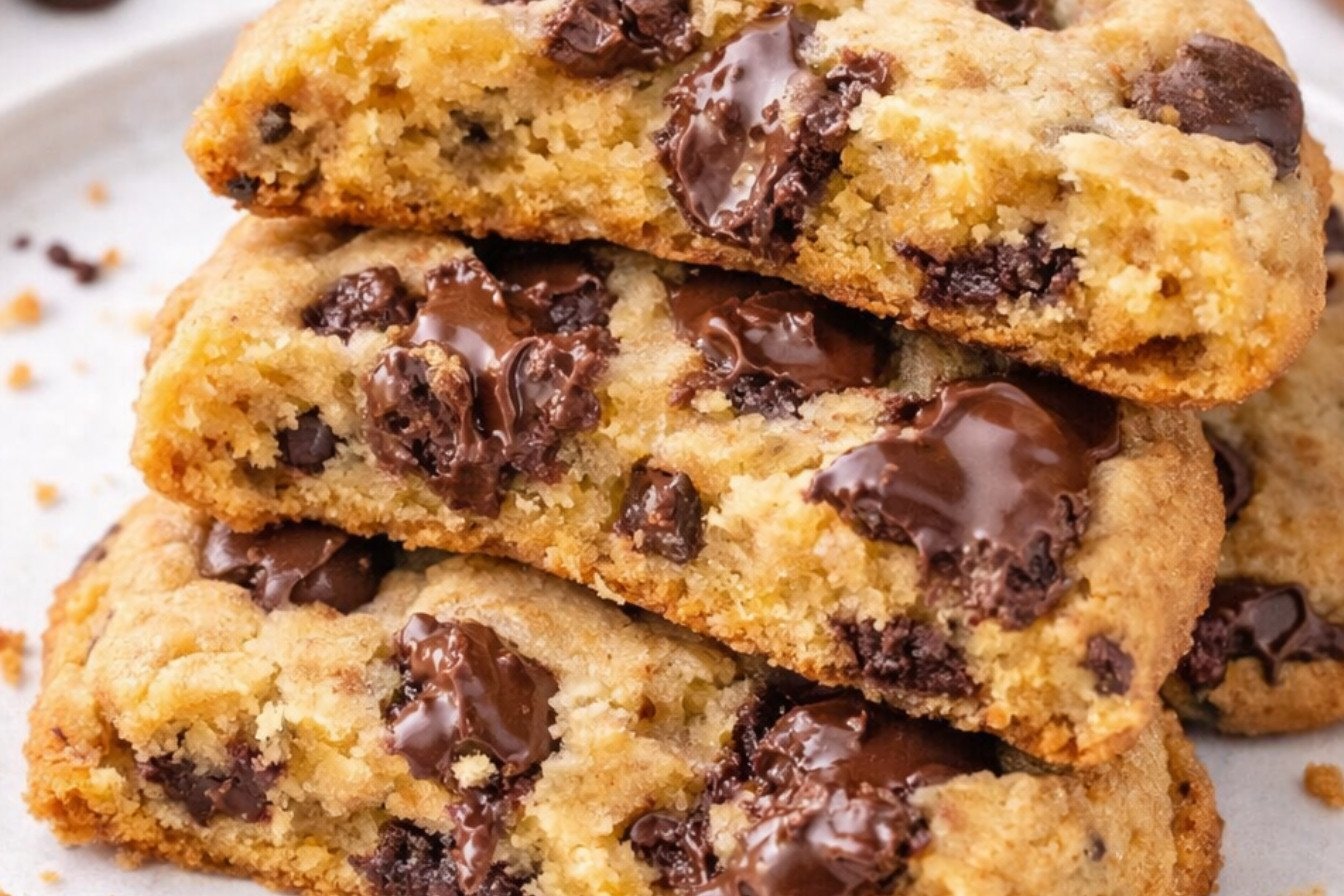
Baking time is tricky. This perfect chewy cookie needs just 10 to 12 minutes. Look for edges that are slightly golden brown. The center will still look a little soft and puffy. That is exactly right. Do not wait for the middle to turn brown, or you will have hard cookies. Take them out while they still look a bit underdone. The cookies will keep baking on the hot sheet as they cool. This is called carryover cooking. It is a simple science trick that ensures a soft bite every time. Many people ask how to make soft cookies, and this is the biggest secret. Trust your eyes, not the timer. Have you ever pulled cookies out too late? What did you do to fix them?Packing Cookies for a Picnic
Picnics are about sharing good food outside. These cookies are sturdy enough to travel without breaking into crumbs. Let them cool completely before stacking. Use wax paper between layers so they don’t stick together. A simple tin or plastic container works perfectly. I once packed these cookies for a beach trip. A seagull stole one right off the blanket. My grandson laughed so hard he almost dropped his sandwich. That memory is sweeter than any cookie. Why this matters: Food tastes better when you share it with people you love. The picnic is not just about eating. It is about the laughter and stories that happen around the food. What is your funniest picnic memory?Making Them Your Own
This recipe is a blank canvas. You can swap dark chocolate for milk chocolate or add a handful of nuts. Some people toss in dried cranberries or shredded coconut. For a different texture, try oatmeal chocolate chip cookies with the same base dough. The possibilities are endless. What would you add to make these cookies your own? I like to press a few extra chocolate chips on top right after baking. It makes the cookies look bakery-fancy. White chocolate cranberry cookies are also fun for a holiday picnic. Lime coconut cookies bring a tropical twist that surprises everyone. Remember, baking is about playing and having fun. There are no rules, only happy experiments.Instructions
Step 1: Preheat your oven to 350 degrees. Line your baking sheets with parchment paper. This stops the cookies from sticking. I still remember the first time I forgot that step. My cookies turned into a crumbly mess! Step 2: In a big bowl, beat the butter with both sugars until fluffy. Use a mixer for about 2 minutes. Scrape the sides down once. (Here is a hard-learned tip: make sure your butter is slightly cold, not soft. Warm butter makes flat cookies.) Step 3: Add your eggs one at a time. Mix well after each one. Then pour in the vanilla and mix for 30 seconds. Doesn’t that smell amazing? What is your favorite smell in the kitchen? Share below! Step 4: Turn the mixer to low. Add the flour, baking soda, baking powder, and salt. Mix just until combined. Do not overmix, or your cookies will be tough. Step 5: Stir in two cups of chocolate chips by hand. Scoop 2-inch balls of dough onto your cookie sheets. Space them about 2 inches apart. Step 6: Bake for 10 to 12 minutes. The edges should look slightly golden. The tops might look soft. That is okay! They will finish baking as they cool on the pan. I always sneak one while it’s still warm.Creative Twists
… Swap half the chocolate chips for white chocolate and dried cranberries for a tangy surprise. … Press a few sea salt flakes on top right before baking. Sweet and salty is my favorite. … Add 1 cup of toasted rolled oats for a little crunch and a nutty flavor. Which one would you try first? Comment below!Serving & Pairing Ideas
Serve these cookies with a tall glass of cold milk. The dunking is the best part. For a picnic, pack them next to fresh apple slices or a handful of grapes. The sweet and tart flavors balance perfectly. You could also crumble one over a scoop of vanilla ice cream for a quick dessert. Which would you choose tonight?
How to Keep Your Picnic Cookies Fresh and Tasty
I remember the first time I made these chewy chocolate chip picnic cookies for a family outing. I stored them in a tin, and by the next day, they were still soft and delicious. The secret is to let them cool completely before storing. Use an airtight container at room temperature. They will stay chewy for up to five days. If you want to freeze them, place the baked cookies in a freezer bag. They keep well for three months. For batch cooking, you can freeze the cookie dough balls. Just bake them straight from the freezer, adding a minute or two to the oven time. This matters because having cookies ready to bake makes any picnic feel special without last-minute stress. Have you ever tried storing it this way? Share below!
Reheating cookies is easy. Pop one in the microwave for ten seconds. It tastes just like it came out of the oven. Or warm them in a toaster oven for a few minutes. This brings back that soft, gooey center. Storing cookies the right way saves you from wasting food. It also means you always have a sweet treat ready for guests.
Three Common Cookie Problems and Simple Fixes
I once made a batch of chocolate chip cookies that came out flat and sad. It broke my heart. The first problem is flat cookies. This happens when your butter is too warm. Use slightly cold butter, just like the recipe says. The second problem is dry cookies. This happens if you overmix the dough. Mix just until the flour disappears. The third problem is cookies that spread too much. That means your baking sheet was too hot. Always use a cool, parchment-lined sheet.
Fixing these issues matters because it builds your cooking confidence. You learn what to look for, and you get better results every time. It also matters because flavor improves when the texture is right. A chewy, soft cookie tastes much better than a flat, hard one. Which of these problems have you run into before?
If your cookies are still flat, check your baking soda and baking powder. They might be old. Fresh leavening agents make cookies puff up nicely.
Your Quick Questions, Answered
Why are my Ultimate Chewy Chocolate Chip Picnic Cookies flat?
The most common reason is butter that is too soft or melted. For this chewy chocolate chip picnic cookie recipe, you need slightly cold butter. If the butter is too warm, the cookies spread before they set. Another reason is using old baking soda. Check the dates on your ingredients. Also, make sure your oven is hot enough. Bake at 350 degrees F. Finally, do not grease your baking sheet. Use parchment paper instead.
Can I freeze the dough for these chocolate chip cookies?
Yes, you absolutely can. This is one of my favorite tricks. Scoop the dough into 2-inch balls. Place them on a parchment-lined tray and freeze until solid. Then transfer the frozen dough balls to a freezer bag. They will keep for up to three months. When you are ready to bake, place the frozen dough balls on a baking sheet. Bake at 350 degrees F for 12 to 14 minutes. No need to thaw first. This simple method lets you enjoy fresh cookies anytime.
What type of chocolate chips are best for chewy cookies?
For the chewiest cookies, use semi-sweet or dark chocolate chips. They hold their shape better during baking. Milk chocolate chips melt faster and can make cookies too sweet. I love using good quality semi-sweet chips. They give a rich flavor without being overpowering. If you want chunks instead of chips, chop a chocolate bar into pieces. Those melt into puddles and create a wonderful texture. Either way, you will have a delicious treat.
How do I make these cookies extra soft and chewy?
The secret is in the brown sugar. This recipe uses a full cup of packed brown sugar. Brown sugar has molasses, which keeps cookies soft. Also, do not overbake. Take the cookies out when the edges are golden but the centers still look soft. They will continue to bake on the hot sheet. For even more chewiness, chill the dough for 30 minutes before baking. This little trick makes a big difference in texture.
Can I substitute butter with margarine or shortening in this recipe?
You can, but the texture will change. Butter gives cookies a rich flavor and helps them spread just right. Margarine has more water, so cookies might spread more and become thinner. Shortening makes cookies very soft and tender, but they will not have that buttery taste. If you must swap, use half butter and half shortening for a good balance. Remember that this recipe was designed for butter, and it gives the best results.
How long do these picnic cookies stay fresh?
Stored in an airtight container at room temperature, these cookies stay fresh for up to five days. They will still be soft and chewy. If you want to keep them longer, freeze them. Baked cookies freeze well for three months. Just thaw them at room temperature for about 15 minutes. I like to keep a stash in my freezer for unexpected guests. Which tip will you try first?
A Little Note from My Kitchen to Yours
I hope these tips help you make the best cookies for your next picnic. Remember, cooking is about sharing love and joy. *Fun fact: Chocolate chip cookies were invented by accident in the 1930s.* Every batch is a chance to create a new memory. I would love to hear from you. Have you tried this recipe? Tell me how it turned out in the comments below. Your story might inspire someone else to bake today.
Thank you for spending time with me in my little kitchen. Keep baking, keep sharing, and keep making the world a sweeter place. Happy cooking!
—Grace Ellington.

Ultimate Chewy Chocolate Chip Picnic Cookies
Description
Preheat your oven to 350 degrees F. Line baking sheets with parchment paper. In the bowl of an electric mixer fitted with the paddle attachment beat the butter, granulated sugar and brown sugar until light and fluffy, about 2 minutes. Scrape down the sides of the bowl. Add the eggs one at time and mix until well incorporated. Scrape down the sides of the bowl. Add the vanilla and mix for about 30 seconds. With the mixer on low speed, add the flour, baking soda, baking powder and salt. Mix until combined. Stir in the chocolate chips. Scoop 2-inch balls of dough onto the cookie sheet. Bake for 10 to 12 minutes. The cookies are done when the edges are slightly golden brown. The top may look a little soft. Thats ok! The cookies will continue to bake a little while they cool.
Ingredients
Instructions
- Preheat your oven to 350 degrees F. Line baking sheets with parchment paper.
- In the bowl of an electric mixer fitted with the paddle attachment beat the butter, granulated sugar and brown sugar until light and fluffy, about 2 minutes. Scrape down the sides of the bowl.
- Add the eggs one at time and mix until well incorporated. Scrape down the sides of the bowl. Add the vanilla and mix for about 30 seconds.
- With the mixer on low speed, add the flour, baking soda, baking powder and salt. Mix until combined.
- Stir in the chocolate chips.
- Scoop 2-inch balls of dough onto the cookie sheet. Bake for 10 to 12 minutes. The cookies are done when the edges are slightly golden brown. The top may look a little soft. Thats ok! The cookies will continue to bake a little while they cool.