

Why I Love These Little Balls of Energy
There are days when my kitchen feels like a race track. I am running from the laundry to the phone, and my stomach starts to growl. That is when I reach for a recipe like this one. These peanut butter protein balls save me every single time. No oven. No waiting. Just mix, roll, and eat. Doesn’t that sound like a good friend to have in your kitchen? I still laugh at how I used to buy expensive snack bars at the store. Now I make these in ten minutes for a fraction of the cost. That is one big “why this matters” lesson: you do not need fancy tools or long hours to feed yourself well. Have you ever tried making a no-bake snack before?
The secret is powdered peanut butter. It gives you all the nutty taste without the extra oil. That makes these balls light but still filling. I keep a jar of it right next to my coffee maker so I never forget. Simple tricks like that make cooking easy.
How This Simple Recipe Came to My Kitchen
A few years ago, my granddaughter came home from school starving. She opened the pantry and just stared at the shelves. Nothing looked good to her. I grabbed a bowl and said, “Let’s make something up right now.” We had oats, peanut butter powder, a little cocoa, and honey. She mixed it with her hands, giggling the whole time. That is how these protein balls were born in my kitchen. They were messy and lopsided, but she ate three in a row. Now she calls them “Grandma’s power bites.” Do you have a quick recipe that your family loves? I would love to hear about it.
This story reminds me why cooking together matters. It is not just about the food. It is about the hands in the bowl, the laughter, and the memory you create. These protein balls are more than a snack. They are a little moment of love you can hold in your hand.
The Magic of Powdered Oats
Now let me tell you about powdered oats. You can buy them at the store, but I prefer to make my own. Just grab your regular rolled oats and whirl them in a blender for a few seconds. That is it. You get a fine flour that blends perfectly into these balls. It acts like a gentle glue that holds everything together. Without it, your balls would crumble apart. I learned that the hard way on my first try! Here is a *fun fact*: powdered oats are sometimes called oat flour, and they have been used for hundreds of years in porridge and flatbreads. People knew then what we are learning now: oats are a gentle, steady fuel for your body.
This ingredient matters because it adds fiber without changing the taste. That means you feel full longer, which is great for school or work. If you want to try another oat recipe, check out these peanut butter sandwich cookies. They use the same simple idea.
How to Roll and What to Watch For
When you add the wet ingredients, do not be afraid to get your hands dirty. Use your fingers to squeeze and press the mixture together. If it feels too dry, add a tiny drop more honey or coconut oil. If it feels too sticky, add a pinch more oat powder. This is not a science test. It is cooking. You are the boss of your bowl. I always tell new cooks: trust your hands more than the recipe. Your fingers know when the dough feels right. Have you ever adjusted a recipe to make it work better for you? That is a skill worth learning.
Roll the mixture into small balls, about the size of a walnut. You should get around eight to ten balls from this batch. Place them on a plate and pop them in the fridge for ten minutes if you can wait. That little chill makes them firm and extra chewy. But if you are hungry right now, go ahead and eat one immediately. I will not tell anyone. These peanut butter custard pie fans know that patience is hard when something smells this good.
Why Protein Balls Beat Store-Bought Snacks
Store-bought protein bars are full of ingredients I cannot pronounce. They have strange gums, preservatives, and a lot of sugar. These homemade balls have just five simple things: oats, peanut butter powder, cocoa, coconut oil, and honey. That is it. You know exactly what you are eating. That is a big “why this matters” moment for me. When you control the ingredients, you control how your body feels. No hidden surprises. Plus, you save money. A jar of peanut butter powder makes many batches, and a bag of oats costs less than a single fancy bar.
I also love that these balls travel well. Pop a few in a little container for school, work, or a road trip. They do not melt or get squishy. They stay firm and happy. If you enjoy easy snacks, you will adore this peanut butter mousse cup. It is another no-bake treat that feels like dessert.
Flavors You Can Change Any Way You Like
Do you like a little crunch? Throw in some chopped peanuts or a few chocolate chips. Do you want a sweeter ball? Add an extra teaspoon of honey. You can even swap the cocoa powder for a splash of vanilla or a pinch of cinnamon. The base recipe is a blank canvas. I once added a handful of dried cranberries, and my husband said they tasted like little cookies. Experimenting in the kitchen is half the fun. What flavor would you try first? Tell me in your mind right now.
These chewy peanut butter cookies are another great place to start if you want to practice playing with flavors. Both recipes teach you the same truth: simple ingredients are the most flexible.
A Final Thought on Snacking
I hope you try these peanut butter protein balls soon. They are fast, forgiving, and full of goodness. You do not need to be a grown-up or a chef to make them. A kid can do it with a little help. That is the kind of recipe I love most. It brings people together. It makes hungry bellies happy. And it reminds us that good food does not have to be complicated. Do you have a favorite no-bake snack? I am always looking for new ideas. Drop your thoughts next time you are in the kitchen. For now, enjoy your little power bite. You have earned it.
If you want another quick idea, try these creamy peanut noodles. They use the same peanut butter magic, but in a warm savory bowl. Perfect for lunch or a light dinner.
Instructions
Step 1: Grab a medium bowl and add ½ cup of powdered oats and ½ cup of powdered peanut butter. I love how the powder smells like roasted peanuts. Use a fork to whisk them together until no lumps remain. (If you don’t have powdered oats, just blitz regular oats in a blender.)
Step 2: Stir in ⅛ cup of cocoa powder and keep mixing. This is where the kitchen starts to smell like a chocolate shop. Does your cocoa powder ever puff up in a cloud? Do you prefer dark or milk cocoa? Share below!
Step 3: Add your wet ingredients: 5 teaspoons of coconut oil and 4 teaspoons of honey. I still remember the first time I used my hands to mix this sticky dough. Use clean hands and gently squeeze everything together. (Tip: Rub a little coconut oil on your palms to stop the dough from sticking.)
Step 4: Roll the dough into small balls, about the size of a walnut. My grandkids always sneak one before I finish rolling them all. If the dough feels too dry, add a tiny splash of water. If it’s too wet, sprinkle in a little more powdered oats.
Step 5: Place the balls on a plate and pop them in the fridge for 10 minutes. This helps them firm up nicely. You can also freeze them for a cool treat later. Doesn’t that smell amazing? Enjoy them as a quick after-school snack or a post-dinner bite.
Creative Twists
… Roll the balls in crushed pretzels for a salty crunch.
… Stir in a handful of mini chocolate chips before rolling.
… Add a pinch of cinnamon or a drop of vanilla extract to the dough.
Which one would you try first? Comment below!
Serving & Pairing Ideas
Serve your protein balls with a cold glass of milk for dipping. I love mine alongside a warm cup of tea on chilly afternoons. Want to make them fancy? Use the links to find more peanut butter snacks to try. Pair these balls with a mug cake for a double treat. You could also try a custard pie for dessert. Which would you choose tonight?
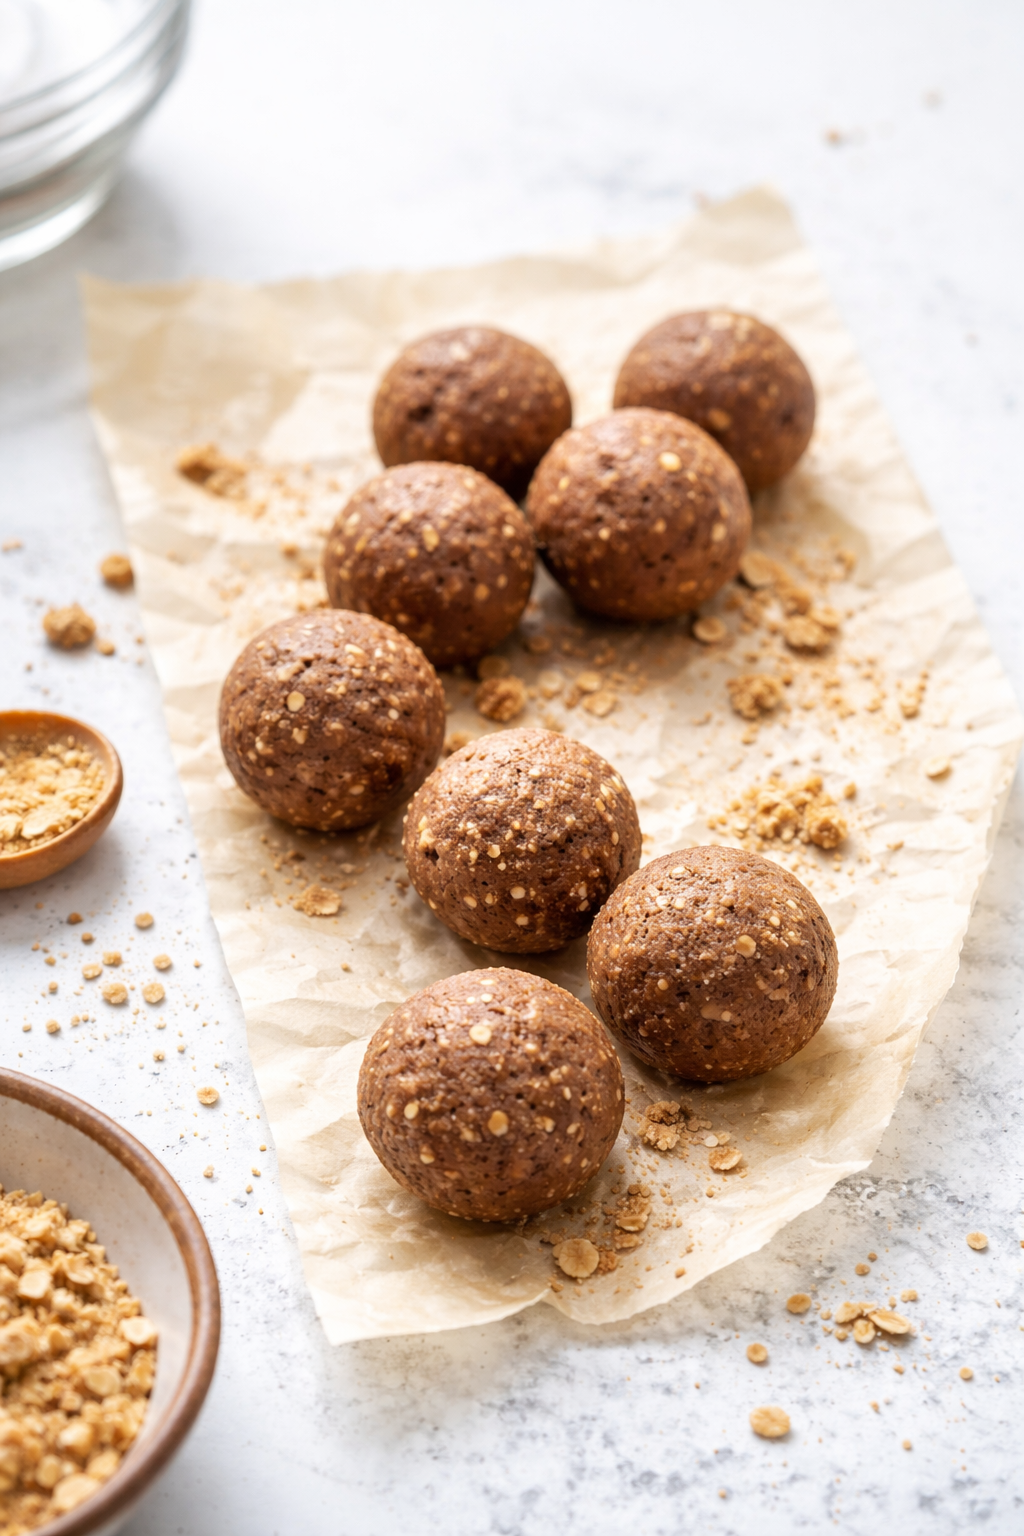
Storing Your Protein Balls the Right Way
I remember the first time I made these peanut butter protein balls. I was in a rush and ate three right off the counter. They were gone before I could blink. Now I know better. These little bites store beautifully in the fridge. Just place them in a sealed container. They stay fresh and firm for up to one week. You can also freeze them for later. Line them up on a tray first, then pop them into a freezer bag. When you want one, just let it sit out for five minutes. Batch cooking these saves you time all week long. Why this matters: having a healthy snack ready keeps you from grabbing junk. Have you ever tried storing it this way? Share below!
Three Common Problems and Easy Fixes
One time my dough was too dry and crumbly. That happens when the oats soak up too much moisture. The fix is simple: add a tiny splash of water or extra honey. I once used too much cocoa powder and the balls tasted bitter. Next time, I measured carefully. Another issue is sticky fingers. When rolling the balls, wet your hands with a bit of cold water. The dough won’t stick, and the balls come out smooth. Why this matters: fixing these small problems makes you feel like a real cook. You learn to trust your hands and your eyes. Which of these problems have you run into before?
Your Quick Questions, Answered
Are energy bites healthy? Yes, they are. These energy bites use powdered oats, peanut butter, and honey. They give you natural energy without processed sugar. The peanut butter provides protein and healthy fats. The oats keep you full longer. Cocoa powder adds antioxidants. They are a great snack for before or after school. Just remember they are still a treat, so eat them in moderation. One or two is plenty for a snack.
Can I use almond butter instead of peanut butter? Absolutely. Almond butter works perfectly in this recipe. It has a milder, nuttier flavor. You might need to adjust the honey slightly since almond butter is less sweet. Start with the same amount and taste your dough. Almond butter has a similar texture, so the balls will hold together well. Just make sure your almond butter is not too oily or too dry.
How long do energy bites last? These bites last about one week in the fridge. Keep them in a sealed container to stay fresh. They also last up to three months in the freezer. Just thaw them for a few minutes before eating. Over time, the texture may get a little firmer, but the taste stays great. I like to make a big batch on Sunday and enjoy them all week long. It makes busy mornings much easier.
Can you freeze energy bites? Yes, you can freeze them easily. First, place the balls on a baking sheet lined with wax paper. Freeze them for about an hour until they are solid. Then move them to a freezer-safe bag or container. Label the bag with the date. They will stay good for up to three months. When you want a snack, grab one and let it sit for five minutes. They taste just as fresh as the day you made them.
What can I use instead of dates? This recipe already uses honey for sweetness. But if you want to replace the honey, try maple syrup or agave nectar. You can also use mashed banana for a natural sweetener. Just remember that banana changes the flavor and texture. Start with a small amount and add more until the dough holds together. Dried figs or raisins chopped finely also work well. Which tip will you try first?
Are energy bites good for weight loss? They can be, yes. These bites give you protein and fiber, which help you feel full. When you feel full, you eat less junk later. But they do have calories from the peanut butter and honey. So eat them as a snack, not a meal. One or two bites are enough to stop hunger. Pair them with water or a piece of fruit for a balanced snack. Remember, all foods fit into a healthy life in the right amounts.
A Warm Goodbye from My Kitchen to Yours
Thank you for spending this time with me. I hope these tips help you make the best peanut butter protein balls ever. Remember, cooking is about enjoying the little moments. The sticky fingers, the happy taste tests, the full belly. *Fun fact: these bites were invented by a busy mom who needed a quick snack for her kids.* Now it is your turn. Have you tried this recipe? Tell me how it went in the comments. I cannot wait to hear your stories. Happy cooking! —Grace Ellington.
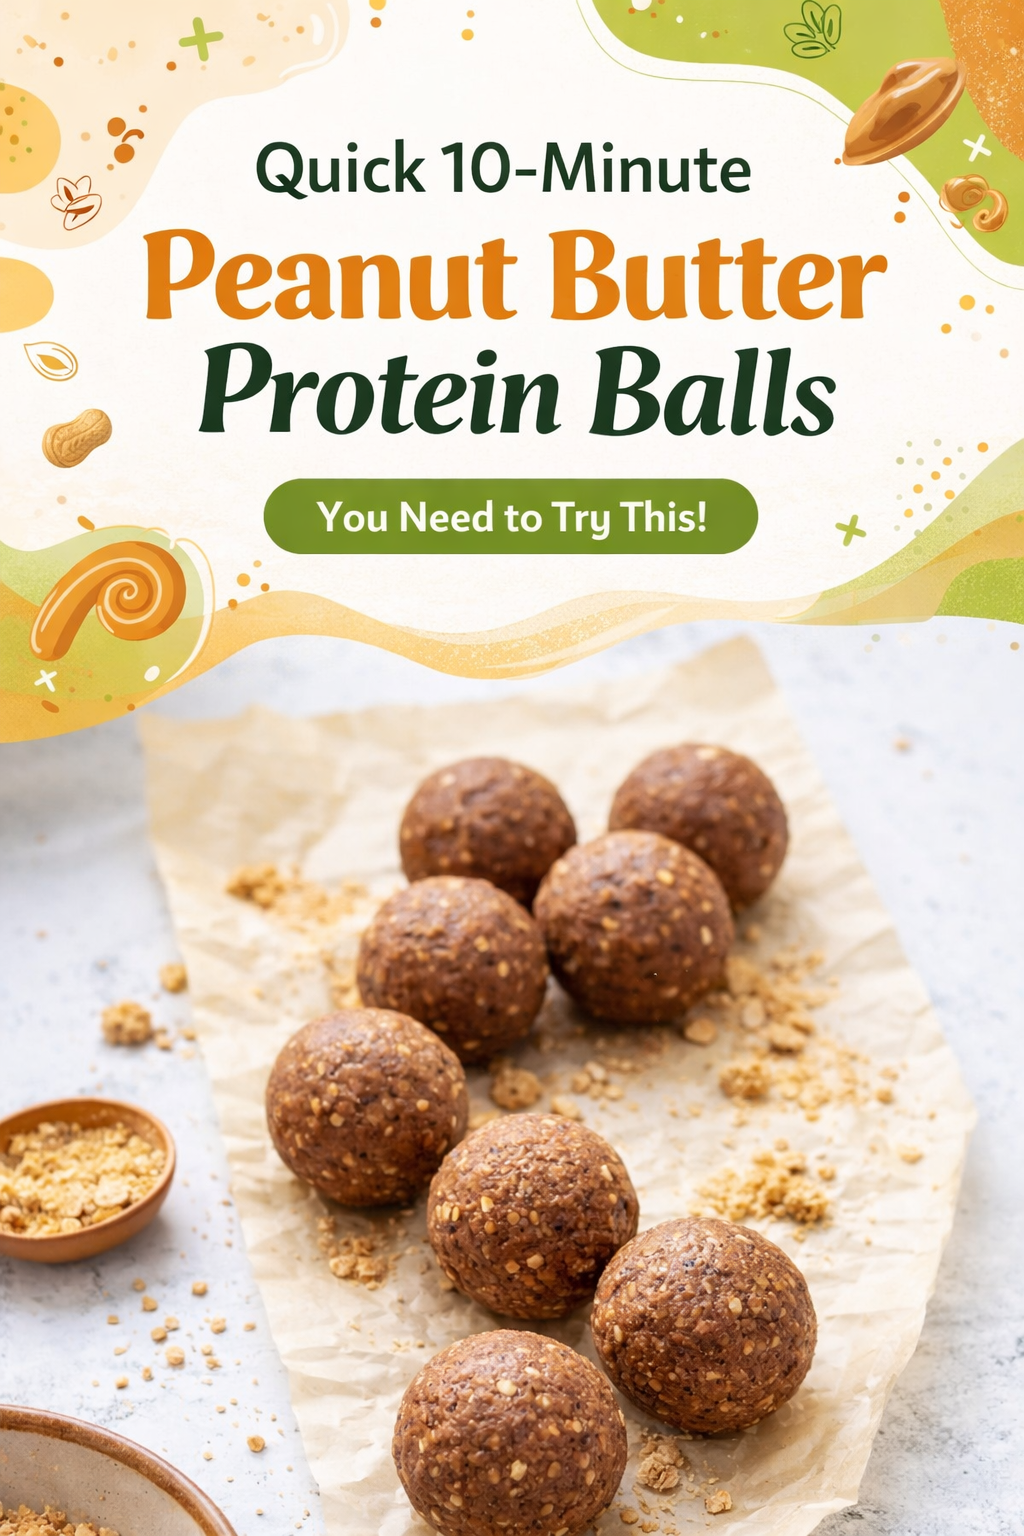
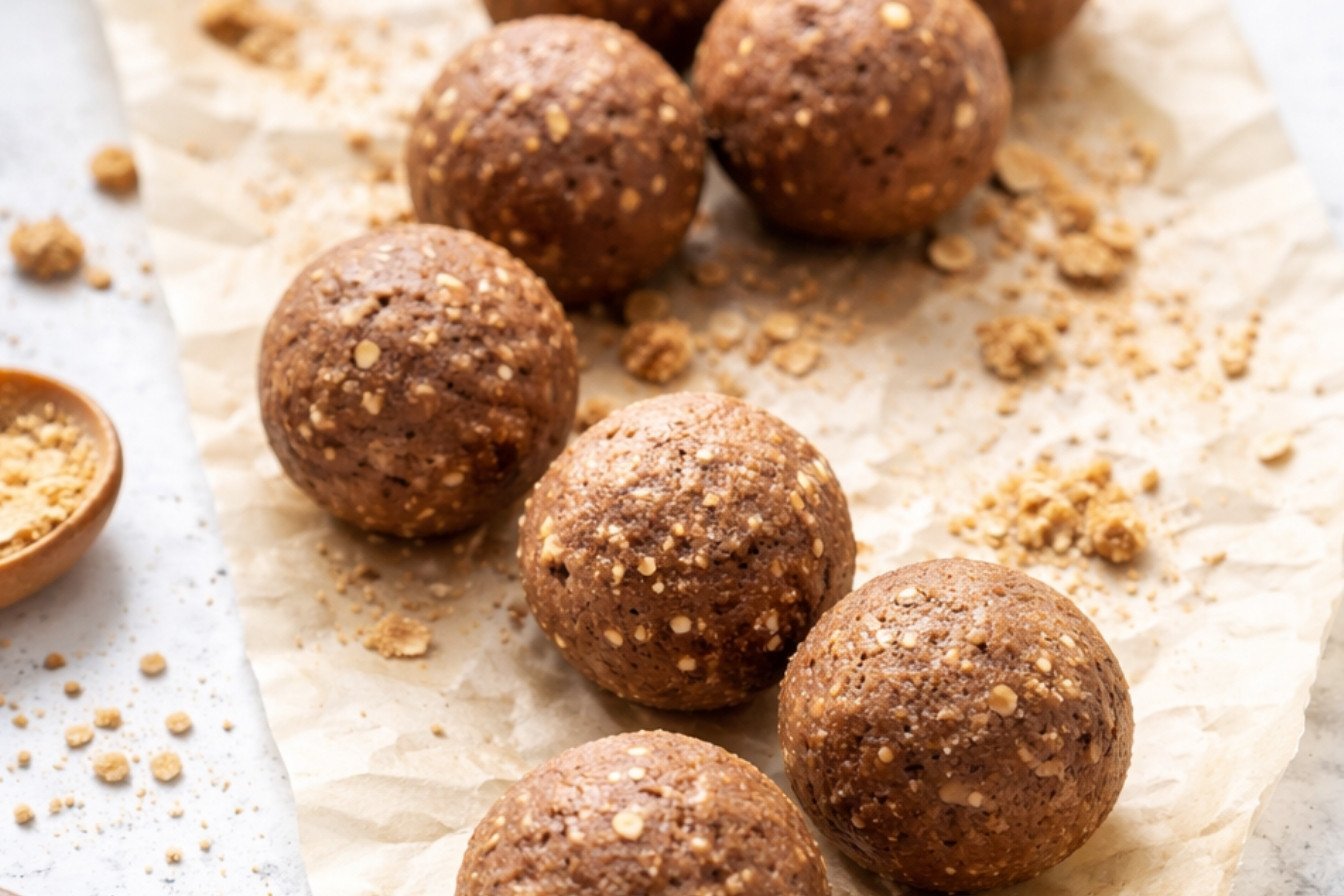
Peanut Butter Energy Bites in Minutes
Description
10-minute Peanut Butter Protein Balls
Ingredients
Instructions
- Add all dry ingredients into a bowl and mix well using a whisker or fork.
- Add in wet ingredients and using your hand mix gently and roll into a required sized ball.
- Adjust the ingredients if required as the consistency may differ based on the type of the products used in the recipe.