

The Day I Burned the Butter
I still laugh at the first time I tried brown butter. I walked away from the stove for just one minute. When I came back, my kitchen smelled like burnt popcorn and worry. The butter was black, not brown, and I had to start over. That is how I learned to watch it like a hawk. Brown butter is a bossy little ingredient. It demands your full attention. But when you get it right, oh my.
Doesn’t that nutty, toasty smell make your tummy happy? I think it is one of the coziest scents in the world. It makes me feel like I am wrapped in a warm blanket.
Why This Little Change Matters
Normally, Rice Krispie Treats use plain melted butter. That is good. But brown butter? That is magic. The toasting turns the butter into something deeper and sweeter. It adds a flavor that tastes like toasted nuts or warm caramel. This little twist makes a simple snack feel extra special. You do not need fancy tools or hard-to-find ingredients. You just need patience for the butter.
Here is a quick question for you: Have you ever tried brown butter before? If yes, what did you put it in? If no, what do you think of trying it in these treats? I would love to hear your thoughts.
A Secret From My Grandma’s Kitchen
Fun fact: Brown butter is called “beurre noisette” in French. That means “hazelnut butter.” It is named for its color and smell, not because it has nuts inside. Pretty clever, right? My grandma learned this from a French cookbook she kept on her counter. The pages were so greasy you could hardly read them.
She used to say that adding a pinch of sea salt to the butter was her secret weapon. She was right. The salt makes the sweetness pop like little flavor fireworks. I never make these treats without it now.
The Easy Way to Make Them Perfect
Making these treats takes only 10 minutes. That is shorter than a cartoon episode. You melt the butter, watch it turn golden, and then stir in the marshmallows. The heat from the pot usually melts them just fine. If not, put the pot back on low heat for a few seconds. Then fold in the Rice Krispies one cup at a time.
Do not press the mixture down too hard when you put it in the pan. Light pats make the treats soft and chewy. Hard pressing makes them tough and crunchy. Nobody wants a tough Rice Krispie Treat. Trust me on this one, friend.
Why This Treat Matters to Your Day
Sometimes life feels busy and hard. A simple, warm treat can change your whole mood. When you make these, you are giving yourself a little break. You are saying, “I deserve something yummy today.” That is important. Cooking something small and sweet can be its own kind of hug.
These treats also make great gifts. Wrap a few in wax paper and tie with a string. Give them to a neighbor or a friend. Watch their face light up. That is the best part of baking, I think.
My Favorite Way to Store Them
These treats stay fresh for about a week. Put them in an airtight container. Do not stack them too high or they will squish together. I like to put a piece of parchment paper between each layer. That keeps them from sticking to each other. It works like a dream.
One more poll for you: Do you like your Rice Krispie Treats gooey and soft, or a little firmer and crunchier? I am a soft-and-gooey person myself. Let me know which team you are on. I promise I won’t judge. Well, maybe just a little.
Instructions
Step 1: Line a 9×13 pan with parchment paper. Let the paper hang over the edges like little handles. This trick makes lifting the treats out so much easier. (I learned this the hard way after a sticky mess.)
Step 2: Melt the butter in a big pot over medium heat. Swirl it gently until it turns golden and smells like nutty toffee. Take it off the heat the second it browns. Burnt butter tastes sad, trust me.
Step 3: Stir in the vanilla and sea salt right away. Then dump in all the marshmallows and mix until they are mostly melted. The pot’s leftover heat usually does the job just fine. If needed, put it back on low heat for a minute.
Step 4: Add the Rice Krispies one cup at a time. Fold gently so every puff gets coated in that gooey brown butter magic. Pour the whole thing into your pan. Pat it down softly with a spatula. Do not smash it flat or the treats will be rock hard.
Step 5: Let them cool for about one to two hours. That wait is the hardest part, I know. Once set, cut them into squares and enjoy. Store leftovers in an airtight container for up to a week. What is your favorite after-school snack? Share below!
Creative Twists
… Sprinkle flaky sea salt and crushed pretzels on top for a salty crunch.
… Stir in a handful of mini chocolate chips and a pinch of cinnamon before pressing into the pan.
… Swap half the Rice Krispies for crispy toasted coconut flakes for a tropical surprise.
Which one would you try first? Comment below!
Serving & Pairing Ideas
Serve these treats with a tall glass of cold milk. It’s the classic combo for a reason. For a fun twist, sandwich a scoop of vanilla ice cream between two squares. Or drizzle a little melted caramel sauce on top for a fancy finish. They also pair wonderfully with a warm mug of hot cocoa on chilly afternoons. My grandkids fight over the corner pieces because they are extra chewy. Which would you choose tonight?
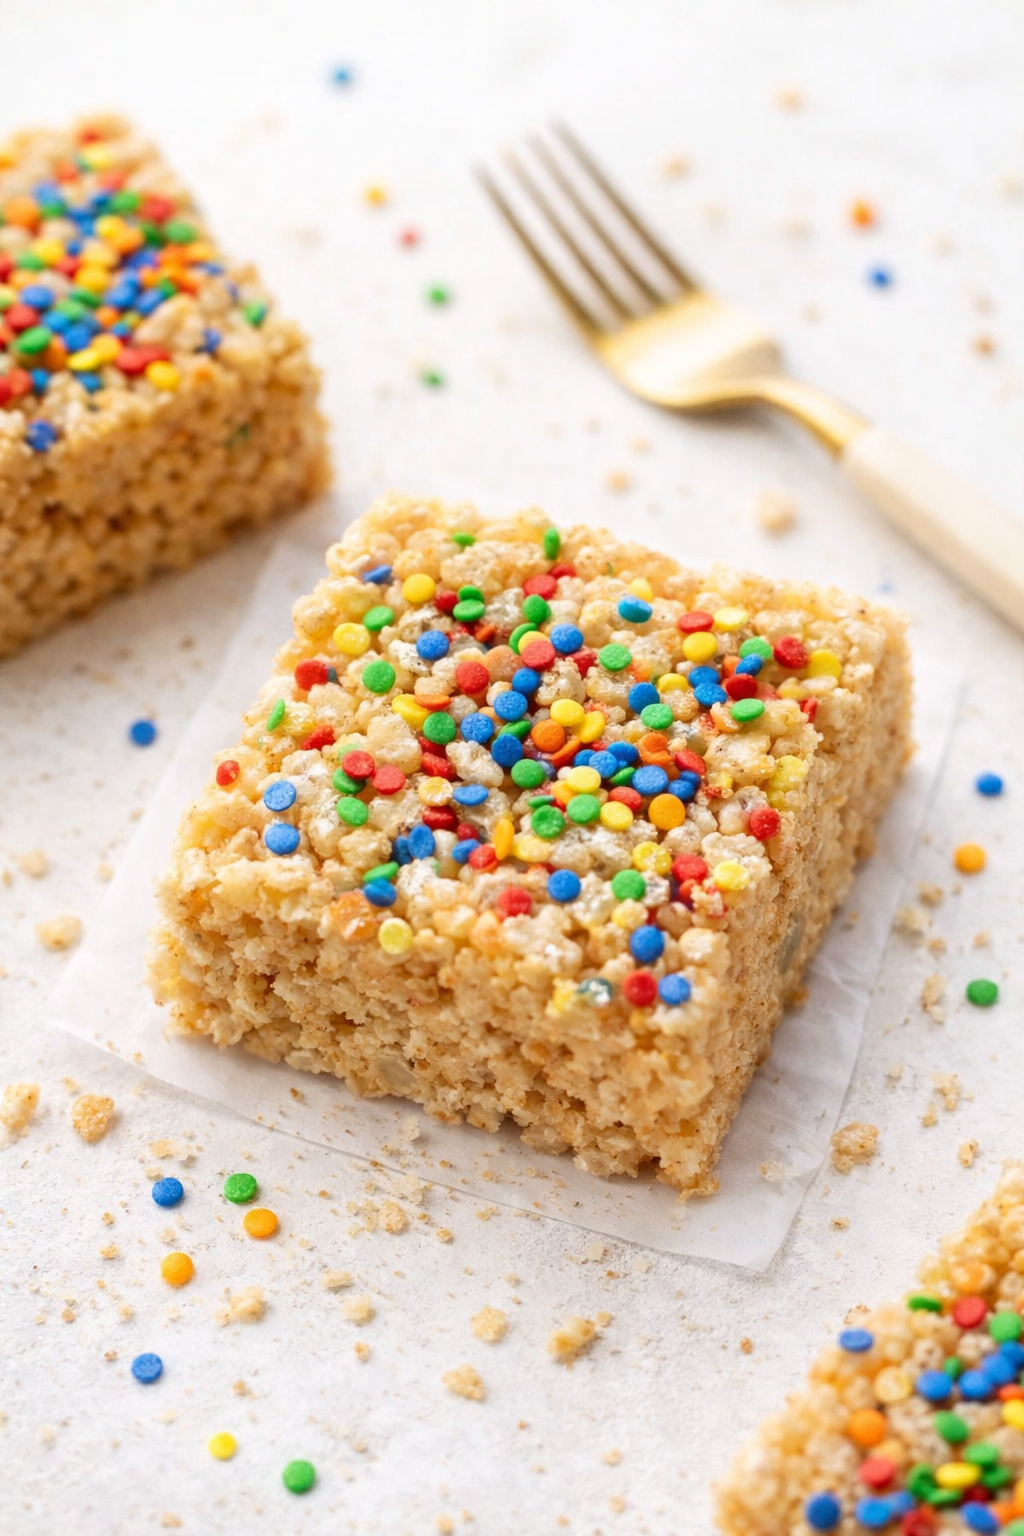
Storing Your Brown Butter Rice Krispie Treats
I remember the first time I made these treats for my grandkids. I put the whole pan on the counter, and they were gone in one afternoon. Now I know better. The best way to keep them soft is to store them in an airtight container at room temperature. Do not put them in the fridge. The fridge will make them hard and chewy in a bad way.
If you want to batch cook, you can freeze these treats too. Wrap each square in plastic wrap, then put them in a freezer bag. They will keep for up to three months. When you want one, just let it sit on the counter for 15 minutes. Why does this matter? Because having a homemade treat ready to go makes any day feel special. Have you ever tried storing it this way? Share below!
For reheating, pop a square in the microwave for just 10 seconds. That brings back the soft, gooey feel. Never overheat or the marshmallow will turn into a puddle. The cozy feeling of a warm treat is worth the small extra step.
Three Common Problems and Easy Fixes
I once burned the butter so badly my whole kitchen smelled like smoke. The fix is simple: watch the butter closely. As soon as it turns a golden brown and smells like nuts, take it off the heat right away. Burnt butter tastes bitter and ruins the treat. Which of these problems have you run into before?
Another problem is hard, stiff treats. This happens when you press the mixture down too firmly in the pan. Use a light hand. Just pat it gently until it is flat. Why does this matter? Because a gentle touch keeps the air pockets that make the treat light and fun to eat.
The third issue is marshmallows that do not melt fully. If that happens, just put the pot back on the burner on low heat. Stir constantly until they are smooth. I remember being a new cook and panicking over that. Now I know it is an easy fix. This small skill builds your cooking confidence. And it makes every batch taste perfect.
Your Quick Questions, Answered
How do you make brown butter for Rice Krispie treats? To make brown butter, put 1/2 cup unsalted butter in a light-colored pan. Heat it over medium heat, stirring often. Watch for small brown specks at the bottom. Once you smell a nutty scent and see golden-brown color, remove it from heat. This takes about 5 to 7 minutes. Do not walk away, or it will burn. Pour it into your pot right away. Then add your vanilla and salt. Which tip will you try first?
Can you use salted butter for brown butter Rice Krispie treats? Yes, you can use salted butter. Just leave out the 1/2 teaspoon of sea salt that the recipe calls for. Salted butter has about 1/4 teaspoon salt per stick. So the balance stays right. If you love salty-sweet treats, you might even add a tiny pinch of extra salt at the end. Taste as you go. Trust your own taste buds. Which tip will you try first?
What is the difference between brown butter and regular butter in Rice Krispie treats? Brown butter adds a warm, nutty, toffee-like flavor that regular butter does not have. Regular butter just tastes creamy and rich. Brown butter makes the treat taste deeper and more complex. It feels like a grown-up version of the classic childhood snack. The texture stays the same, but the flavor is much more interesting. Which tip will you try first?
How long does brown butter Rice Krispie treats stay fresh? These treats stay fresh for up to one week if stored properly. Keep them in an airtight container at room temperature. Do not refrigerate them. The fridge will make them hard and stale. After day five, you might notice they feel a little firmer. That is okay. Just microwave a square for 10 seconds, and they will be soft again. Which tip will you try first?
Can you add marshmallows to brown butter Rice Krispie treats? Yes, the recipe already uses 10 ounces of marshmallows. You can add more if you like extra-gooey treats. Try adding 2 extra ounces for a softer, stretchier texture. Stir them in with the rest of the marshmallows. Just be careful not to overheat them. Too much heat makes them tough. A gooey treat is a happy treat. Which tip will you try first?
Do brown butter Rice Krispie treats taste better than regular ones? Most people say yes, and I agree. The brown butter adds a nutty, caramel-like flavor that makes the treat feel special. Regular treats are sweet and simple. Brown butter treats taste warm and toasty. They feel like a cozy hug in food form. If you love rich flavors, you will love this version. It is a small change with a big difference. Which tip will you try first?
A Warm Send-Off from Grace Ellington
I hope you give these brown butter treats a try. They are so simple to make, and the flavor is truly special. I love hearing how things turn out in your kitchen. Have you tried this recipe? Tell me all about it in the comments. I read every single one. Remember, cooking is about joy, not perfection. If one batch does not turn out right, try again. The practice makes you better and more confident. Thank you for spending time with me today. Happy cooking!
Fun fact: Brown butter is called “beurre noisette” in French, which means “hazelnut butter.” It gets that name from the nutty smell and flavor.
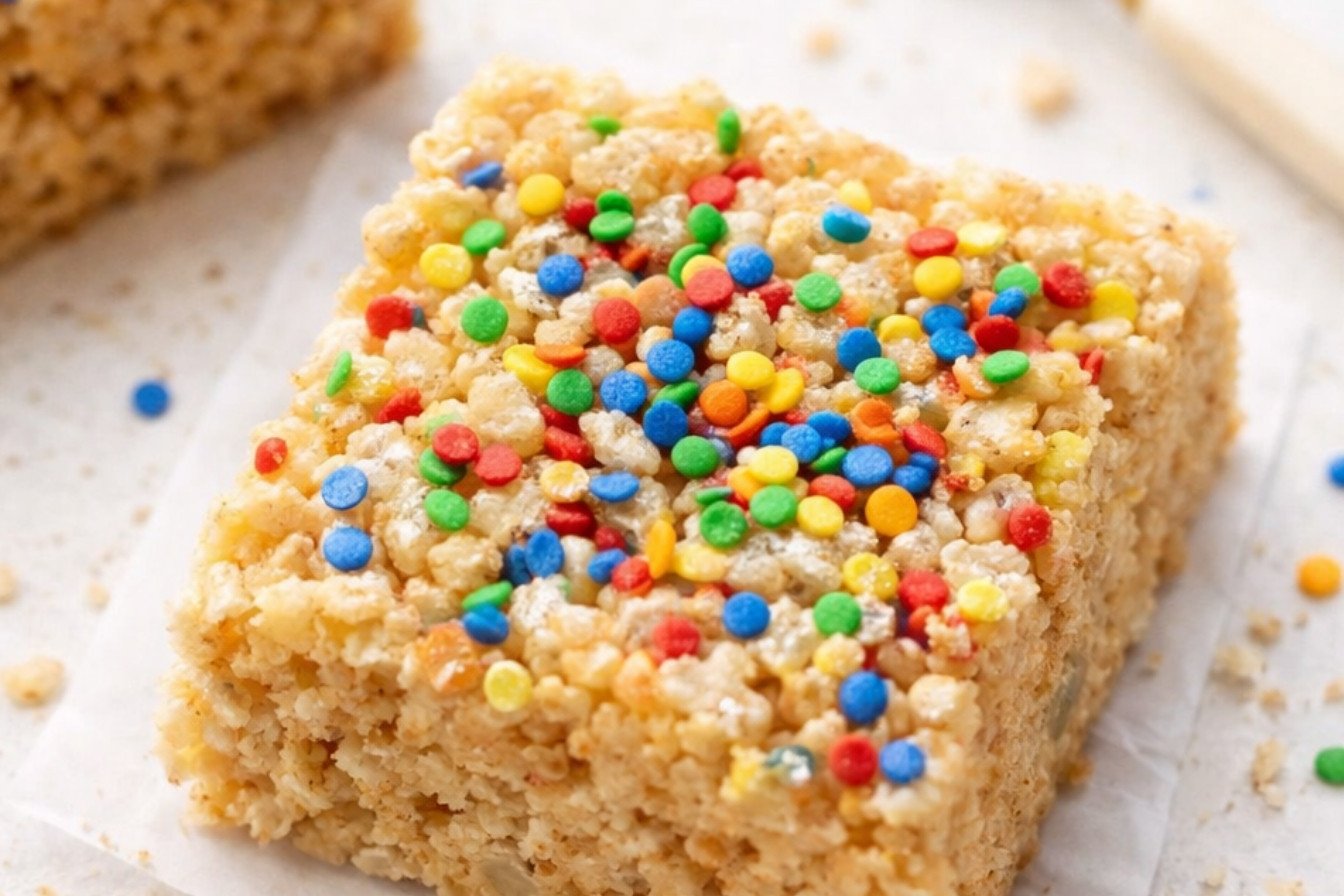
Brown Butter Rice Krispie Classic Reinvented
Ingredients
Instructions
- Line a 9 x 13 baking pan with parchment paper. You can use a larger pan if you prefer smaller treats.
- Heat the butter over medium heat until it starts to brown and give a light nutty scent. Remove from heat immediately to prevent the butter from burning.
- Add the vanilla and salt to the butter and mix. Add the marshmallows and mix until they are mostly melted. The heat of the pot and the butter should be enough to melt the marshmallows. If not, put the pot back on the burner and put the heat on low until the marshmallows melt.
- Add the Rice Krispies one cup at a time and mix thoroughly. Pour the mix into the pan and pat down until flat. Do not press down too firmly on the treats when adding them to the pan.
- Allow to cool – about 1 – 2 hours. Cut into squares. Store in an airtight container for up to a week.
Notes
- Serving: 1g | Calories: 60kcal | Carbohydrates: 14g | Cholesterol: 1mg | Sodium: 83mg | Sugar: 10g