

The First Time I Made These Tarts
I remember the first time I tried making cherry tarts without an oven. I was a little worried they would fall apart. But you know what? They held together like tiny little pie boats. I still laugh at how proud I was of those little graham cracker cups. Doesn’t that smell amazing when the butter hits the crumbs?
This recipe is special because it works with almost no effort. That is the first “why this matters” lesson: you do not need fancy tools or baking skills. A mini tart pan and your own clean fingers are all you need. Have you ever made a dessert without turning on the oven?
Why Graham Crackers Work So Well
Graham crackers are not just for s’mores. They make the perfect crust because they are sweet and crunchy. When you mix them with melted butter, they turn into a dough you can shape with your hands. I love pressing the crumbs into the pan. It feels like building a little sand castle.
Here is a fun fact: graham crackers were invented almost 200 years ago. A man named Sylvester Graham thought plain crackers would help people eat less sugar. Funny how we now use them for dessert crusts. This is the second “why this matters” point: simple ingredients can be used in new ways.
The Cherry Part Makes It a Party
Cherry pie filling is already sweet and glossy. You just spoon it on top and you are done. I like to add a little extra cherry on each tart for a pop of color. It feels fancy but it is so easy. Do you like your cherries whole or chopped in your desserts?
If you want to change it up, try using different fillings. Lemon, blueberry, or even chocolate pudding work great. That is the beauty of this no-bake recipe. It is like a blank canvas waiting for your favorite flavor.
Patience Is Part of the Recipe
The hardest part of this dessert is waiting two hours. You have to let the tarts sit in the fridge so they set firm. I once tried to rush it and served them too early. They crumbled everywhere. Everyone still ate them with a spoon and laughed.
That little story taught me something. Waiting is not wasted time. It helps the butter harden and the sugar stick. Would you rather wait two hours for a perfect tart, or eat a messy one right away?
How to Pop Them Out Perfectly
When the tarts are ready, turn the pan upside down. Give each cavity a firm tap on the counter. They should slide out like tiny presents. If one sticks, just wiggle it gently with a butter knife. I always do a little dance when they come out clean.
The best part is serving them. You can add a dollop of whipped cream or a sprinkle of cinnamon. Each tart is just the right size for one person. That makes them perfect for parties or after-school treats. What would you put on top of your cherry tart?
A Mini Anecdote About My Grandson
My grandson Leo once asked me to teach him how to make these. He pressed the crumbs so hard his fingers turned gray. He kept saying “Grandma, this is like edible Play-Doh.” We laughed so hard we almost forgot to put them in the fridge. He ate three tarts before dinner.
That memory reminds me why cooking with kids is so fun. They bring joy to simple steps. And they always remind you that food does not have to be perfect to be delicious. Have you ever cooked with a child who made you smile?
One Last Tip Before You Go
You can make these tarts a day ahead if you want. Just keep them in the fridge uncovered so the crust stays crisp. Add the cherry filling right before serving. That keeps the crust from getting soggy. I learned this trick from a friend who bakes for a living.
I hope you try this recipe and make it your own. It only takes 15 minutes of work and two hours of waiting. That is a tiny price for a dessert that makes people happy. I would love to hear if you used a different fruit or topping. Share your story with me sometime. It feels good to make something sweet for people you love.
Instructions
Step 1: Spray a mini tart pan with cooking spray so the crusts pop out later. In a medium bowl, stir together 1 1/2 cups graham cracker crumbs, 1/4 cup sugar, and 4 tbsp melted salted butter. It should feel like wet sand. (I learned the hard way: if it is too dry, add one more teaspoon of butter.) What is your favorite no-bake dessert? Share below!
Step 2: Spoon about a tablespoon of the mixture into each tart cavity. Use clean fingers to press it firmly into the bottom and up the sides. I still laugh at how messy my hands got the first time.
Step 3: Pop the pan into the fridge for at least 2 hours — or overnight if you have time. When you are ready, remove the pan and turn it upside down. Give each cavity a firm tap to release the tart shells. Doesn’t that feel satisfying?
Step 4: Spoon 1 tablespoon of cherry pie filling into each tart shell. That is it — dessert is ready! I love how the bright red cherries pop against the golden crust.
Step 5: Serve right away or keep them chilled until guests arrive. These tarts are tiny, so plan for two per person. My grandkids always sneak an extra one from the fridge.
Step 6: For a fancy touch, add a dollop of whipped cream and a single cherry on top. You can also swap the cherry filling for black cherry or any fruit pie filling you have. Creativity is the best part of cooking.
Step 7: Store leftovers in an airtight container in the fridge for up to three days. The crust may soften a little, but the flavor stays wonderful. That never stopped me from finishing the whole batch.
Creative Twists
… Swap graham crackers for crushed chocolate cookies for a richer crust.
… Add a pinch of cinnamon or nutmeg to the crust mixture for a warm, cozy flavor.
… Top with a sprinkle of chocolate shavings or toasted coconut for extra crunch.
Which one would you try first? Comment below!
Serving & Pairing Ideas
Serve these tarts on a pretty plate with fresh mint leaves and extra cherries on the side. Pair them with a scoop of cherry sorbet for a double-fruit treat. They also go beautifully with a cold glass of milk or a cup of hot tea. Which would you choose tonight?
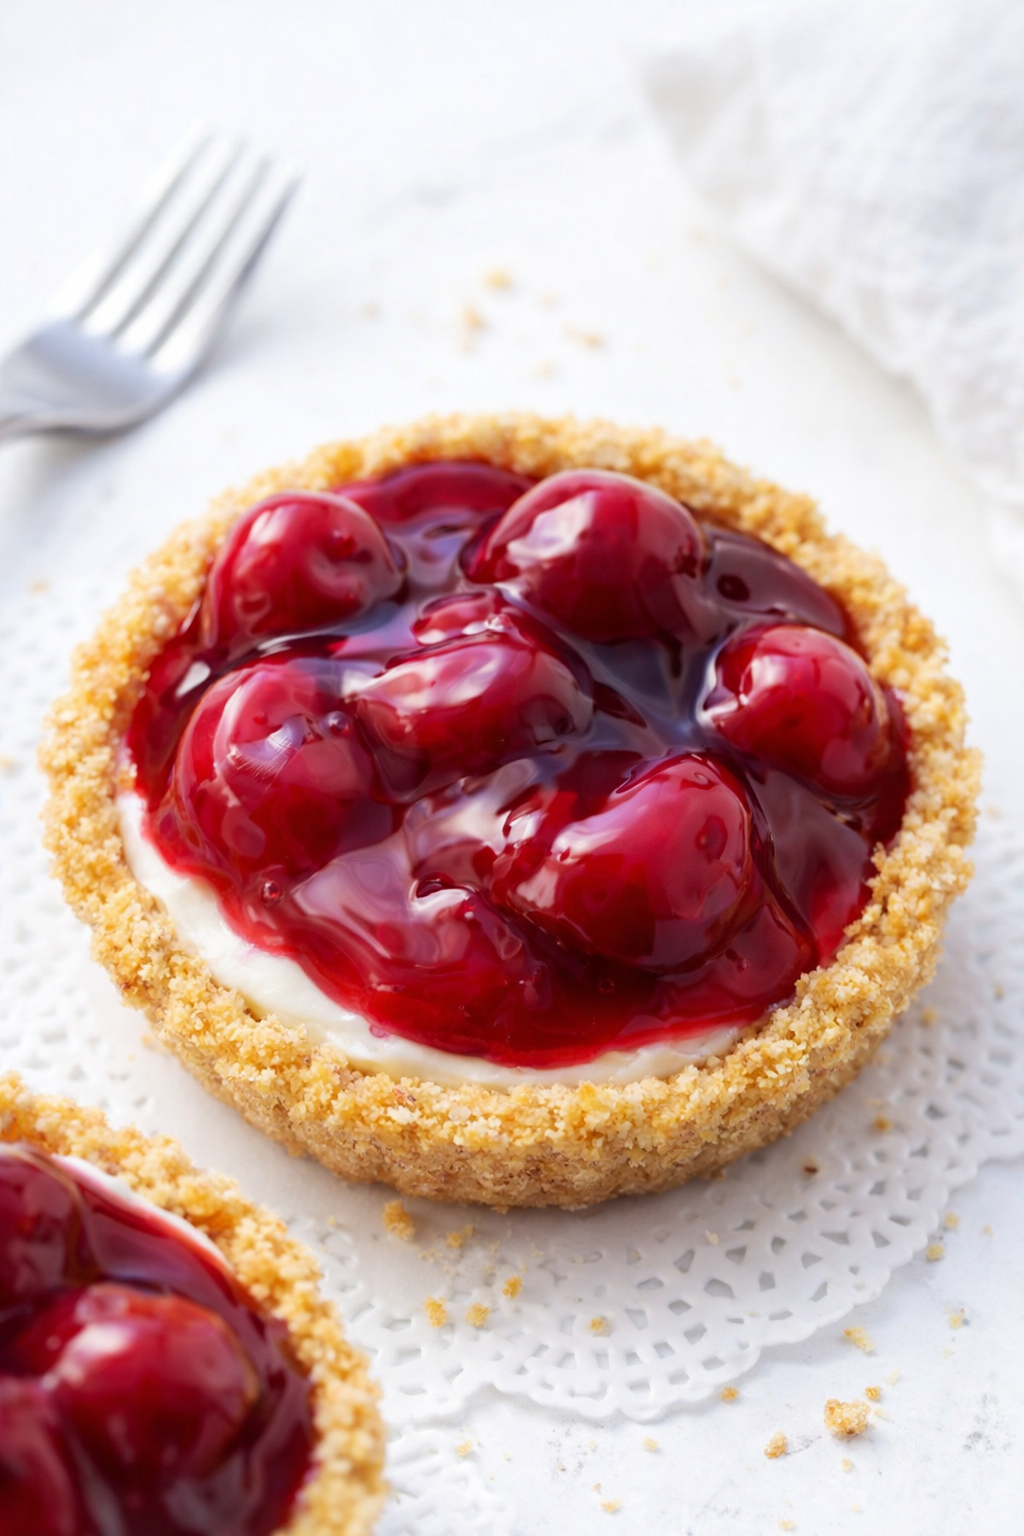
Storing Your Cherry Cheesecake Tarts Like a Pro
These little tarts are best eaten the same day you make them. But sometimes you have leftovers or want to plan ahead. I once made a batch and forgot them in the fridge overnight. They were still perfect the next morning.
Keep your tarts in the fridge, covered loosely with plastic wrap. Do not freeze them, because the crust can get soggy. If you want to batch cook, make the crusts without filling and store them in a sealed container. You can add the cherry pie filling right before serving. Why does this matter? It keeps the crust crisp and the filling fresh. Have you ever tried storing it this way? Share below!
For reheating, you really don’t need to. These are no-bake tarts. Just pull them from the fridge and serve. If your crust feels a little soft, pop them in the fridge for an extra hour. That helps them firm up nicely.
Three Common Problems and Easy Fixes
Problem one: the crust crumbles apart. This happens when you don’t press the graham cracker mixture firmly enough. I remember my first time, I was too gentle. The tarts fell apart when I tapped them out. Use the back of a spoon to really pack it down.
Problem two: the tarts are too sweet. If you use regular cherry pie filling, it can be sugary. Try using light cherry pie filling or even homemade filling with less sugar. Why does this matter? Balancing sweetness lets the cherry flavor shine. Your taste buds will thank you.
Problem three: the crust sticks to the pan. Always spray the pan well with cooking spray. I once skipped this step and spent ten minutes picking crumbs out with a fork. Not fun. Why does this matter? It saves time and keeps your tarts looking pretty. Which of these problems have you run into before?
Your Quick Questions, Answered
Can I use frozen cherries instead of fresh for cherry cheesecake tarts? Yes, you can, but you need to thaw and drain them first. Frozen cherries release a lot of water when thawed. Pat them dry with paper towels. Then chop them and use them in place of the cherry pie filling. Simmer them with a little sugar and cornstarch to thicken. This works great and saves money. Just remember to drain well or your tarts will be runny.
How do I keep the tart crust from getting soggy? The secret is to chill the crust for at least two hours before adding the filling. This lets the butter set up. Also, add the filling only when you are ready to serve. If you fill them too early, the moisture from the cherries seeps in. You can also brush the inside of the crust with melted white chocolate. That creates a barrier. I learned this trick from my friend Martha.
What can I substitute for cream cheese in this recipe? This recipe does not use cream cheese. It is a simple graham cracker crust with cherry pie filling. If you want a creamy layer, you can add a dollop of whipped cream or mascarpone cheese. Greek yogurt also works, but it is tangier. Just keep it simple. The cherry filling is the star here. No need to overcomplicate things.
Can I make these cherry cheesecake tarts ahead of time? Yes, you can make the crusts up to two days ahead. Store them in the fridge in an airtight container. Add the cherry filling just before serving. This keeps the crust crisp. If you add the filling too early, the tart gets soft. I often make the crusts on a Saturday and fill them on Sunday for a party. It saves so much time.
How do I thicken the cherry topping for the tarts? The cherry pie filling is already thick. But if you use fresh or frozen cherries, you need to thicken them. Simmer the cherries with a tablespoon of sugar and a teaspoon of cornstarch. Stir until it bubbles and thickens. Let it cool completely before using. You can also add a little tapioca starch if you have it. This keeps the filling from running off the tart.
What size tart pan is best for mini cheesecake tarts? A mini tart pan with 4-inch cavities works perfectly. Each cavity holds about 2 tablespoons of crust and 1 tablespoon of filling. If you use a larger pan, adjust the amounts. Mini tarts are great for parties because everyone gets their own. I use my grandmother’s old tin pan, and it has never let me down. Which tip will you try first?
A Warm Send-Off from Elowen Thorn
I hope you give these little tarts a try. They are so easy and perfect for a quick treat. I love making them with my grandkids on rainy afternoons. Have you tried this recipe? Tell me how it went in the comments below. Your stories make my kitchen feel full of friends. Remember, cooking does not have to be hard. Just start simple and have fun. Happy cooking!
—Grace Ellington.
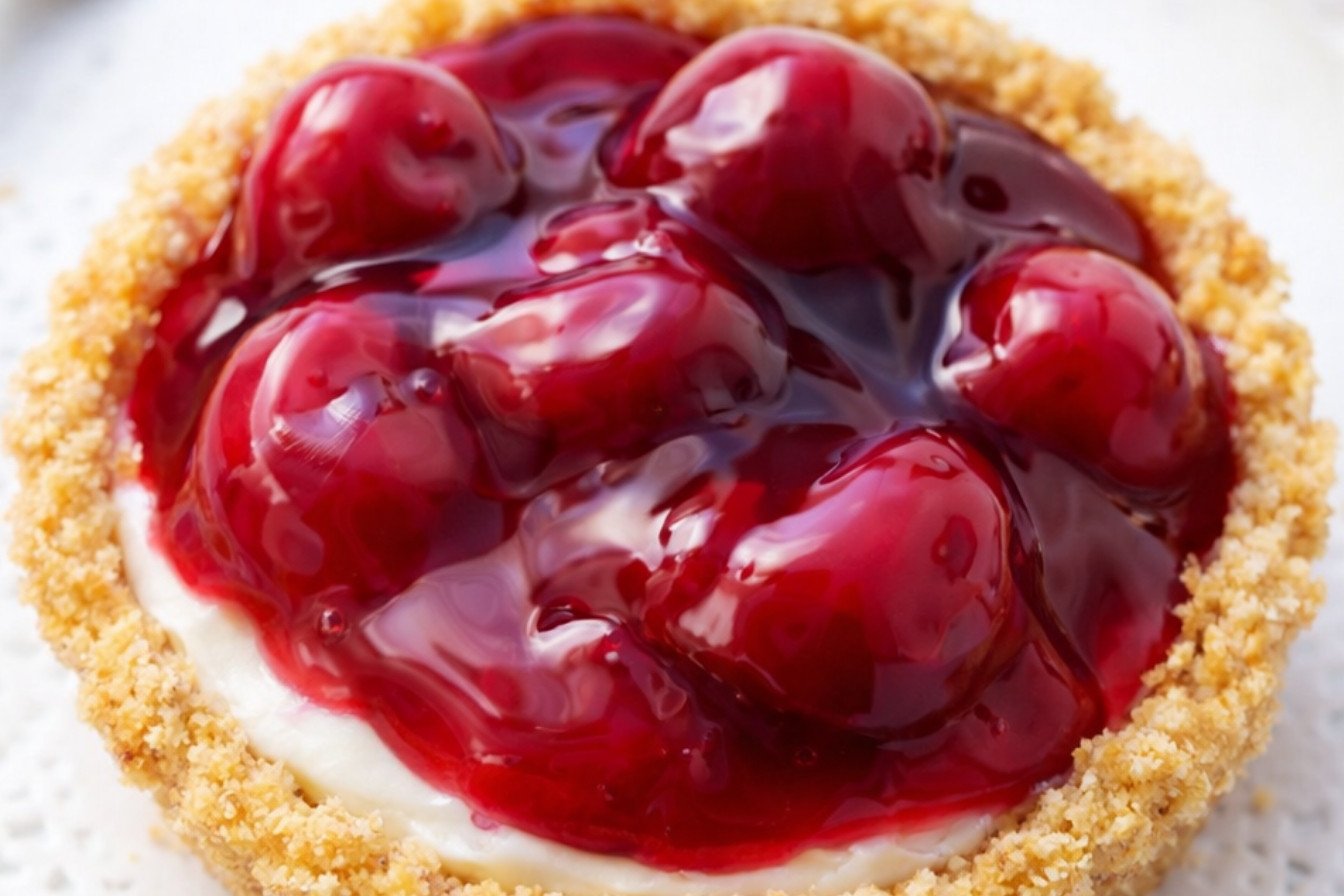
Simple Cherry Cheesecake Tarts Recipe
Ingredients
Instructions
- Spray a mini tart pan with cooking spray. In a medium sized bowl, stir together graham cracker crumbs, butter and sugar. Add a tablespoon or so to each cavity. With clean fingers, press graham cracker mixture into the bottom and sides of the tart pan. Refrigerate 2 hours, at minimum, or overnight.
- When ready to serve, remove tart pan from the fridge. Turn upside down and give a firm tap to each cavity to remove graham tart. Add 1 tbsp cherry pie filling to each tart to serve.