

My First Baked Apple Surprise
I remember the first time I made baked apples. I was maybe ten years old, standing on a little stool. My grandma handed me a big apple and a small spoon. I thought it was going to be hard, but it felt like a fun puzzle. We scooped out the seeds and filled it with sweet oats and nuts. The whole kitchen smelled like a warm hug. Doesn’t that smell amazing? Have you ever baked fruit before? I still laugh at how proud I felt when the apple came out soft and golden.
This recipe is that same feeling, only easier. You don’t need fancy tools or a long list of ingredients. Just a few apples, some oats, and a little cinnamon. That’s all it takes to make something special. The best part is watching the oatmeal filling get all toasty and brown. It feels like a secret treat that is also good for you. Why this matters: Cooking simple food from scratch helps us slow down and enjoy the little moments. It connects us to memories, like the ones I had in my grandma’s kitchen.
How to Get the Filling Just Right
The filling is the heart of this dish. You mix rolled oats, chopped walnuts, coconut sugar, and a little maple syrup. Then add coconut oil, vanilla, cinnamon, and a pinch of nutmeg. It should feel sticky and a little wet, like damp sand. If it’s too dry, add a splash of water until it all clumps together. That sticky feeling is your friend. Have you ever made a crumble topping before? This works the same way, but inside the apple.
Be gentle when you stuff the apples. Spoon the mixture in carefully, but don’t pack it too tight. You want the oats to puff up and get crispy as they bake. I like to mound it a little bit on top, like a tiny hat. One time I packed it too hard, and the apple exploded in the oven. It was a mess, but my dog loved it. Why this matters: Getting the texture right makes the apple soft and the filling crunchy. That little crunch makes every bite more fun.
The Secret to Apple Shapes
You can bake apples whole or cut in half. I prefer cutting them in half because it’s easier to scoop out the core. Just start with a knife around the middle, then use a spoon to dig out the seeds. A melon baller works great too, or you can buy a little apple corer tool. Try not to cut all the way through the bottom. You want a nice little bowl to hold the filling. I still laugh at the time I used a grapefruit spoon. It worked, but took forever. What kitchen tool do you love to use?
Once the apples are ready, place them in a baking dish. Pour a little hot water into the dish, but not over the apples. The water makes steam, which keeps the apples tender. After 30 minutes, drizzle the pan juices over the top. This keeps them from drying out. *Fun fact:* Hot water helps the apples cook evenly without turning mushy. That steam is like a magic blanket for your fruit.
Patience Pays Off in the Oven
Bake these apples at 350 degrees for about 50 minutes. Yes, that’s longer than 30 minutes from the title. I know, but the recipe name is a little trick. The filling is ready in 30 minutes, but the apples need more time to get soft. Check them after 30 minutes and drizzle the liquid over the top. The apples should be tender but not falling apart. Have you ever burned a apple by accident? I have, and it smells like burned sugar. Not good. So keep an eye on them.
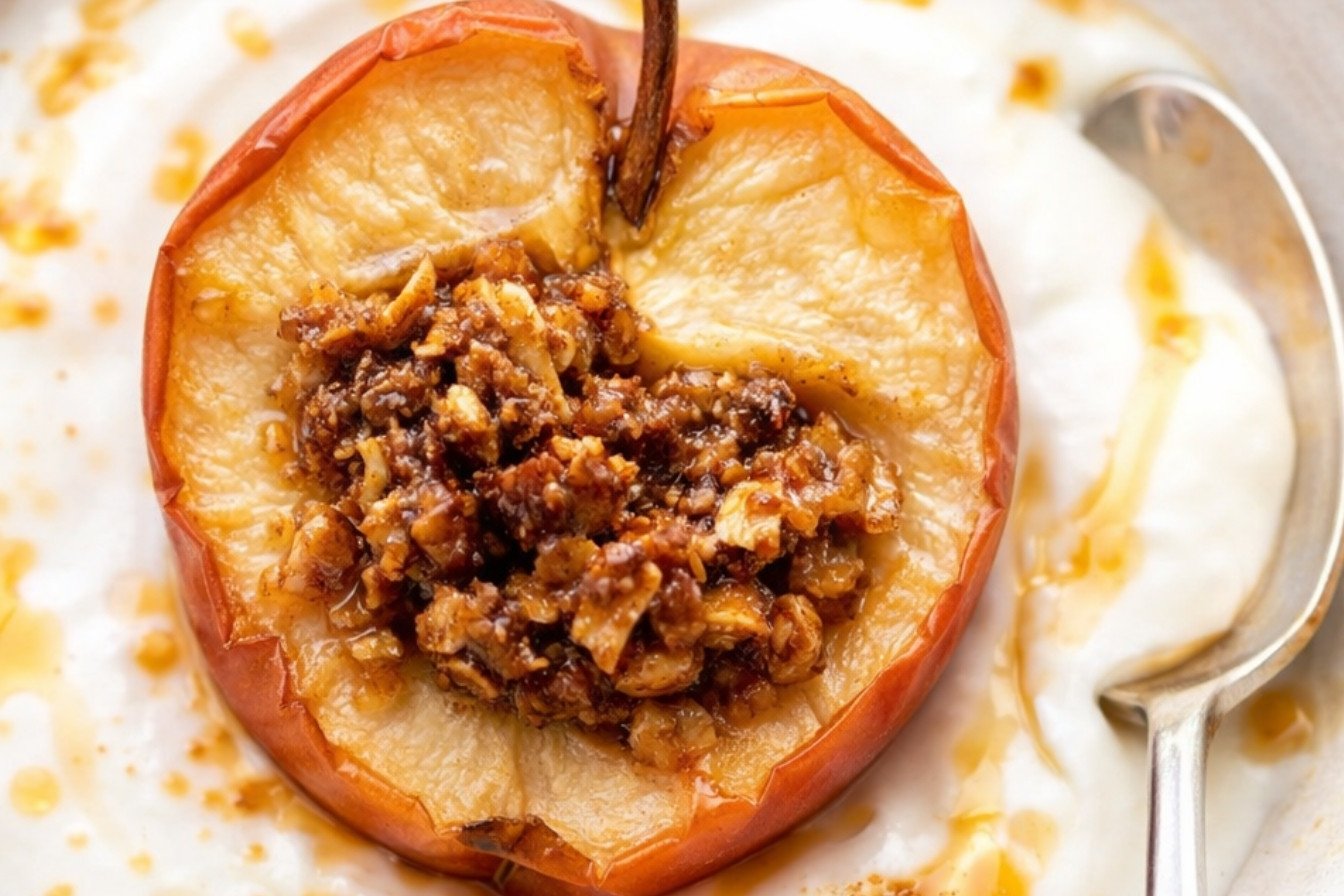
When they are done, the oat filling will be browned and a little crunchy. The apples will be soft enough to poke with a fork. Let them cool for a few minutes before serving. They are hot inside, like a little pocket of sunshine. Why this matters: Taking the time to bake them slowly brings out the natural sweetness of the apple. You don’t need much sugar when the fruit does the work for you.
How to Serve Your Baked Apples
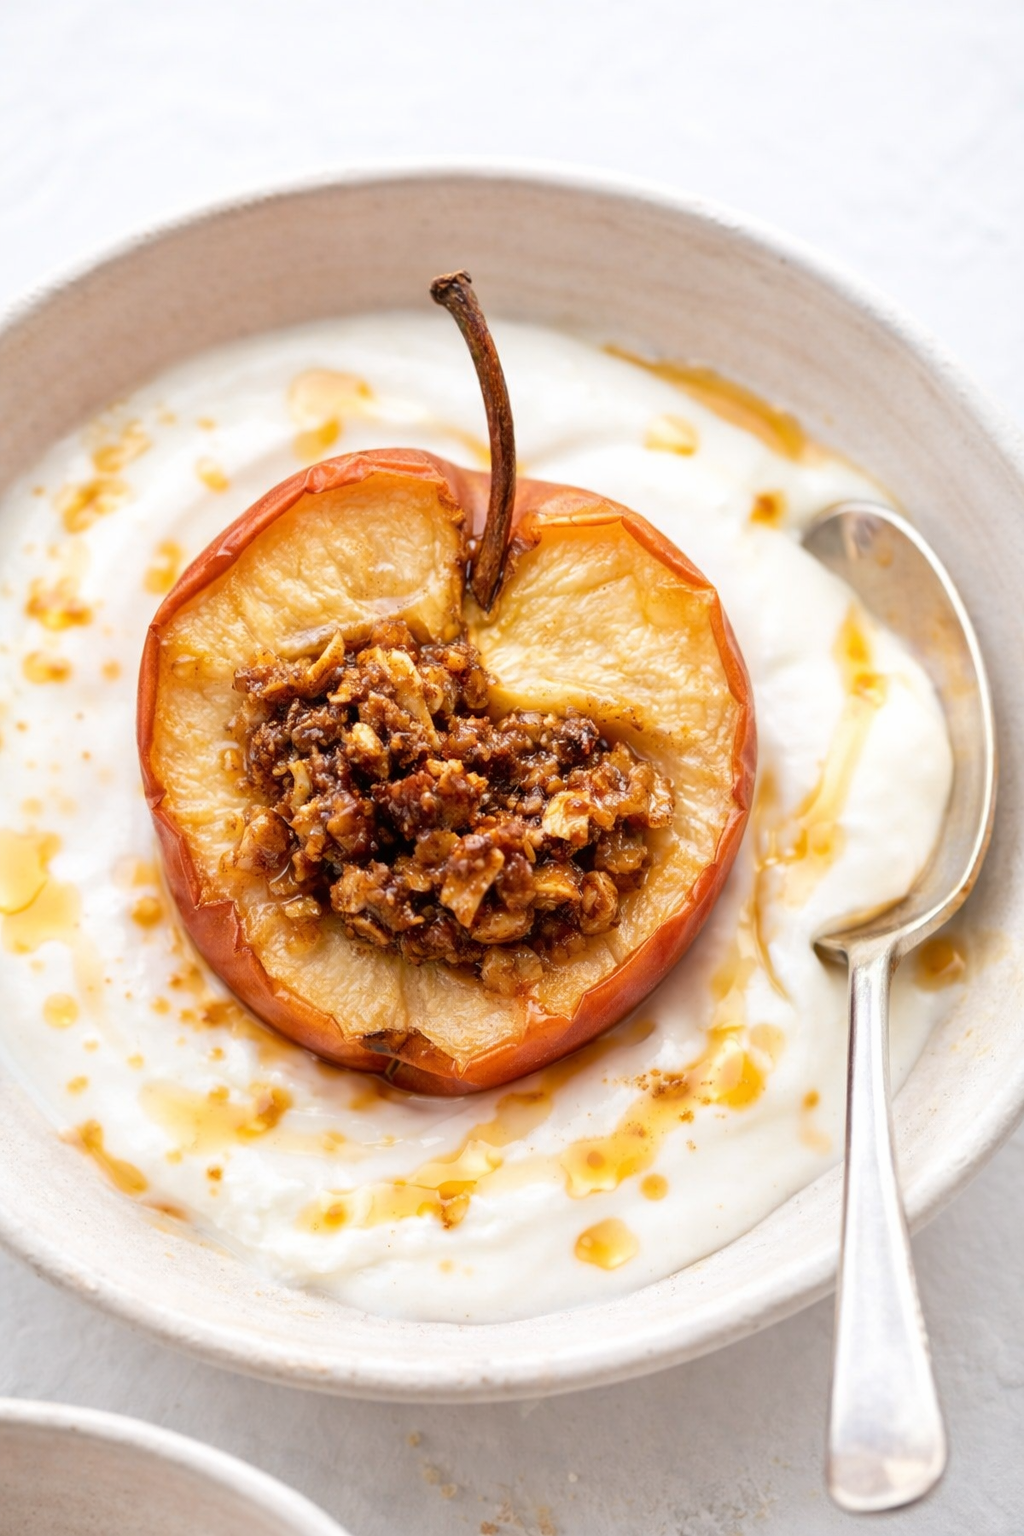
You can eat these apples plain, and they are delicious. I like to drizzle a little extra maple syrup on top while they are warm. For a colder treat, add a scoop of vanilla ice cream or yogurt. The hot apple and cold cream go together like old friends. Do you like hot and cold desserts, or just warm ones? I always vote for ice cream on top, even on a cold winter night.
These baked apples also make a great breakfast. Serve them with a dollop of plain yogurt and a sprinkle of extra walnuts. It feels fancy, but it only took you an hour. That’s the kind of win I love in the kitchen. I still laugh at how my neighbor thought I bought them from a bakery. Nope, just apples, oats, and a little love. What would you serve on top of yours?
Instructions
Step 1: Preheat your oven to 350°F. This gives it time to get nice and toasty. While it heats, rinse your apples well. Doesn’t that smell amazing? (I once forgot to preheat and waited forever, so set a timer.)
Step 2: Core the apples carefully. Cut them in half, then use a spoon to scoop out the center. A melon baller works great too. Try not to poke all the way through the bottom.
Step 3: Mix the filling in a bowl. Stir rolled oats, chopped walnuts, coconut sugar, maple syrup, and cinnamon together. Add a pinch of salt and some melted coconut oil. It should feel sticky, not dry.
Step 4: Spoon the filling into each apple cavity. Pack it gently so it stays put while baking. Place the apples in a baking dish with a little hot water around them. Which fruit is your favorite to bake? Share below!
Step 5: Bake for about 30 minutes, then drizzle the pan juices over the apples. They should be tender but not falling apart. Let them cool for a minute before serving. Add a drizzle of extra maple syrup on top.
Creative Twists
… Swap walnuts for chopped pecans or almonds for a different crunch.
… Add a tablespoon of dried cranberries or raisins to the filling for extra sweetness.
… Sprinkle a little pumpkin spice on top if you love that cozy fall flavor.
Which one would you try first? Comment below!
Serving & Pairing Ideas
Step 1: Serve these warm apples with a big scoop of vanilla ice cream on top. The cold and hot together is pure magic. I still laugh at how fast my family finishes them this way.
Step 2: Try a dollop of thick yogurt or whipped cream on the side. It adds a tangy balance to the sweet cinnamon filling. A sprinkle of extra walnuts on top looks pretty too.
Step 3: Pair with a mug of hot tea or apple cider for a cozy dessert night. These apples also go wonderfully next to a warm slice of pound cake. Which would you choose tonight?
Why Storing Baked Apples Right Matters
Baked apples are a cozy treat. But they need good care after baking. First, let them cool completely on the counter. Then place them in a sealed container in the fridge. They will stay fresh for up to four days. I remember my first batch got soggy because I put them away too warm. Now I know better. Batch cooking is a lifesaver for busy weeks. Make extra apples on Sunday. Reheat them in the oven at 300°F for ten minutes. The filling stays crunchy and the apples stay tender. Why does this matter? Proper storage keeps the flavor bright and the texture just right. You will enjoy every bite as much as the first one. Have you ever tried storing it this way? Share below!
Three Common Problems and Easy Fixes
Sometimes baked apples turn out mushy. This happens when you use soft apples like Red Delicious. Stick with firm apples like Gala or Granny Smith. I once used the wrong kind and ended up with apple sauce. Another problem is a dry filling. If the oat mixture seems crumbly, add a splash of water or maple syrup before baking. The third issue is uneven cooking. Core your apples the same size. Use a melon baller for clean holes. Why does this matter? Fixing these small things builds your cooking confidence. You will learn to trust your hands and your oven. Plus, the flavor will be perfectly balanced every time. Which of these problems have you run into before?
*Fun fact: Baked apples were a favorite snack in colonial America. People called them “roast apples” and ate them for breakfast.*
Your Quick Questions, Answered
Can I make Cinnamon Walnut Baked Apples in an air fryer?
Yes, you can make these in an air fryer. Preheat it to 320°F. Place the filled apples in the basket. Cook for about 15 to 20 minutes. Check them at 15 minutes. The apples should be tender but not falling apart. The air fryer gives a lovely browned top. You may need to work in batches depending on your basket size. This method is faster than the oven, so it is great for a quick evening meal or dessert. Just keep an eye on them to avoid overcooking.
How do I keep baked apples from getting mushy?
Use firm apples like Gala, Fuji, or Honeycrisp. These hold their shape during baking. Avoid soft apples like McIntosh or Red Delicious. Also, do not overbake. Check the apples at 40 minutes. They should be fork-tender but not collapsing. Let them rest in the pan for five minutes after baking. This helps them firm up a bit. A little healthy tip is to use less water in the baking dish. Too much steam makes them soggy.
What are the best apples for baking?
The best apples for baking are firm and slightly tart. Gala, Fuji, Honeycrisp, and Granny Smith are top choices. They hold their shape and balance sweetness. I like Gala for their mild flavor. Granny Smith adds a nice tang that works with the cinnamon and walnuts. Stay away from mealy apples like Red Delicious. They turn to mush. For irresistible sweet treats, pair firm apples with a crunchy oat topping.
Can I prepare baked apples ahead of time?
Yes, you can prepare them ahead. Assemble the apples with the filling up to one day in advance. Keep them in the fridge, uncovered, so the oats stay crisp. Bake them right before serving for the best texture. You can also bake them fully, then reheat at 300°F for ten minutes. The flavor gets even better the next day. This is perfect for holiday dinners or busy weeknights. Just add a splash of maple syrup after reheating.
How do you core an apple for baking without an apple corer?
It is easy. Use a paring knife and a spoon. Cut the apple in half from top to bottom. Use the knife to cut around the core on each half. Then scoop out the core and seeds with the spoon. You can also use a melon baller for the center. This method leaves a nice pocket for the filling. I learned this trick when I lost my corer. It works every time. For more healthy lifestyle tips, try using a small cookie cutter to remove the core.
Can I substitute pecans for walnuts in this recipe?
Absolutely. Pecans work beautifully in this recipe. They have a sweeter, softer crunch than walnuts. Use the same amount—1/4 cup chopped pecans. You can also mix walnuts and pecans for a nutty blend. If you have allergies, skip the nuts and add extra oats or sunflower seeds. The sweet treats will still taste amazing. I often switch them based on what is in my pantry. Which tip will you try first?
A Warm Goodbye from My Kitchen
I hope these tips help you make the best baked apples ever. They are a simple joy that fills your home with a cozy smell. Storing them right and fixing small problems makes a big difference. You are learning to cook with love and care, and that is what matters most. Have you tried this recipe? Tell me how it went in the comments below. I love hearing from you, friend. Happy cooking! —Grace Elowen Thorn.
Cinnamon Walnut Baked Apples Recipe
Description
Experience the delightful contrast of textures and flavors with this Cinnamon Walnut Baked Apples Recipe, featuring tender baked apples with a sweet oat and walnut filling.
Ingredients
FILLING
FOR SERVING (optional)
Instructions
- Preheat oven to 350°F / 180°C.
- Rinse and core the apples. Try to avoid cutting through the apple. I like to cut the apple in half and scoop out the inside to create open baked apples. Start with a knife around the core and continue with a spoon to scoop out the center of the apple. You can also use a melon baller scoop to dig out the core, or an apple core tool. See the video for a demonstration.
- In a medium bowl, combine rolled oats, chopped walnuts, coconut sugar, maple syrup, coconut oil, vanilla, salt, cinnamon, and nutmeg. The filling should be a sticky slight moist mixture. If the mixture doesn’t stick, add 2 tablespoons water (or more) until all the oats stick together.
- Spoon mixture into the cavity of each apple.
- Place the apples into a baking dish or cast-iron pan and carefully pour the hot water into the dish.
- Bake apples at 350°F / 180°C for about 50 minutes. After 30 minutes drizzle the liquid in the dish over the apples so they don’t dry out. The apples should be tender (soft) but not fall apart. The oat mixture should be browned.
- Drizzle with a bit of maple syrup before serving. Serve as is or with yogurt or ice cream.
Notes
- For added flavor, top with extra walnuts or a sprinkle of cinnamon before serving.