
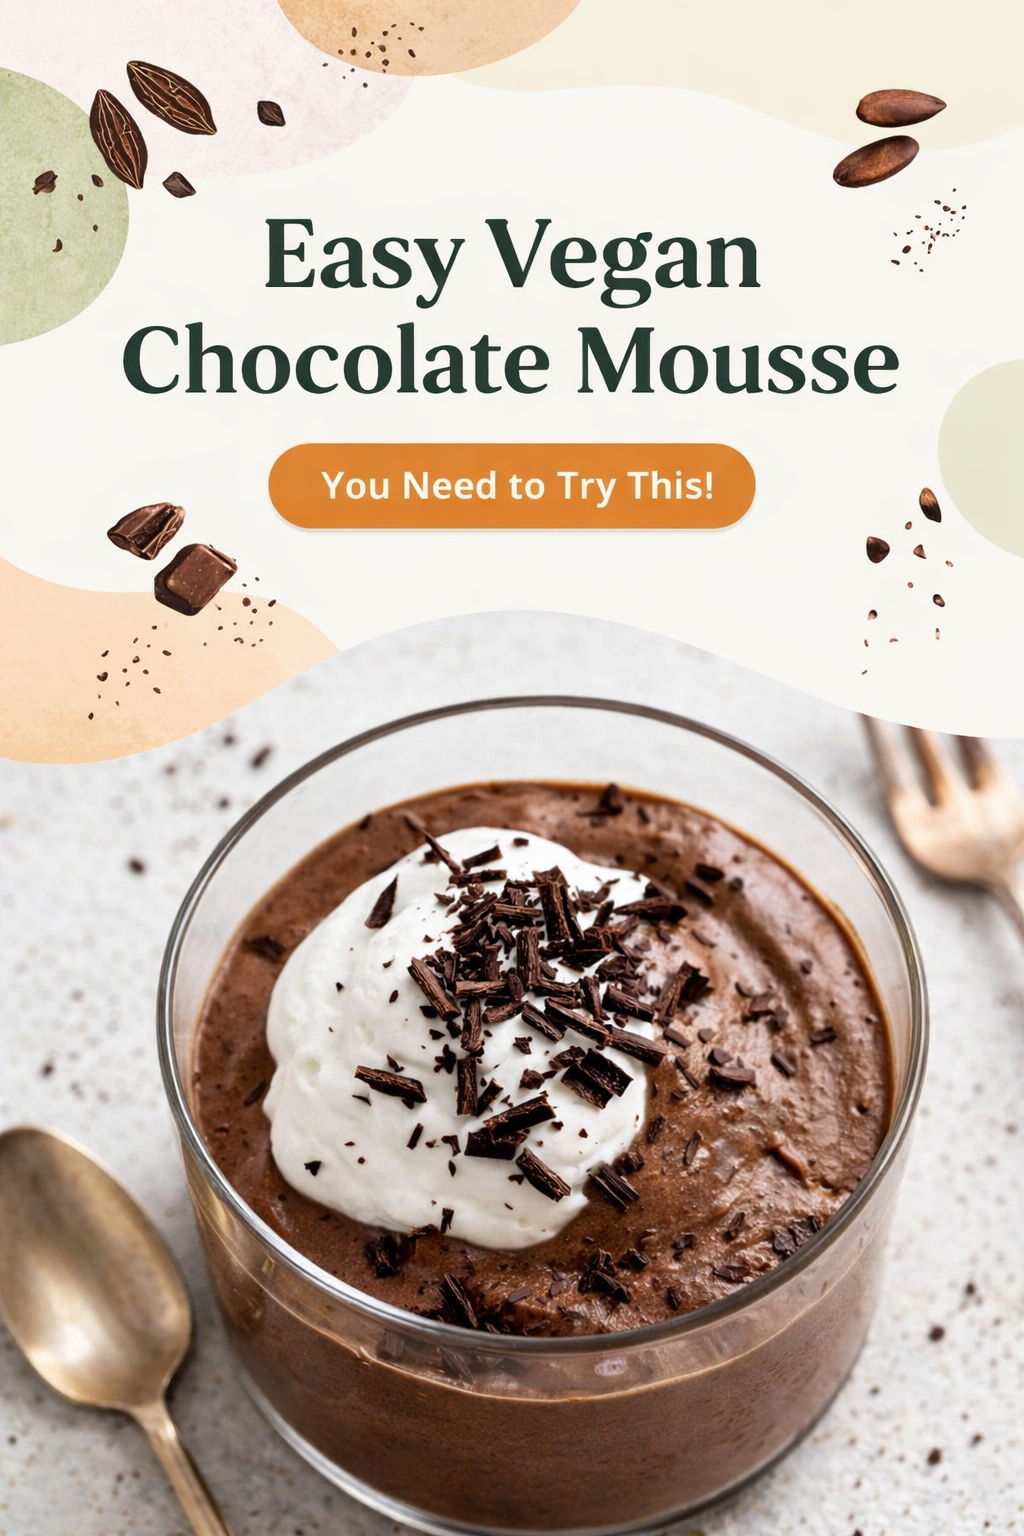
The Day I Learned Tofu Can Be Dessert
I still laugh at the first time I served this mousse. My friend took one bite and asked for the cream recipe. She had no idea the secret was a box of silken tofu. That is when I knew this recipe was magic. It turns a simple pantry staple into something rich and fancy. Have you ever tricked a friend with a hidden ingredient? This matters because so many people think healthy desserts taste like cardboard. That is simply not true. With the right method, you get a silky, chocolatey bowl of joy. Nobody feels like they are missing out. Doesn’t that smell amazing when the chocolate melts?Why Silken Tofu Is Your New Best Friend
Silken tofu is not the same as the firm tofu you stir-fry. It is soft, smooth, and almost creamy. When you blend it, it turns into the perfect base for a mousse. No eggs, no cream, no fuss. Just pure, silky goodness. What is one ingredient you were scared to try? This matters because cooking with new foods teaches us to be brave. A healthy lifestyle does not mean giving up treats. It means finding smarter ways to make them. Tofu gives you protein without changing the taste. That is a win for everyone at the table.The 10-Minute Secret
You melt the chocolate chips in the microwave. Go slowly, thirty seconds at a time. Then you toss everything into a blender or food processor. In less time than it takes to watch a cartoon, you have a smooth batter. The hardest part is waiting for it to chill. Would you rather eat it right away or wait for the perfect texture? Here is the *fun fact*: Silken tofu was first made popular in Japan over two thousand years ago. People there have been enjoying it in sweet and savory dishes for centuries. Now you get to use it for a quick sweet treat that takes almost no effort. That is a pretty cool connection to history.A Little Sweet, A Little Salty
You will add maple syrup for sweetness and a tiny pinch of salt. That salt wakes up the chocolate flavor. I always taste my batter before pouring it into the container. Sometimes I add an extra drizzle of syrup. Other times I want it darker and more intense. What is your favorite level of sweetness? This matters because learning to trust your own taste buds is a life skill. Recipes are just a starting point. You are the boss of your bowl. If you like it a certain way, go for it. Cooking becomes fun when you stop worrying about being perfect. You can enjoy this mousse as a light evening snack without feeling heavy.Let It Set, Then Dress It Up
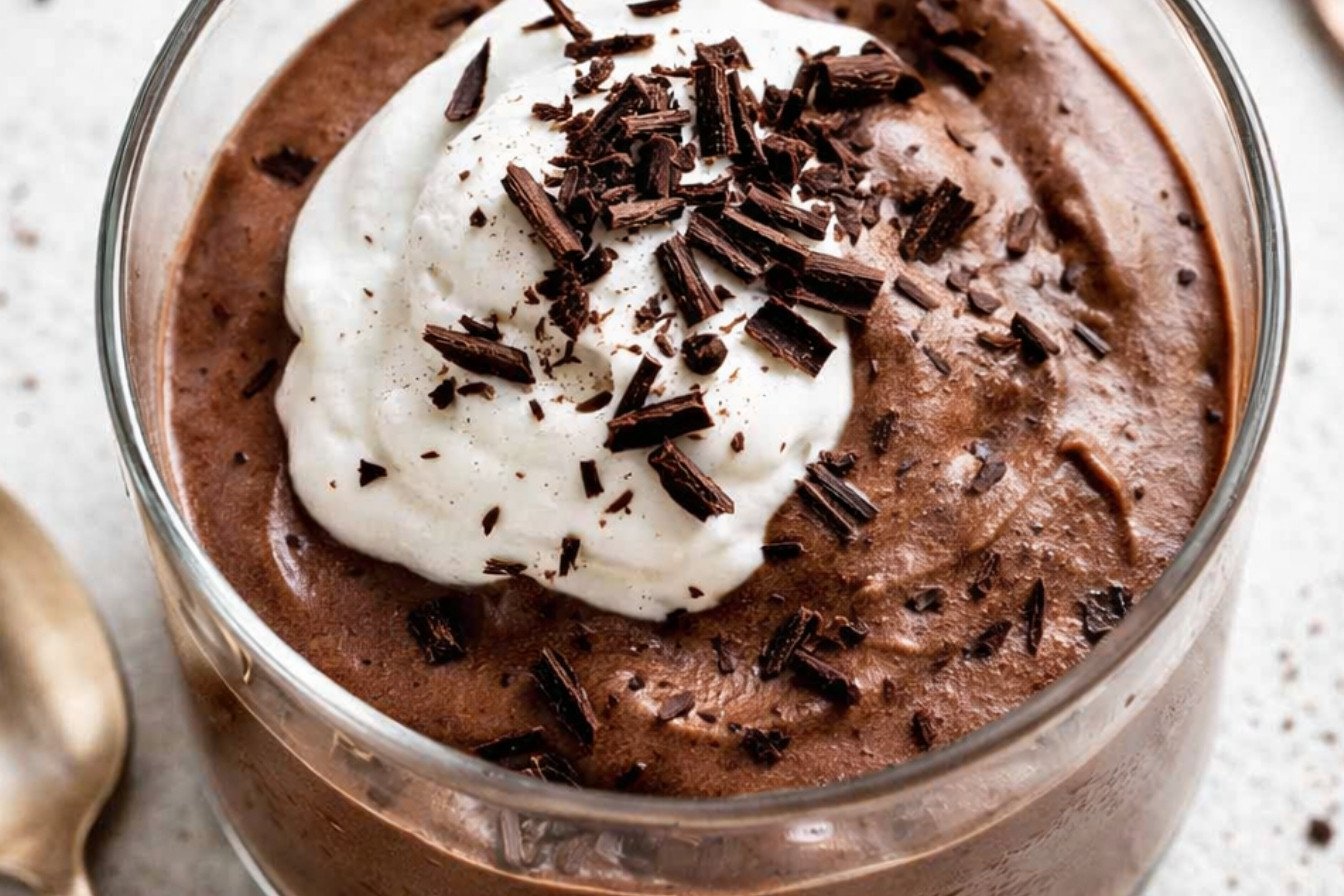
The fridge does the real work here. Give it at least one hour, but two hours is best. The mousse gets thicker and creamier as it rests. When you are ready, top it with coconut whipped cream and fresh berries. Or shave some chocolate on top for extra crunch. How do you like to dress up your desserts? I remember the first time my granddaughter helped me make this. She was so proud to spoon the mousse into little cups. We topped each one with a single raspberry. She called them chocolate clouds. Now she asks to make them every time she visits. Some recipes become simple starters for beautiful memories.Perfect for Any Occasion
This mousse works for a fancy dinner party or a quiet Tuesday night. It feels fancy but it is secretly easy. You can make it ahead of time and pull it out when guests arrive. Nobody will guess you used tofu. They will just ask for seconds. What is the easiest dessert you have ever made? If you want to serve it with something savory, try pairing it with a light salad or roasted vegetables. The rich chocolate balances out bright, fresh flavors. It also makes a great ending to a meal with perfect sides. You can even double the recipe for a big crowd. Just make sure you hide a little for yourself.A Bowl of Comfort
At the end of a long day, a bowl of chocolate mousse feels like a hug. It is smooth, cool, and deeply satisfying. You made it yourself in ten minutes with simple ingredients. That is a small victory worth celebrating. I hope you give this recipe a try and tell me how it goes. What is one recipe you would love to learn next? You can find more simple ideas for busy nights and cozy mornings at hearty meals and lighter bites. Remember, cooking is not about being perfect. It is about making something good and sharing it with people you love. That is the real secret ingredient every time.Instructions
Step 1: First, melt your chocolate chips in a microwave-safe bowl. Do this in 30-second bursts, stirring each time. Be careful not to burn it, dear. (I once forgot to stir and had to start over.) Step 2: Now, open your silken tofu and drain the water. Add it to a food processor or blender along with the melted chocolate. This is the secret to a creamy mousse without cream. Step 3: Pour in the maple syrup, cocoa powder, vanilla, and salt. Blend everything until it is silky smooth. Taste it, and ask yourself: is this sweet enough for you? What would you add more of? … Share below! Step 4: Pour the mousse into small cups or a big bowl. Cover them and put them in the fridge for at least one hour. Two hours is even better for a thicker, dreamier texture. Step 5: When you are ready, scoop it out and add your favorite toppings. I always sneak a spoonful first. Does not that smell amazing? It reminds me of my grandma’s kitchen on a rainy day. Find more sweet treats like this.Creative Twists
… Swap the maple syrup for a little bit of orange juice and zest for a bright flavor. Try this healthy twist next time. … Add a pinch of cinnamon and a tiny pinch of chili powder for a warm, spicy kick. … Stir in a spoonful of peanut butter or almond butter for a nutty, rich taste. This makes a great evening snack. Which one would you try first? Comment below!Serving & Pairing Ideas
Spoon it into little glass jars for a fancy look. Top with a dollop of coconut whipped cream and a few fresh raspberries. The tartness of the berries cuts the sweetness perfectly. You can also serve it alongside a handful of salty pretzels for a fun crunch. Or, for a cozy night, pair it with a warm mug of herbal tea as a perfect side. Which would you choose tonight?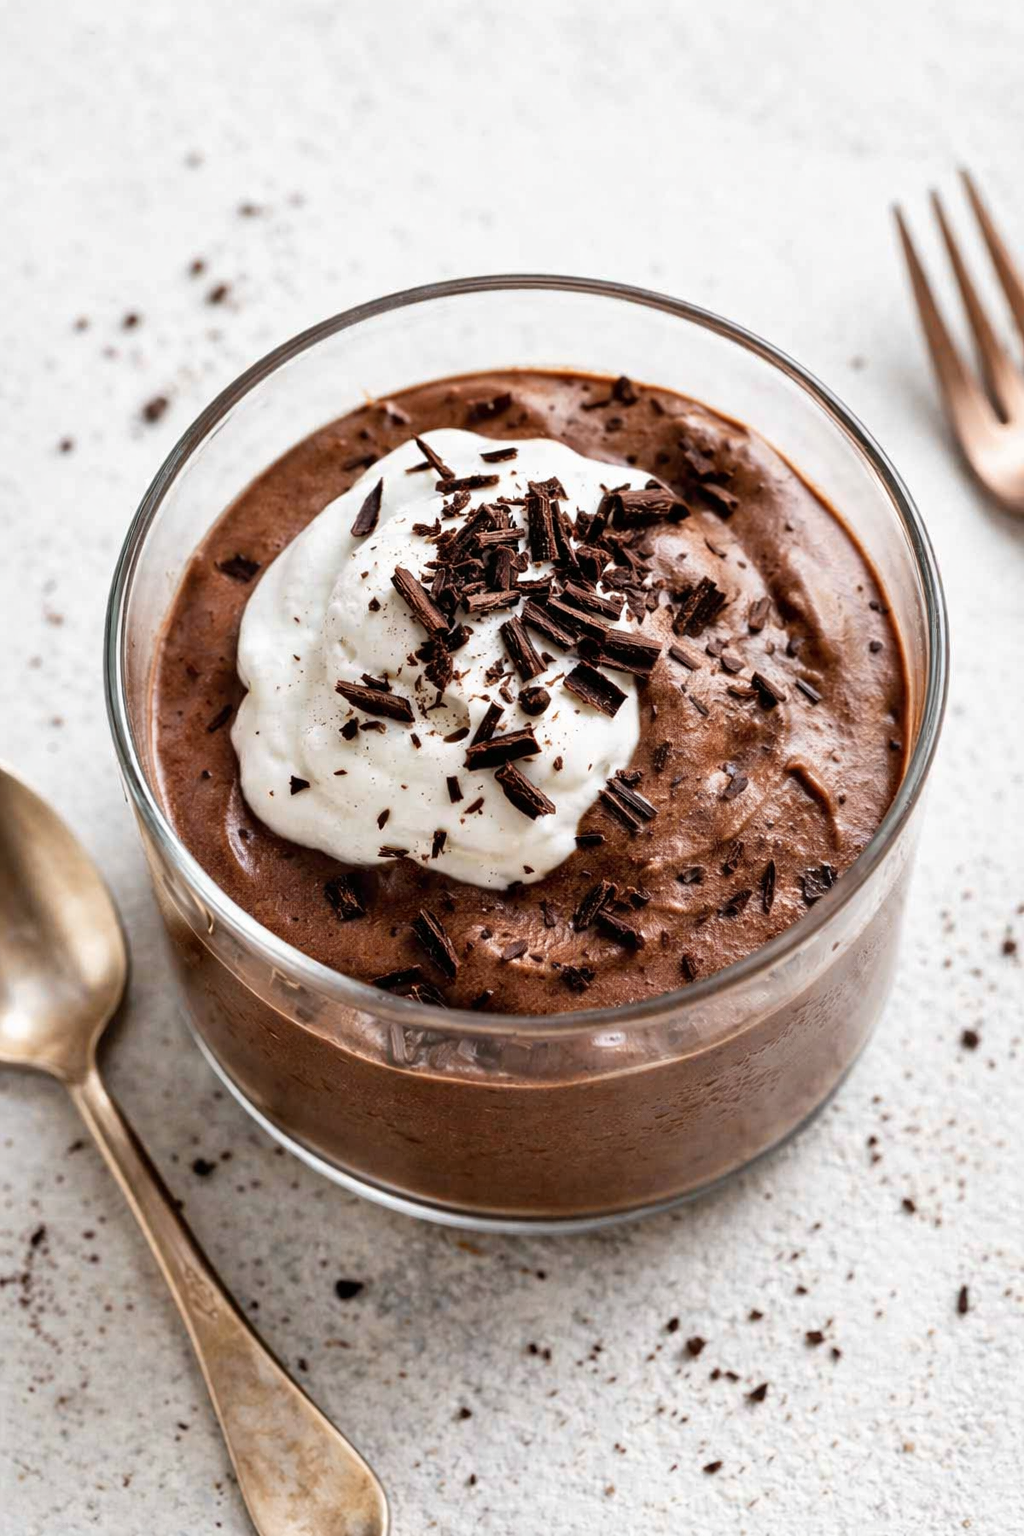
Storing Your Vegan Chocolate Mousse for Later
This vegan chocolate mousse keeps well in the fridge for up to five days. Just put it in a sealed container before it sets. I remember making this for my first dinner party. I was so nervous it would not hold up. But it was even better the next day. Why this matters: making food ahead saves time and stress. You can enjoy your guests more. Have you ever tried storing it this way? Share below! Batch cooking also helps. Double the recipe and enjoy mousse all week. For freezing, spoon it into small jars. Leave room at the top. Thaw it in the fridge overnight. Reheat is not needed—just let it warm up for five minutes on the counter. The texture stays smooth and creamy.
Three Common Problems and Easy Fixes
Problem one: your mousse is too runny. This happened to me once. I forgot to let it set for a full two hours. The fix is simple. Chill it longer. At least two hours in the fridge works best. Problem two: the chocolate taste is weak. Add another tablespoon of cocoa powder and blend again. I remember when I undersweetened mine. A little extra maple syrup fixed it right up. Problem three: the mousse feels grainy. This means your chocolate did not melt fully. Next time, melt it in thirty-second bursts. Stir well each time. Why this matters: fixing these problems makes you a more confident cook. You learn what your ingredients do. Which of these problems have you run into before? Try these sweet treats tips for more help.
Your Quick Questions, Answered
Can I make vegan chocolate mousse without tofu?
Yes, you can. Instead of silken tofu, use soaked cashews or canned coconut cream. Both give a similar creamy base. Cashews need soaking in hot water for one hour first. Coconut cream works straight from the can. Blend until very smooth. The texture will be a little richer and nuttier. Taste and adjust sweetness as needed. This swap changes the flavor slightly but keeps it delicious. Try it if you want a different twist on this healthy lifestyle dessert. Let the mousse chill for at least two hours to set properly.
How do you make vegan chocolate mousse creamy?
The key is silken tofu. It blends into a silky, smooth texture. Make sure your tofu is soft and not firm. Drain it well before adding to the blender. Melt your chocolate completely. Burnt chocolate can cause lumps. Blend everything on high for a full minute. Stop and scrape down the sides. Blend again until no streaks remain. Why this matters: a creamy texture makes the mousse feel luxurious. It also helps the flavors mix evenly. Store leftovers in a sealed container to keep that creaminess fresh.
What is the best vegan chocolate to use for mousse?
Use a high-quality semi-sweet chocolate bar or chips. Look for brands that are dairy-free and fair-trade. Dark chocolate with 60 to 70 percent cocoa works best. It melts smoothly and gives a deep flavor. Avoid white chocolate, which is not always vegan. I recommend buying chocolate chips for easy melting. They are less likely to seize up. Why this matters: good chocolate makes the mousse taste rich and satisfying. Cheap chocolate can taste waxy or bland. Try a few brands to find your favorite.
Can I make this mousse without avocado?
Yes. This recipe already uses tofu, not avocado. If you want an avocado-free version, stick with the silken tofu base. It is naturally smooth and neutral in taste. Avocado can make mousse greenish and heavy. Tofu keeps it light and creamy. I have made it both ways. The tofu version is my family’s favorite. It sets up firmer and lasts longer in the fridge. No avocado means fewer calories and less fat. Try this easy evening meal dessert for a lighter treat.
How do you get vegan mousse to set properly?
Chilling time is everything. The mousse needs at least one hour in the fridge. Two hours is better for a firm, scoopable texture. Make sure your silken tofu is well-drained. Extra water makes the mousse runny. Blend until completely smooth. No lumps should remain. Use a deep container so the mousse chills evenly. Do not skip the salt. It helps balance flavors and supports setting. Why this matters: a properly set mousse looks beautiful and holds its shape. It also tastes more concentrated and delicious.
Is aquafaba necessary for vegan chocolate mousse?
Not for this recipe. The silken tofu creates all the creaminess you need. Aquafaba is the liquid from canned chickpeas. Some mousse recipes use it for a fluffy texture. But here it is optional. If you want a lighter, airier mousse, you can add two tablespoons of aquafaba. Blend it in at the end. It will not change the taste. I usually skip it for simplicity. This mousse is already rich and smooth without it. Keep it simple for a quick dessert. Which tip will you try first? Find more simple ideas here.
A Little Goodbye from My Kitchen to Yours
Thank you for spending time with me today. I hope you try this perfect side dessert for your next meal. It is so easy and so good. Have you tried this recipe? Let me know in the comments. Tell me how it turned out or what you added. I love hearing your kitchen stories. Remember, cooking is about joy and sharing. Keep experimenting and having fun. Happy cooking! —Grace Ellington.
*Fun fact: This mousse was inspired by a French classic but uses simple tofu instead of eggs.*
Rich Vegan Chocolate Mousse Recipe
Ingredients
Instructions
- Melt the chocolate in the microwave in 30 second intervals, stirring between each interval.
- Add all ingredients to a food processor or high speed blender. Blend until completely smooth.
- Taste and adjust flavors as desired. You may want more sweetener or more cocoa depending on your preference.
- Transfer to a container and let set in the fridge for at least 1 hour, ideally 2 for the best texture.
- Serve with coconut whipped cream and chocolate shavings or fresh berries. Enjoy!