

My First Vanilla Bean Surprise
I still laugh at the first time I tried making ice cream. I was twelve years old, all alone in the kitchen. I shook a bag of milk and salt for what felt like an hour. The ice cream was more like cold soup. Doesn’t that sound familiar? Have you ever tried shaking a bag of ice cream, too?
That messy day taught me something important. Simple tools can make wonderful food. You don’t need a fancy machine for creamy vanilla bean ice cream. You just need a bowl, a mixer, and a little patience. Here are more easy sweet treats that follow the same idea.
Why This Recipe Works So Well
This ice cream has only three ingredients. That is the whole secret. Heavy cream gives it a rich, smooth feel. Sweetened condensed milk brings the sweetness and stops crystals from forming. Does that surprise you? Most people think you need eggs and a stove, but you truly do not.
Here is a little kitchen secret. The vanilla bean paste has tiny black specks that look so pretty. Those specks are real vanilla taste in every bite. This matters because real flavor comes from real food. Why settle for fake vanilla when you can have the real thing? Making fresh food is easier than you think.
The Simple Steps You Need to Know
First, pour your heavy cream into a big, cold bowl. Beat it with a mixer until it looks like fluffy clouds. That is called “stiff peaks.” You want the cream to hold its shape when you lift the beater. Does your arm get tired? I always let my mixer do the hard work for me.
Next, pour in the whole can of sweetened condensed milk. Beat it just until it is combined. Then stir in two teaspoons of vanilla bean paste. Taste a tiny bit. Doesn’t that smell amazing? It smells like a warm hug on a summer day. This creamy biscuit recipe has that same cozy feeling.
A Little History About Vanilla
Vanilla comes from an orchid flower that only blooms for one day. Farmers have to hand-pollinate each tiny flower. That is why real vanilla is so special. Think about that next time you take a spoonful of this ice cream. Each little speck comes from a flower that was carefully touched by human hands.
This matters because food connects us to people far away. Someone in a warm country helped grow your vanilla. You can taste their care in every bite. Have you ever thought about where your vanilla comes from? It is a wonderful thing to wonder about while you eat. This chicken recipe also connects me to simple ingredients.
The Freezing Trick That Works Every Time
Pour the mixture into a metal loaf pan or any freezer-safe container. Metal freezes faster than glass. Cover it tightly with plastic wrap, then foil. Let it sit in the freezer for four to six hours. If you can wait overnight, the texture gets even creamier. Have you ever tried sneaking a spoonful before it was ready? I have done that many times.
One time, my friend tried to speed things up. He put the bowl in the freezer section that was too cold. The outside froze hard, but the middle stayed soupy. That is why patience is important. Let the cold work slowly and evenly. Building something slowly always gives better results.
Fun Fact and a Warm Memory
Fun Fact: Vanilla bean paste keeps its flavor better than vanilla extract because it does not have alcohol. Alcohol can change the taste of cold desserts. That is why I always choose the paste for ice cream.
I remember making this recipe for my granddaughter’s birthday. She asked for “cloud ice cream” because of the fluffy cream. We ate it with fresh strawberries and a little sprinkle of salt. She said it tasted like a happy day. What flavor reminds you of a happy day? I would love to hear your story. Drawing memories is another way to keep them close.
Your Turn to Make a Memory
Now you can make your own vanilla bean ice cream at home. No machine needed. No special skills required. Just three simple ingredients and a freezer. What topping will you put on yours? Tell me if you choose sprinkles, chocolate sauce, or fresh fruit. I love hearing how people make recipes their own.
This recipe makes one quart, which is about four big scoops. That is enough to share with two or three people you love. Or keep it all for yourself. I will not tell anyone. Just remember to let it sit on the counter for five minutes before scooping. That little bit of waiting makes it soft and perfect. Happy scooping, friend.
Instructions
Step 1: Pour your cold heavy cream into a big bowl. Use a mixer and beat it until it forms stiff peaks. (I learned the hard way: warm cream won’t fluff up, so keep it cold!) Doesn’t that look like a fluffy cloud?
Step 2: Open a can of sweetened condensed milk and pour it in. Beat everything together until it is smooth and thick. It will look like a silky, dreamy batter now. What is your favorite ice cream flavor to add? Share below!
Step 3: Add two teaspoons of vanilla bean paste to the bowl. Stir it gently until the tiny black specks are everywhere. I still remember the first time I saw those little flecks in my bowl — magic.
Step 4: Pour the mixture into a loaf pan or container. Smooth the top with a spatula, then cover it tightly. Pop it in the freezer for at least four to six hours. Be patient, it is worth the wait.
Step 5: Scoop out a big bowl for yourself and enjoy. This no-churn ice cream is so creamy you will think you bought it. My grandson always asks for a second scoop before dinner.
Creative Twists
Stir in crushed chocolate sandwich cookies before freezing for a cookies-and-cream surprise.
Swirl in a few spoonfuls of strawberry jam for a fruity ribbon running through.
Add a pinch of sea salt and some toasted nuts on top just before serving.
Which one would you try first? Comment below!
Serving & Pairing Ideas
Serve a scoop next to a warm slice of apple pie for a cozy treat. You can also pile it high on a waffle cone with sprinkles for a birthday party feel. For a fancy touch, drizzle with warm chocolate sauce and a few fresh berries. Find more irresistible sweet treats to pair with this. Which would you choose tonight?

Your Homemade Ice Cream, Stored Right
Homemade ice cream is a treat that deserves a good home. You worked hard to make it, so let’s keep it perfect. The fridge is not for ice cream, only the freezer. Use a tight container with a lid. This stops ice crystals from forming and keeps it creamy. I remember my first batch of no-churn ice cream. I was so proud, but I left the lid loose. The next day, it tasted like freezer burn. What a sad lesson. Now I always press plastic wrap right onto the surface before the lid. It makes a big difference. Batch cooking is a wonderful idea. Whip up a double batch of this easy no-churn vanilla on a Sunday. You will have dessert ready all week. It saves time and energy. Storing it well means every scoop tastes like the first one. That matters because good food should not be wasted. Have you ever tried storing it this way? Share below!
Fixing Three Common Ice Cream Problems
Even simple recipes can have small hiccups. Do not worry, they are easy to fix. First, your ice cream might be too hard. Let it sit on the counter for five minutes before scooping. This softens it just enough. I once tried to scoop a frozen brick straight from the freezer. My spoon bent in half. Now I wait, and it is always smooth. Second, your ice cream might taste a little icy. This happens when the cream is not whipped enough. Whip it until stiff peaks hold their shape. That extra minute makes all the difference. Third, the vanilla flavor might be weak. Use real vanilla bean paste for the best taste. It is worth it. Fixing these issues builds your cooking confidence. You learn to trust your hands. It also makes every batch taste like a store-bought treat. For more sweet ideas, visit our sweet treats page. Which of these problems have you run into before?
Your Quick Questions, Answered
How to make no churn vanilla bean ice cream without a machine?
It is very simple. You will need a large bowl and a hand mixer or a whisk. Start by pouring two cups of heavy cream into the bowl. Whip the cream until it forms stiff peaks. This means when you lift the beaters, the cream stays upright. Then, add one can of sweetened condensed milk and two teaspoons of vanilla bean paste. Stir everything gently until it is all combined. Pour the mixture into a loaf pan or a container. Cover it with plastic wrap and a lid. Freeze it for at least four to six hours. That is it, no machine needed. You can find more fun kitchen projects at this link.
Can I use vanilla extract instead of vanilla bean in no churn ice cream?
Yes, you can use vanilla extract. It will taste good, but it will be different. Vanilla bean paste has tiny black specks that look pretty in white ice cream. It also has a stronger, more natural flavor. Extract is thinner and less intense. If you use extract, use two teaspoons just like the paste. Your ice cream will still be creamy and delicious. It just will not have those beautiful specks. I have made it both ways and both are great. Try it and see which you like better. This matters because cooking is about making food you love.
What is the best cream to use for no churn vanilla ice cream?
Heavy cream is the best choice for no churn ice cream. It has a high fat content, around 36 percent. This fat creates a smooth, rich texture. Whipping cream also works, but it has less fat. That can make the ice cream a little lighter. Avoid half-and-half or milk. They do not whip into stiff peaks. Without stiff peaks, your ice cream will be thin and icy. Stick with heavy cream for the best results. It is the secret to that classic creamy scoop. Using the right cream matters because it turns a simple recipe into a luxurious treat.
How long does homemade no churn vanilla ice cream last in the freezer?
Homemade ice cream lasts about two to three weeks in the freezer. After that, it can start to get icy or lose flavor. The key is to store it in an airtight container. Press a piece of plastic wrap directly onto the surface before sealing the lid. This keeps air away from the ice cream. Air is what causes ice crystals. For the best taste, eat it within the first week. It is always freshest then. I like to make a small batch so we finish it quickly. This matters because food is best when it is enjoyed at its peak.
Why is my no churn vanilla ice cream icy or grainy?
Icy or grainy ice cream usually happens for two reasons. First, the cream was not whipped enough. It needs stiff peaks to trap air. Without enough air, the ice cream freezes into hard ice chunks. Second, the mixture might have melted and refrozen. If it thaws even a little, big ice crystals form. To fix this, always whip the cream until it is very thick. Also, do not let the mixture sit out before freezing. Put it in the freezer as soon as it is mixed. This will give you a smooth, silky texture every time. For more simple recipes, check out this pico de gallo.
Can I add mix-ins like chocolate chips or fruit to no churn vanilla ice cream?
Yes, you can add many mix-ins. Chocolate chips, crushed cookies, or berries all work well. Add them after you mix the cream and condensed milk. Gently fold them in with a spatula. Do not overmix or you might deflate the cream. For fruit, use small pieces and pat them dry first. Wet fruit can make the ice cream icy. Chocolate chips are easiest. They stay firm and add great crunch. I love adding mini chocolate chips to my vanilla base. It is like a homemade chocolate chip ice cream. This matters because you can make your dessert exactly how you like it.
Which tip will you try first?
A Warm Send-Off from My Kitchen to Yours
Well dear, that is all for today. I hope you feel ready to make your own creamy ice cream at home. It is one of the simplest joys in the kitchen. Remember, every batch is a chance to learn something new. Do not worry if it is not perfect the first time. Just keep stirring and tasting. Fun fact: Vanilla beans come from a type of orchid. I would love to hear from you. Have you tried this recipe? Let me know in the comments below. Your stories make my day brighter. Until next time, keep your apron on and your heart full. Happy cooking! —Grace Ellington.
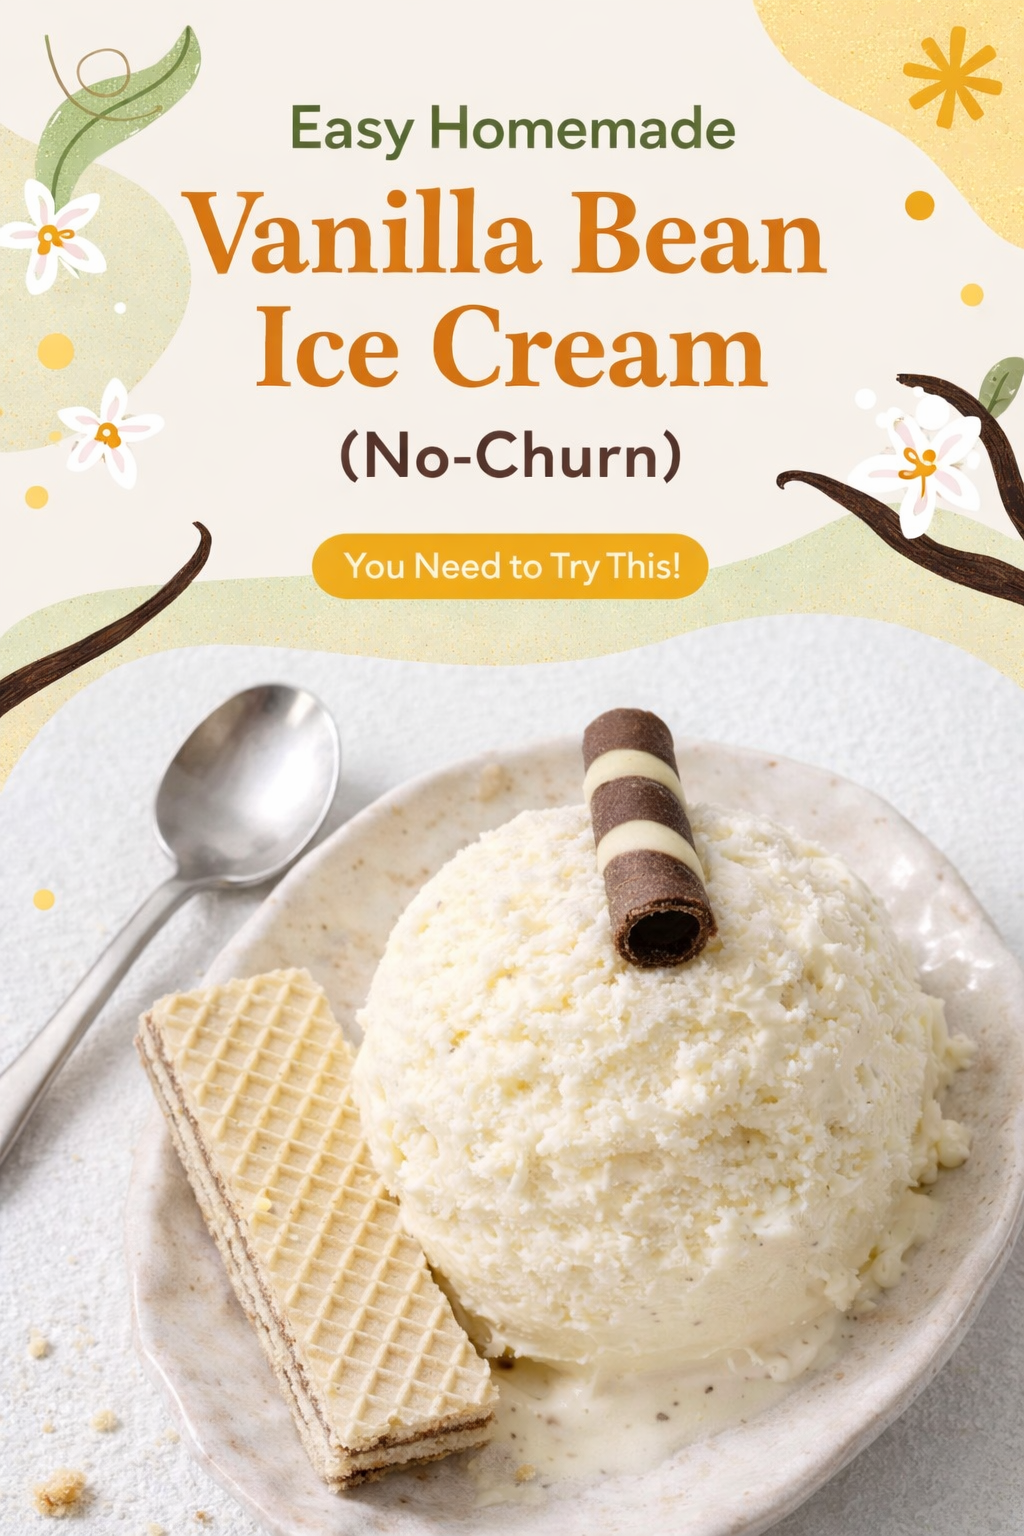
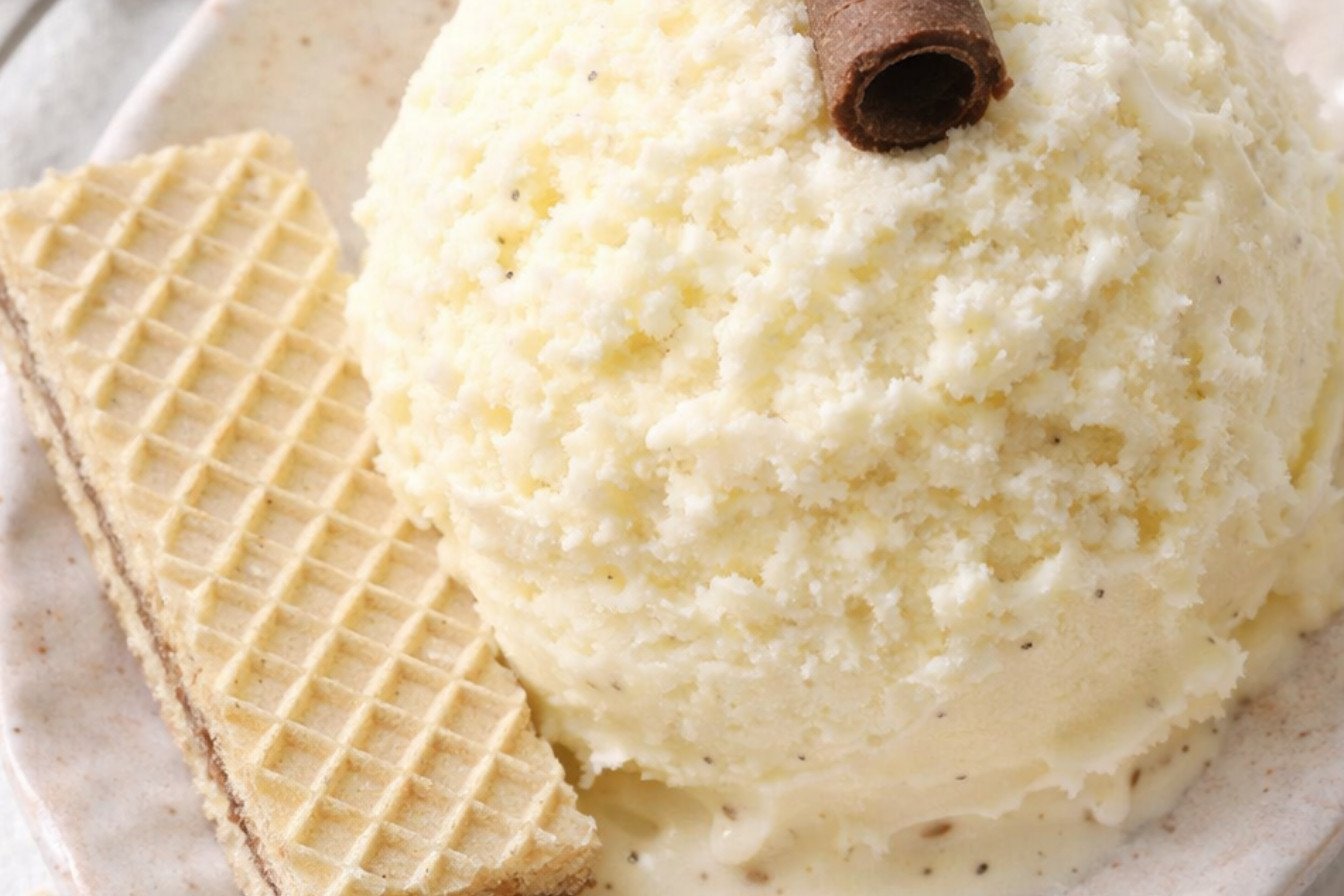
Simple No Churn Vanilla Bean Ice Cream
Ingredients
Instructions
- Beat heavy cream with a mixer until it forms heavy peaks.
- Add one can of sweetened condensed milk and beat in the milk.
- Add 2 teaspoons vanilla bean paste. Stir vanilla paste into the ice cream mixture.
- Place ice cream into a container and freeze for 4 to 6 hours. The recipe makes 1 quart.