

My First Batch Was a Sticky Mess
The first time I made these popsicles, I forgot about them. I poured the warm tea right into the molds and stuck them in the freezer. When I came back hours later, the sticks had floated sideways. The berries were all stuck at the bottom like little drowned jewels. I still laugh at that mistake. Now I always let the tea cool first. That small step makes all the difference.
Have you ever made a frozen treat that turned into a sticky surprise? Tell me about it in your kitchen stories. I would love to hear what you learned the hard way.
Why Hibiscus Tea Is Like a Summer Hug
Hibiscus tea has a bright, tart taste that reminds me of cranberries. It is naturally red and beautiful. When you add mint, it becomes cool and refreshing at the same time. This herbal blend does not need a lot of sugar. The berries do some of the sweet work for you. That is why this matters: you get real fruit flavor without a ton of extra sweetener.
Doesn’t that smell amazing just thinking about it? I can almost taste the tangy berry and cool mint together. It is like a garden in your mouth.
The Secret to Perfect Popsicles Every Time
Here is a little trick I learned from my neighbor Betty. After you pour the tea into the molds, wait 20 minutes before adding the sticks. Let the popsicles get a little slushy first. Then the sticks stand up straight and stay in the middle. It works like magic. You can find more tips like this in the healthy lifestyle section of my favorite kitchen site.
*Fun fact: Hibiscus flowers are actually related to okra. Who knew your tea and your gumbo came from the same plant family?*
Why does this matter? Because when you know small tricks, you stop wasting ingredients. You get a pretty, perfect popsicle every time. No more lopsided sticks or sad fruit piles.
How to Make It Your Own
You can swap the berries for sliced peaches or mango chunks. You can use agave instead of honey if you want a vegan version. Even a splash of lime juice is lovely here. I once threw in some chopped basil instead of mint, and it was surprisingly good. The sweet treat possibilities are endless.
Which fruit would you pick for your own batch? Blueberries? Raspberries? Something wild like chopped kiwi? I would love to know your favorite combination.
A Little Story About Neighbors and Tea
Last summer, my neighbor Tom brought over a big bag of mint from his garden. He grows so much mint that it takes over everything. I used some of it in this tea and some in a simple lemonade. His wife said the popsicles cooled them down after a long day of weeding. That is why this matters: food brings people together. A simple frozen treat can turn a hot, tired afternoon into a happy memory.
Have you ever shared a homemade treat with someone who really needed it? Tell me about it. I bet your story is just as sweet as these popsicles.
Making It Easy for Busy Hands
You do not need fancy molds to make these. Small paper cups work great. Just pour in the tea and berries, cover each cup with foil, and poke a stick through the foil. The foil holds the stick in place while it freezes. This is a handy trick when you want to build something simple in your kitchen without buying new gadgets.
The best part? Kids can help with this step. Let them drop berries into the cups. They will feel proud when they pull out their own homemade popsicle later. That is a summer win for everyone.
Cooling Down After a Long Day
These popsicles are perfect after a hot walk or a afternoon of yard work. The hibiscus refreshes you, and the mint wakes up your senses. I like to eat mine on the porch while the sun goes down. It is a simple joy that costs almost nothing. If you want a full summer meal to go with it, try this quick pico de gallo or these honey garlic chicken thighs for dinner first.
Now tell me: when was the last time you sat outside and just enjoyed something cold and sweet? I hope you give these popsicles a try. They might become your new favorite summer tradition.
Instructions
Step 1: Brew two cups of Hibiscus-Peppermint tea nice and strong. Let it steep for a full ten minutes for a deep flavor. I still remember my first sip—it tasted like summer in a mug. Doesn’t that smell amazing? (Pro tip: never rush the steeping, or it will taste watery.)
Step 2: Once the tea is cool, stir in honey or maple syrup until it dissolves. Taste it! If you like it sweeter, add a little more. My grandson always sneaks an extra spoonful when I turn my back. Now ask yourself: do you like your popsicles tart or sweet? Share below!
Step 3: Grab your popsicle molds and drop a handful of fresh berries into each one. Strawberries, blueberries, or raspberries all work beautifully. I love watching the berries float as I pour the tea over them. It is like making little frozen jewels.
Step 4: Pour the sweet tea carefully into each mold, leaving a tiny space at the top. Pop in the wooden sticks and slide the whole tray into the freezer. Patience is key here—wait at least four hours. Check out more sweet treats while you wait.
Step 5: When the popsicles are rock solid, run warm water over the outside of the molds. Wiggle the sticks gently until they slip out. Serve right away with a fresh mint leaf on top. These also make a great healthy lifestyle snack for hot afternoons.
Creative Twists
… Swap the berries for sliced peaches or mango for a tropical spin.
… Add a splash of lime juice to the tea for a tangy kick.
… Layer the tea with coconut milk for a creamy, marbled look.
Which one would you try first? Comment below!
Serving & Pairing Ideas
Serve these popsicles on a big platter with extra mint leaves scattered around. They pair nicely with a simple bowl of fresh pico de gallo for a sweet-and-savory contrast. You could also enjoy them after a honey garlic chicken dinner for a light ending. For a backyard party, place them in a jar filled with ice. Which would you choose tonight?
Why These Popsicles Belong in Your Freezer
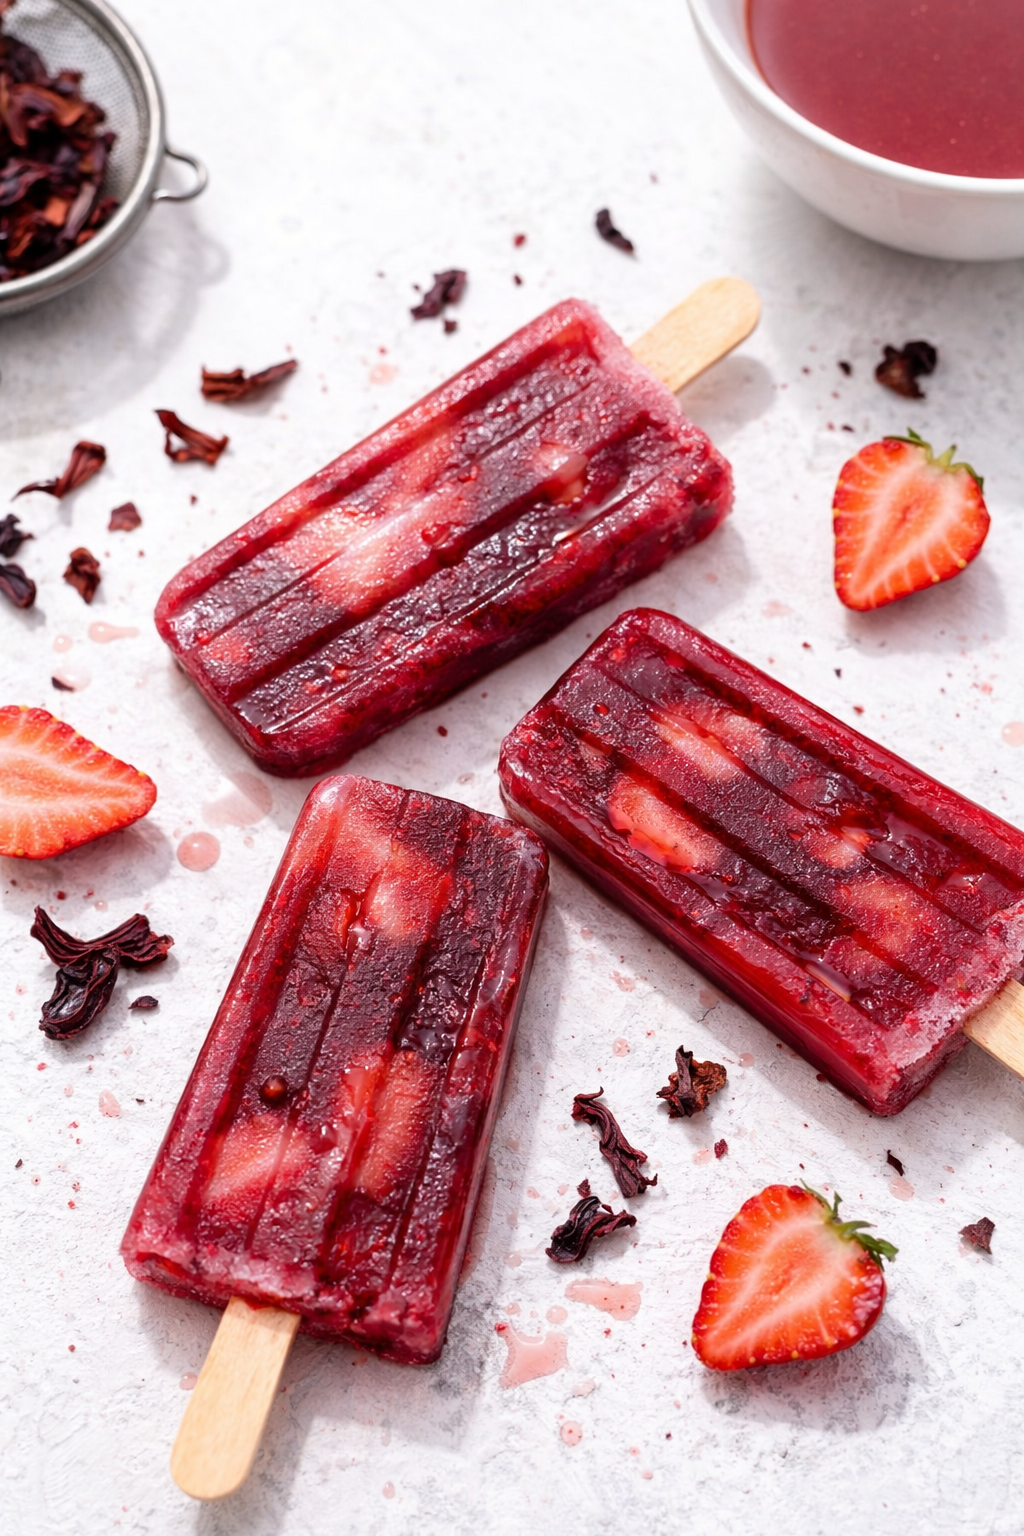
I remember the first time I made these hibiscus tea popsicles. I was nervous they would turn into a block of ice. But they came out perfect—bright red and full of flavor. Batch cooking these popsicles saves you money and time. You brew the tea once and fill all your molds. Then you have a cold treat ready for any hot afternoon. Storing them right matters because it keeps the texture smooth. If you leave them too long without covering, they can get icy crystals. That is why we freeze them solid and then pop them into a freezer bag. This simple step keeps them fresh for weeks. Have you ever tried storing it this way? Share below!
Three Easy Fixes for Common Popsicle Problems
The first issue home cooks face is watery popsicles. I once added too much water to my tea. The popsicles turned into sad little ice cubes. The fix is simple. Brew your tea stronger than you think you need. Use two tea bags for every cup of water. The second problem is fruit sinking to the bottom. I remember when my berries all clumped at one end. To fix this, freeze the molds for an hour first. Then add the berries and pour the tea. This keeps the fruit spread out. The third issue is popsicles that taste bland. The answer is more sweetener than you expect. Taste the tea before freezing and make it a little sweeter. Which of these problems have you run into before? Fixing these issues matters because it builds your cooking confidence. You learn to trust your taste buds. It also makes every bite burst with flavor. That is what summer should taste like.
Your Quick Questions, Answered
How do you make hibiscus tea popsicles?
Start by brewing two cups of strong hibiscus tea. Let it cool completely to room temperature. Stir in honey or maple syrup until it dissolves. Place fresh berries in your popsicle molds. Pour the tea over the fruit, leaving a little space at the top. Insert sticks and freeze for at least six hours. To remove, run warm water over the outside of the molds for a few seconds. You can find a full step-by-step guide on popsicle recipes and sweet treats at Spoons Way. It is that simple.
Are hibiscus tea popsicles healthy?
Yes, they are very healthy. Hibiscus tea is full of antioxidants that help your body fight damage. It also has vitamin C, which supports your immune system. Using honey or maple syrup adds natural sweetness without refined sugar. The berries give you fiber and more vitamins. These popsicles have no artificial colors or flavors. They are a great way to cool down and feel good about what you eat. For more ideas on healthy eating, check out healthy lifestyle tips at Spoons Way. Your body will thank you.
Can I add fruit to hibiscus tea popsicles?
Absolutely, fruit makes these popsicles even better. Berries like strawberries, blueberries, and raspberries work perfectly. You can also try sliced peaches, mango chunks, or even small pieces of kiwi. The fruit adds natural sweetness and a fun texture. Just remember to cut the fruit into small pieces so they fit in the molds. If you want the fruit to stay evenly spread, freeze the molds for one hour before adding the fruit and tea. For more refreshing drink ideas, visit refreshing drinks at Spoons Way. Get creative with your combinations.
How long do hibiscus tea popsicles last in the freezer?
They last for up to three weeks in the freezer if stored properly. After they freeze solid, take them out of the molds. Wrap each popsicle in plastic wrap or place them in a freezer-safe bag. Squeeze out as much air as possible. This prevents freezer burn and keeps them tasting fresh. Do not leave them in the molds for more than a week, or they may absorb odors from the freezer. Label the bag with the date so you remember when you made them. Three weeks later, they will still taste like summer.
What sweetener works best for hibiscus tea popsicles?
Honey and maple syrup are the best choices for these popsicles. Honey blends smoothly into the tea and adds a floral note that matches the hibiscus. Maple syrup gives a warmer, richer sweetness. Both dissolve easily in warm tea. You can also use agave nectar or simple syrup. Avoid granulated sugar because it can leave a gritty texture. Adjust the sweetness to your taste. Start with a quarter cup of sweetener for two cups of tea. Taste it and add more if you like it sweeter. Which tip will you try first?
Can I use dried hibiscus flowers for popsicles?
Yes, dried hibiscus flowers work wonderfully for these popsicles. They are often sold in tea or bulk at health food stores. Use one tablespoon of dried flowers per cup of boiling water. Steep them for ten to fifteen minutes. This creates a deep red tea with a tangy, floral flavor. Strain the flowers out before adding your sweetener and fruit. Dried flowers are more concentrated than tea bags, so the flavor will be stronger. That is a good thing because freezing dulls the taste a little. This method also saves money if you make popsicles often.
A Sweet Goodbye from My Kitchen to Yours
I hope this summer treat brings you as much joy as it brings my family. Every time I pull one of these hibiscus tea popsicles from the freezer, I smile. The kids love the bright color, and I love how easy they are to make. Have you tried this recipe? I would love to hear which fruit combination you pick. Maybe you will discover a new favorite flavor. That is the beauty of cooking—you get to make it your own. Come back and tell me how it went. I will be right here in my kitchen, saving a popsicle for you. Happy cooking! —Grace Ellington.
*Fun fact: Hibiscus tea is naturally caffeine-free, so these popsicles are safe for kids and adults any time of day.*
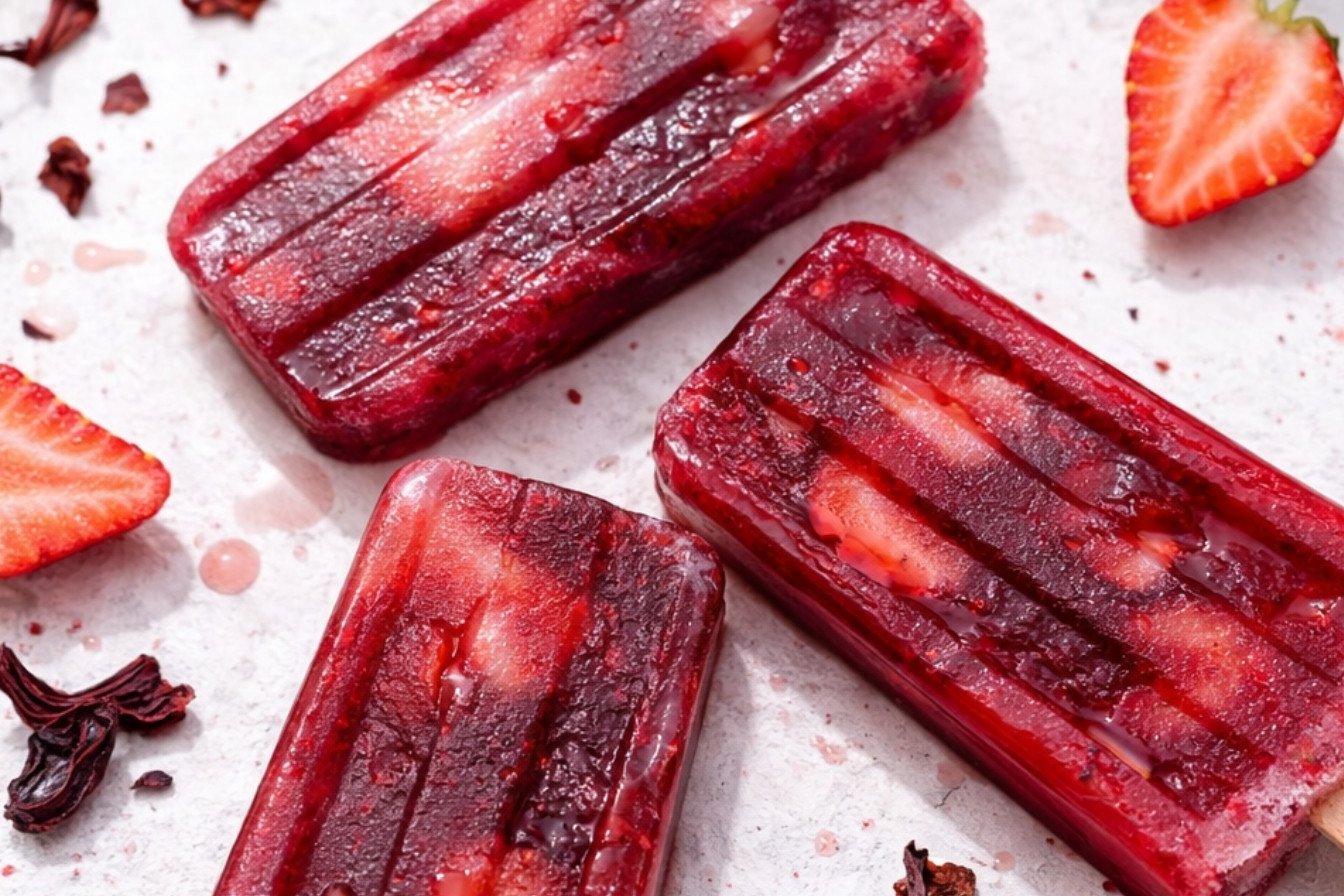
Hibiscus Tea Popsicles A Refreshing Treat
Description
Refreshing Hibiscus-Peppermint Herbal Tea Popsicles for Summer
Ingredients
Instructions
- Start by brewing 2 cups of Tribal Tea Co. Hibiscus-Peppermint tea. Allow the tea to steep for about 10 minutes to ensure a robust flavor, then let it cool to room temperature.
- Once the tea has cooled, stir in the honey or maple syrup, adjusting the sweetness to your preference. Mix well until the sweetener is completely dissolved into the tea.
- Prepare your popsicle molds by placing a few fresh mixed berries into each mold. You can use a combination of strawberries, blueberries, raspberries, or any other berries you prefer.
- Carefully pour the brewed Hibiscus-Peppermint tea into the popsicle molds, filling them to the top. Leave a little space at the top to allow for expansion when freezing.
- Insert popsicle sticks into the center of each mold and place the molds in the freezer. Allow the popsicles to freeze for at least 4-6 hours, or until completely solid.
- Once the popsicles are frozen solid, remove them from the molds by running warm water over the outside of the molds for a few seconds. Gently wiggle the popsicles to loosen them from the molds.
- Serve your Hibiscus-Peppermint herbal tea popsicles immediately, garnished with fresh mint leaves for an extra burst of flavor and visual appeal.
- Enjoy these refreshing and revitalizing popsicles on a hot summer day, savoring the floral, minty, and fruity flavors of Tribal Tea Co. Hibiscus-Peppermint tea in every bite.
Notes
- For a sweeter popsicle, increase honey or maple syrup to 1/3 cup. You can also substitute berries with sliced peaches or mangoes.