
My First Baked Apple Lesson
When I was a little girl, my grandma baked apples on cold autumn days. She would fill them with brown sugar and butter. I thought that was the only way. Then I tried this version with almond butter, and I still laugh at that memory. It is just as cozy, but much kinder to my belly.
The almond butter melts into a creamy hug for the apple. The raisins plump up like tiny sweet pillows. Doesn’t that sound like a warm afternoon treat? Have you ever tried baking apples with nut butter instead of sugar?
Why This Recipe Matters
This recipe uses real food you probably already have in your kitchen. Apples, nuts, seeds, and a little maple syrup. No strange ingredients you cannot pronounce. That is one reason why this matters: you feed your body simple, honest fuel.
Another reason: it takes only 20 minutes to prep and bake. You do not need to be a fancy cook. A child can learn to scoop out the apple core with a spoon. This is a healthy lifestyle skill that stays with you forever.
The Scoop on the Core
Here is the trick my grandma taught me. Cut off the top half-inch of the apple. Then slice a thin piece off the bottom so it sits flat. Use a spoon to dig out the seeds and the tough center. Leave about one inch of apple at the bottom to hold the filling.
If you cut too deep, the filling will leak out. I learned that the hard way on my first try. The kitchen smelled amazing, but the pan was a sticky mess. Now I always check the bottom before loading in the almond butter and toppings.
Stuff It Full of Goodness
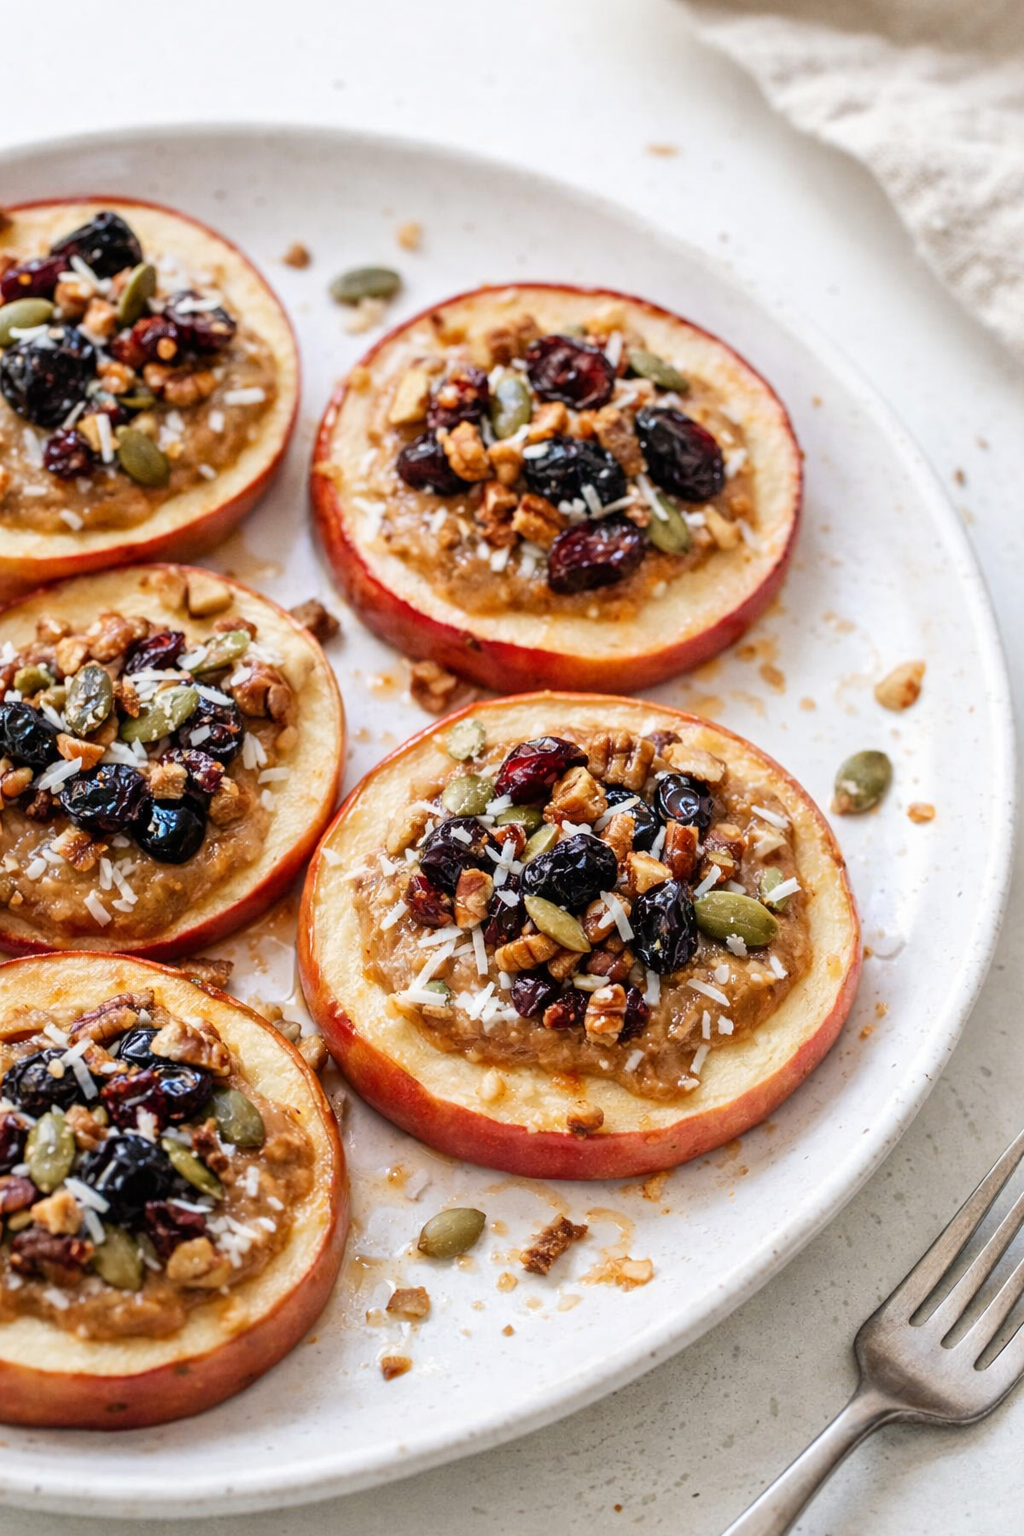
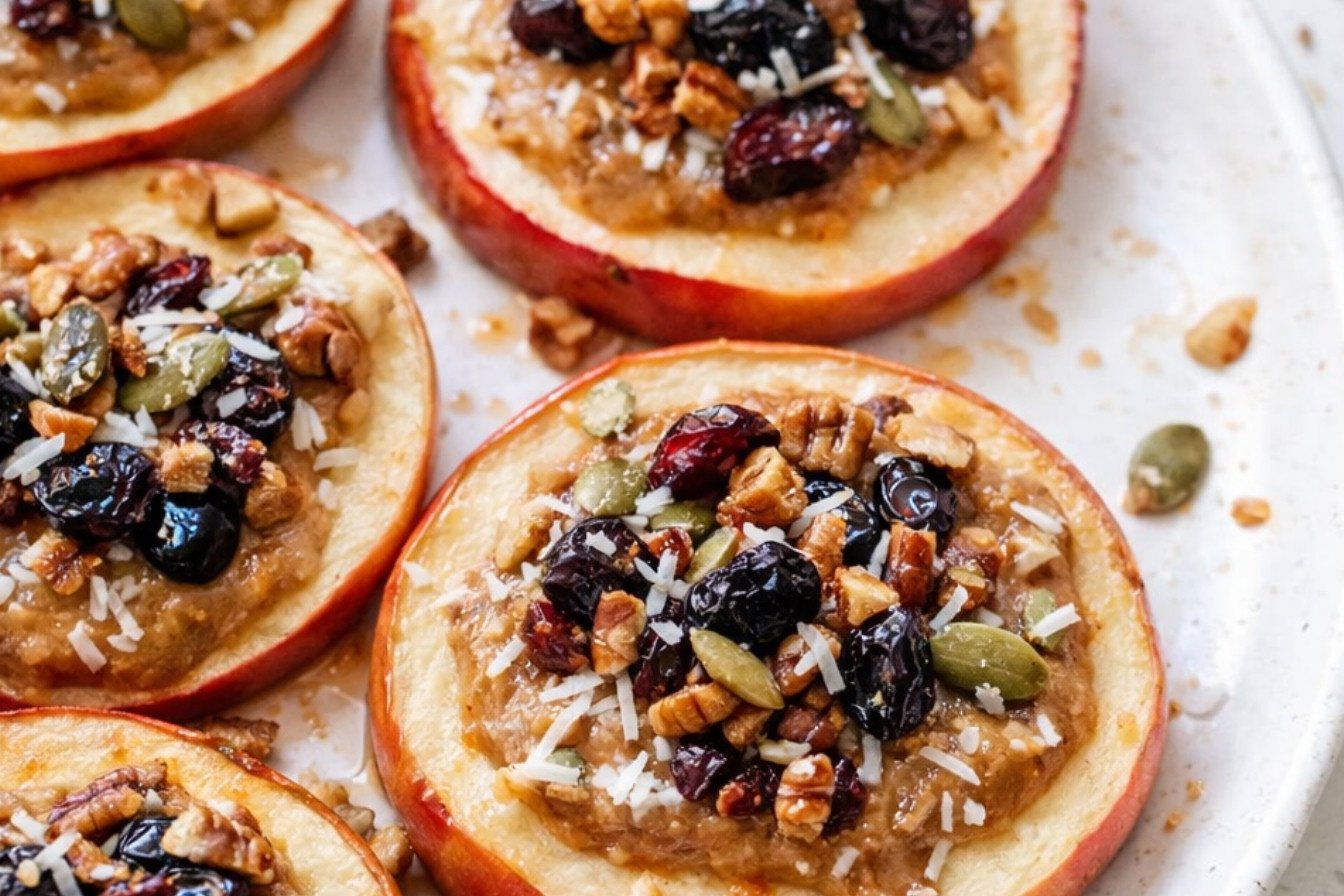
You start with one tablespoon of almond butter inside each apple. Then you add chopped pecans, raisins, shredded coconut, and pumpkin seeds. Sprinkle a pinch of cinnamon and salt on top. Drizzle with pure maple syrup, and repeat until the apple is stuffed full.
I love how the cinnamon and maple syrup smell while the apples bake. It fills the whole house like a bakery. What is your favorite topping to put inside a baked apple? I would love to hear your ideas.
A Fun Fact About Pepitas
*Fun fact: Pepitas are actually pumpkin seeds without the white shell. They are full of magnesium, which helps your muscles relax after playing or running around.*
You can swap them for sunflower seeds if you prefer. Or leave them out entirely. The recipe is flexible like a good friend. That is why this matters: cooking should fit your pantry, not the other way around.
How to Serve and Enjoy
Bake the apples for about 30 minutes at 350 degrees. They are ready when you can poke them gently with a fork and they feel tender. Serve them warm, right out of the oven. A scoop of coconut milk ice cream on top makes it extra special.
I like to eat mine with a small spoon, digging into the soft apple flesh and the nutty filling. The raisins get chewy, the pecans stay crunchy, and the coconut adds a little chew. Do you prefer your baked apples plain or with a scoop of something cold on top?
Your Turn in the Kitchen
This recipe is perfect for a rainy afternoon or a busy school night. You can even make it for a cozy breakfast. The apples work as a dessert, snack, or appetizer for a fall gathering.
I hope you give it a try and tell me how it goes. Take a picture and share it with someone you love. Cooking is about connection, and this little apple is full of it. What is your favorite fruit to bake when the weather turns cool?
Instructions
Step 1: Preheat your oven to 350°F. Line a baking sheet with parchment paper. I always forget this step and end up scrubbing pans. (Pro tip: parchment saves you time and tears.)
Step 2: Wash and dry your apples. Cut off the top half-inch layer. If the apple wobbles, slice a tiny sliver off the bottom to make it level. Be careful not to cut too deep — you want the apple to hold the filling.
Step 3: From the top, cut down around the core, leaving about one inch at the bottom. Use a spoon to scoop out the core and seeds until clean. My grandma used to say, “Take your time, or you’ll have a messy apple.” She was right.
Step 4: Layer one tablespoon of almond butter inside each apple. Top with pecans, raisins, coconut, and pumpkin seeds. Sprinkle with cinnamon and salt. Drizzle with maple syrup. Repeat until the apples are stuffed full. Doesn’t that smell amazing?
Step 5: Bake for 30 minutes, or until the apples are tender and soft. Serve warm. I like to add a scoop of coconut milk ice cream. What is your favorite apple for baking? Share below!
Creative Twists
… Swap the almond butter for peanut butter or sunflower seed butter for a nut-free twist. … Add a handful of dark chocolate chips on top before baking for a gooey surprise. … Use orange juice instead of maple syrup for a tangy, fruity pop. Which one would you try first? Comment below!
Serving & Pairing Ideas
Serve these warm apples with a dollop of Greek yogurt and a sprinkle of granola for crunch. Pair them with a mug of spiced tea or warm apple cider. I also love to place them on a plate with a few thin slices of sharp cheddar cheese — the sweet and salty dance is wonderful. Which would you choose tonight?
Storing Your Baked Apple Slices Like a Pro
I remember my first batch of these apple slices. I was so proud, I left them on the counter all night. By morning, they were sad and mushy. Learn from my mistake. Store leftovers in an airtight container in the fridge. They will stay fresh for up to four days. You can also freeze them. Wrap each apple slice in plastic wrap, then place them in a freezer bag. When you want a warm treat, just reheat one in the microwave for 30 seconds. Batch cooking is a lifesaver. Make a double batch on Sunday, and you have healthy snacks all week. This matters because it saves you time and money. No more throwing away food. Plus, having a quick, good-for-you snack ready means you are less likely to grab junk food. Have you ever tried storing it this way? Share below! For more snack ideas, visit our sweet treats page.
Three Common Problems and Easy Fixes
I once made these for a picnic, and the apples turned brown before we ate. Here is the fix. Problem one: apples turning brown. Squeeze a little lemon juice on them before baking. It keeps them looking pretty. Problem two: the filling spills out. I remember when I stuffed them too full. The filling just ran all over the pan. Leave a little room at the top of the apple. Problem three: the apples are not tender. Check them after 25 minutes. Every oven is different. You want them soft, but not falling apart. These fixes matter because they build your cooking confidence. When you know how to fix a problem, you feel like a real chef. It also makes the final dish taste so much better. No one likes a burnt or mushy apple. Which of these problems have you run into before? Find more healthy tips at our healthy lifestyle page.
Your Quick Questions, Answered
Can I use a different nut butter instead of almond butter? Yes, absolutely. You can swap in peanut butter, cashew butter, or sunflower seed butter for a nut-free version. Each one will change the flavor a little. Peanut butter adds a classic taste. Cashew butter is milder and creamier. Sunflower seed butter can turn the apples a bit green from a natural reaction, but it is safe to eat. Just use the same amount, which is one tablespoon per apple half. This swap keeps the recipe flexible for what you have in your pantry. It also makes the dish friendly for different allergies. So feel free to experiment with your favorite spread. For more baking basics, check out our about page.
How do I prevent the apple slices from getting mushy? The key is to not overbake them. Start checking for doneness at 20 minutes. You want them tender but still holding their shape. Also, use apples that are firm and crisp, like Honeycrisp or Granny Smith. Softer apples, like Red Delicious, break down faster. Another tip is to slice the apples a little thicker, about half an inch thick. Thicker slices hold up better to the heat. Finally, do not cover the pan while baking. Keeping them uncovered lets steam escape, which helps the apples stay firm. This matters because you want a nice texture, not a bowl of applesauce. A little crunch makes every bite more satisfying.
Can I make this recipe ahead of time? Yes, you can prep this the night before. Core and slice the apples, then toss them with a little lemon juice to stop browning. Store the apples and the filling separately in the fridge. When you are ready to bake, just stuff the apples and pop them in the oven. You can also bake the whole dish ahead of time. Let them cool completely, then store in the fridge. Reheat them in a 350°F oven for 10 minutes to bring back that fresh-baked warmth. This is perfect for busy mornings or when you have guests coming over. It takes the stress out of cooking. You just enjoy the moment.
What are the best types of apples to use for baking? For this recipe, you want apples that hold their shape. My top pick is Honeycrisp. They are sweet, crisp, and do not turn to mush. Granny Smith apples are another great choice. They are tart and firm, which balances the sweet filling. Fuji and Braeburn apples also work well. They are sturdy and have a nice natural sweetness. Avoid using Red Delicious or McIntosh apples for baking. They break down too quickly and can become mealy. A good rule is to choose apples that feel heavy and solid in your hand. This matters because the apple is the star. A good apple makes the whole dish shine.
Is this recipe vegan and gluten-free? Yes, this recipe is naturally vegan and gluten-free. There are no animal products in the ingredients. The almond butter, nuts, seeds, and maple syrup are all plant-based. There is no wheat or gluten anywhere in the recipe. Just make sure your almond butter and maple syrup are pure and do not have any added ingredients. Some brands add honey to almond butter, which is not vegan. Also, check your pumpkin seeds and coconut to be sure they are not processed in a facility with gluten. If you are serving someone with celiac disease, check all labels carefully. This makes the recipe a safe and delicious choice for almost everyone. It is a snack you can share with confidence.
How do I store leftover baked apple slices? Let the apples cool down to room temperature first. Then place them in an airtight container. Put the container in the refrigerator. They will stay good for up to four days. When you want to eat them again, you can reheat them in the microwave for about 30 seconds. Or warm them in a toaster oven at 350°F for 5 to 7 minutes. The filling might get a little softer, but the flavor will still be amazing. You can also freeze the baked apples for up to three months. Just wrap each one tightly in plastic wrap, then put them in a freezer bag. This is a great way to have a healthy treat ready anytime. Which tip will you try first?
A Warm Send-Off from Elowen Thorn
Thank you for spending time with me in my little kitchen. I hope these tips help you make the best baked apple slices ever. Cooking is about sharing love and joy. Do not be afraid to make mistakes. Every mess is a lesson. I would love to hear about your baking adventures. Have you tried this recipe? Tell me how it turned out in the comments below. Your stories make my heart so full. Remember to have fun and take a big bite of happiness. For more delicious ideas, see our morning favorites page.
*Fun fact: Apples float in water because they are 25% air! That is why they bob to the top when you wash them.*
Happy cooking!
—Grace Ellington.
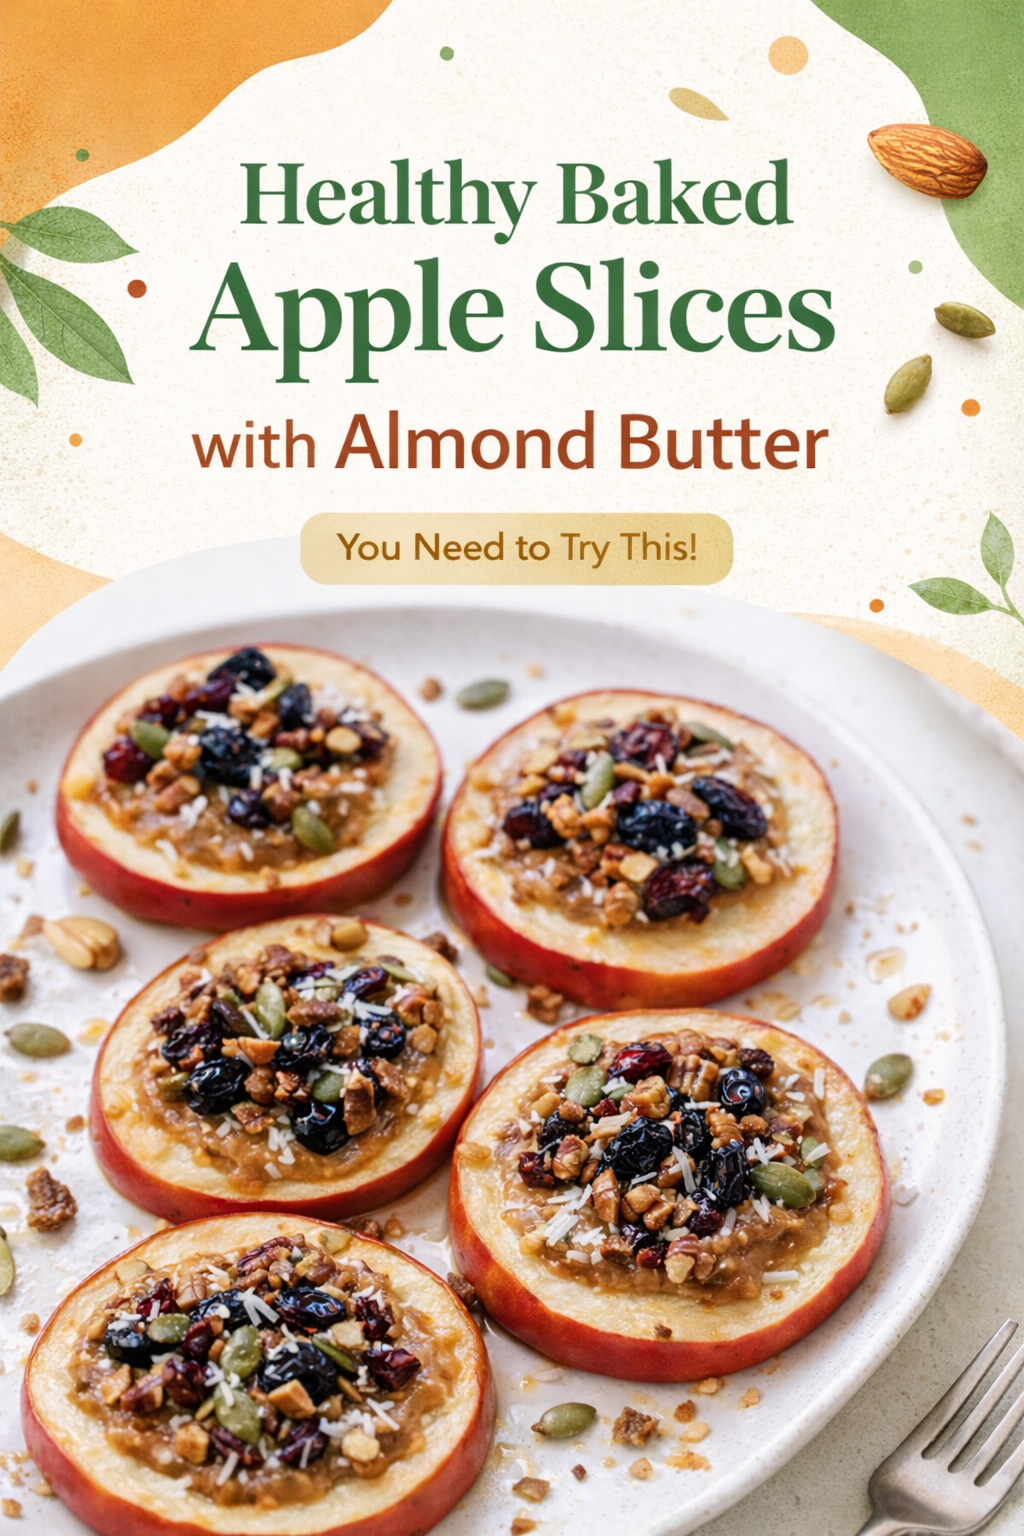
Cinnamon Baked Apple Slices with Almond Butter
Description
Cinnamon baked apples stuffed with almond butter, pecans, raisins, coconut, and pumpkin seeds, drizzled with maple syrup. A warm, wholesome dessert.
Ingredients
Instructions
- Preheat the oven to 350°F then line a baking sheet with parchment paper.
- Wash and dry the apples and remove the stems. Using a knife, cut the top 1/2-inch layer off of each apple. If necessary, slice a thin sliver off the bottom so that the apples are level. Careful not to cut too much, you want the bottom to be able to hold the filling. From the top of the apple, cut down around the center of the core, leaving about 1-inch in the bottom. Use a spoon to scoop out the core and seeds, until clean.
- Layer one tablespoon almond butter inside of each apple then top with 1/8th of the pecans, raisins, coconut, and pumpkin seeds. Sprinkle with 1/8 teaspoon cinnamon and salt then drizzle with pure maple syrup. Repeat that step until they are stuffed full.
- Bake in the oven for 30 minutes, or until apples are tender. Serve warm (with coconut milk ice cream, if desired) and enjoy!
Notes
- Calories: 492 | Total Fat: 30.8g | Saturated Fat: 8.2g | Trans Fat: 0g | Unsaturated Fat: 20.7g | Cholesterol: 0mg | Sodium: 167.4mg | Carbohydrates: 55.5g | Fiber: 10.7g | Sugar: 39.6g | Protein: 11.3g