
My Love for No-Bake Treats
It all started with a hot summer day. My oven broke. I had promised a dessert. I panicked! Then I remembered, no-bake desserts save the day. I still laugh at that kitchen scramble. Now I always keep a few no-bake ideas in my back pocket. It matters because life gets busy. A simple, cool treat can bring so much joy.
These Biscoff shooters are perfect for that. They feel fancy but are so easy. You just mix, layer, and chill. Doesn’t that sound relaxing? What is your favorite no-bake dessert to make when time is short? I’d love to hear. If you enjoy these, you might also adore this no-bake Biscoff banoffee pie. It’s another cool, creamy winner.
The Magic of Biscoff
Let’s talk about that special ingredient. Biscoff spread tastes like caramel and cookies. *Fun fact*: The cookies are also called “speculoos.” They are spiced with cinnamon. I love its warm, cozy flavor. It makes everything taste special. You can use it in so many ways!
Why does this matter? Finding one ingredient you love opens up a world of baking. It builds kitchen confidence. You can swirl it into frosting or drizzle it on ice cream. For a real project, try a stunning Biscoff layer cake. Or, for a simpler start, these Biscoff Rice Krispie treats are foolproof and fun.
The Secret to the Creamy Filling
The filling is just three things. Cream cheese, heavy cream, and Biscoff. The trick is in the whipping. Chill your bowl first. It helps the cream get fluffy and stiff. This gives the filling a light, cloud-like feel. It’s not heavy at all.
Gently fold the whipped cream into the Biscoff mix. Please don’t stir hard. You want to keep all that air. That’s what makes it so dreamy. This step matters because texture is everything in a dessert. Smooth and light beats dense every time. While it chills, you can make a quick 3-ingredient Biscoff pie crust for another day.
Layering Your Little Jars
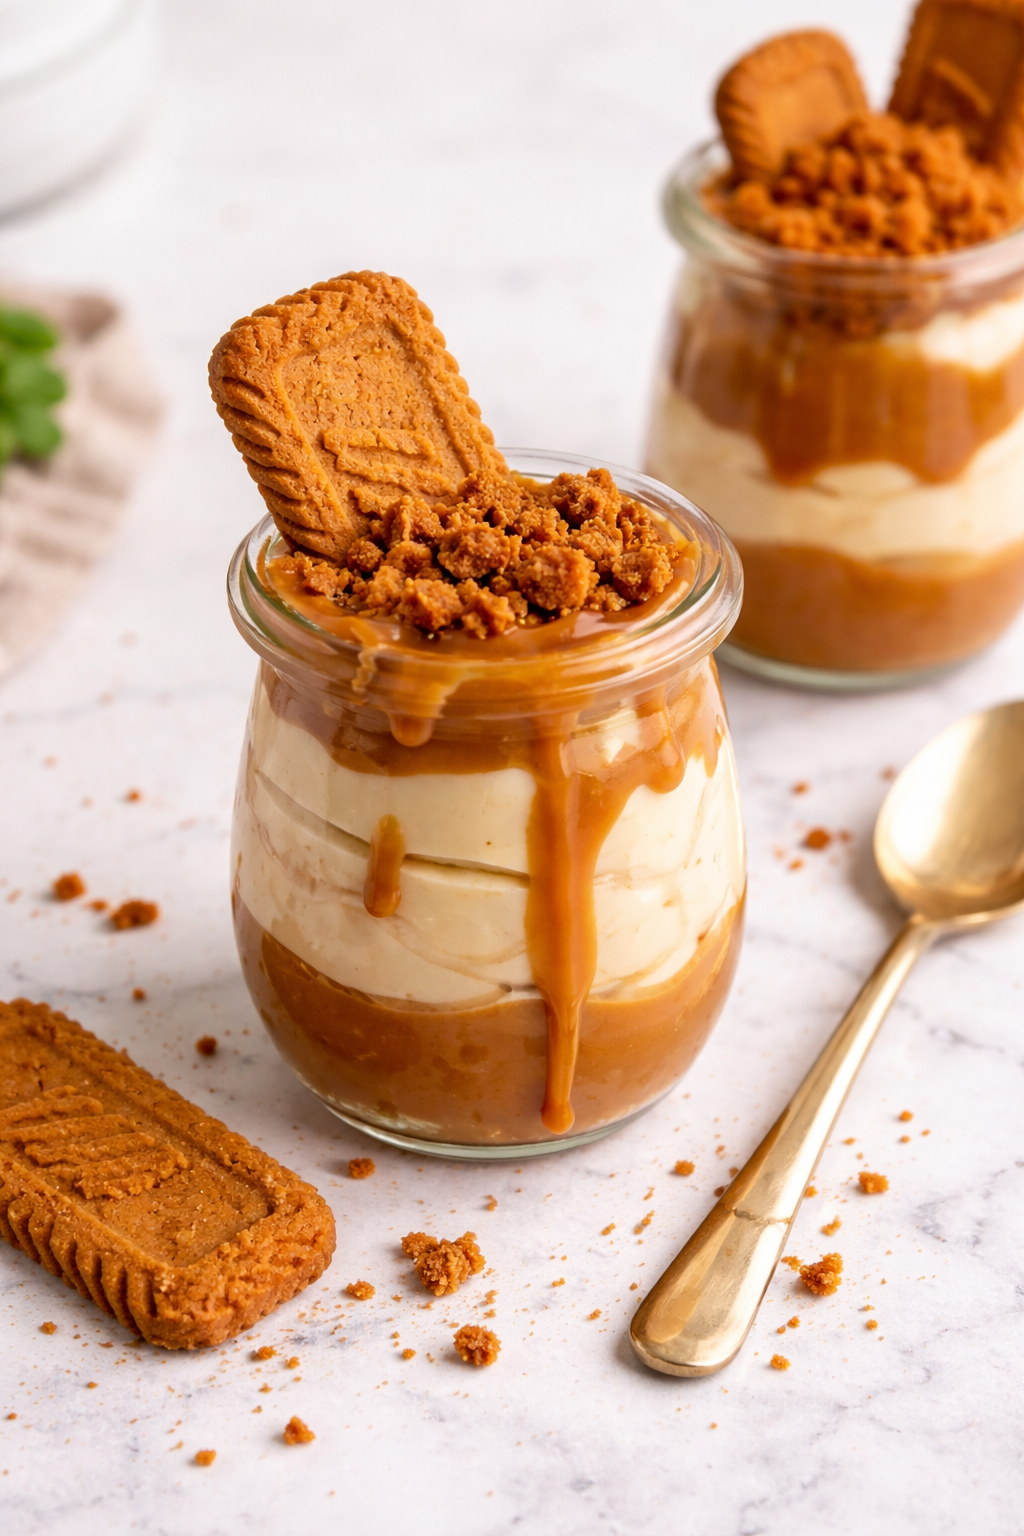
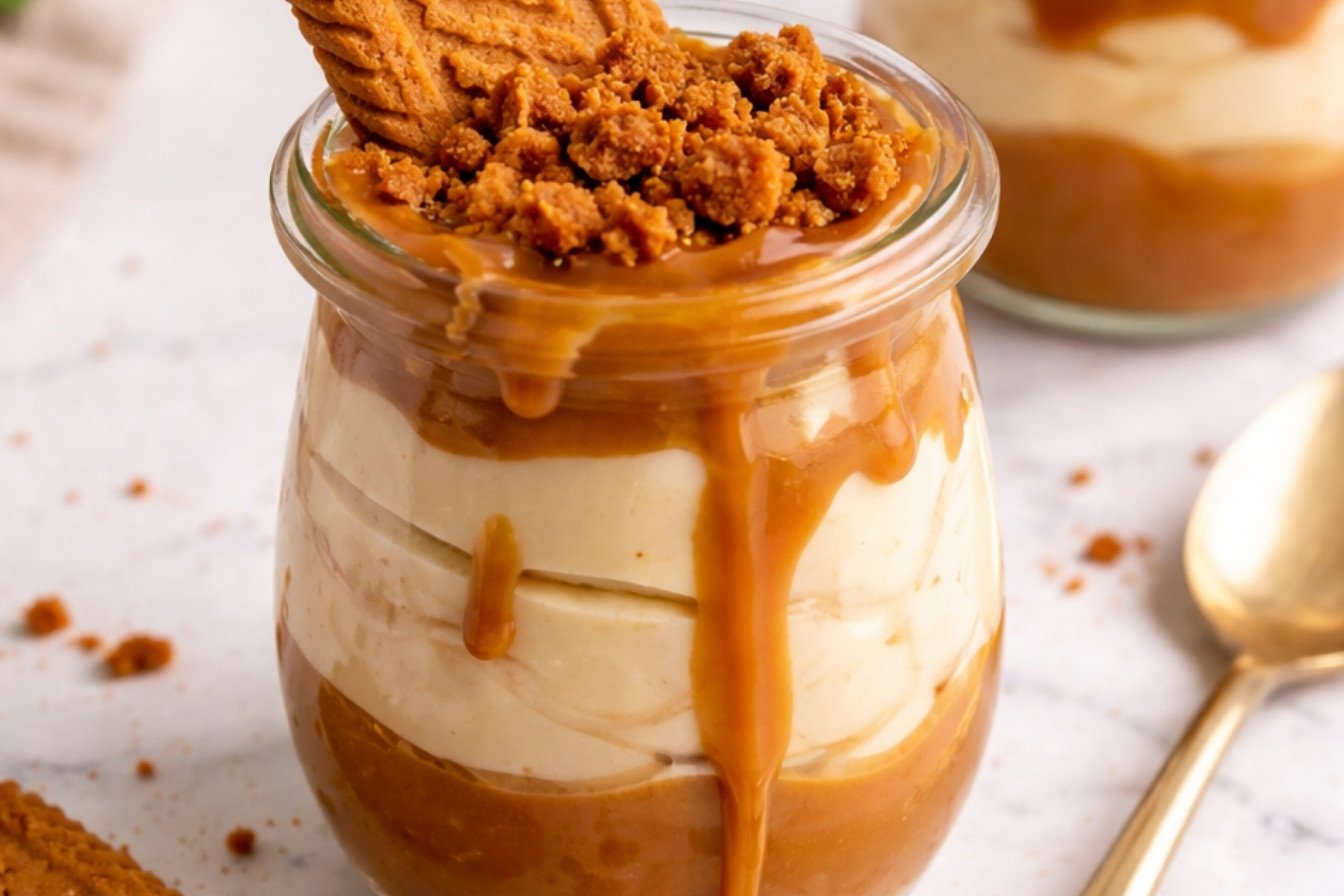
Here is the fun part. First, a pool of melted Biscoff in the bottom. It sets into a fudgy layer. Then, your fluffy cheesecake filling. Top it with another warm spoonful of that melted spread. Watch it drip down the sides. Doesn’t that look amazing?
The final touch is the crushed cookies. They add a lovely little crunch. It’s all about the layers of texture and taste. Do you like your desserts crunchy or smooth? I can never decide! For a different layered treat, this Biscoff cheesecake is a full-size wonder.
Sharing the Sweetness
These shooters are meant for sharing. They are personal little gifts. I love making them for my book club. Everyone gets their own jar. It feels so special. Food shared with love always tastes better.
That’s the final “why this matters.” Cooking connects us. A small dessert can start a big conversation. What’s your next gathering? Could these be your star treat? If you catch the Biscoff bug, try baking the cookies from scratch. Your house will smell incredible.
Instructions
Step 1: First, chill a metal bowl. This helps the cream whip up nice and tall. Whip the heavy cream until it forms soft, fluffy peaks. I still laugh at that. I once tried to whip it in a warm bowl. (A cold bowl is the secret to perfect whipped cream every time.)
Step 2: Now, beat the cream cheese and Biscoff spread together. Mix until it’s smooth and dreamy. Doesn’t that smell amazing? Be gentle and don’t overdo it. What’s your favorite cookie to bake with? Share below! For a different treat, try this Biscoff cheesecake recipe.
Step 3: Gently fold your whipped cream into the Biscoff mix. Do this in two parts. It keeps the filling light and airy. Then, pop it in the fridge to chill. This step is like letting a story settle before you tell it.
Step 4: Melt some Biscoff spread for the jar bottom. Use low heat so it doesn’t burn. Spoon it into your little jars. Swirl it around to make a yummy base. It’s like painting with cookie butter! You could also make an easy Biscoff pie crust with similar magic.
Step 5: Layer in the cheesecake filling. Leave a little room at the top. Then, melt more spread for a gorgeous topping. Pour it over the filling. Finally, chill everything for an hour. The wait is the hardest part!
Step 6: Just before serving, crush those Biscoff cookies. I use a bag and a rolling pin. Sprinkle the crumbs on top for a perfect crunch. A little extra drizzle looks lovely. For another no-bake idea, this Biscoff banoffee pie is a dream.
Creative Twists
Add a layer of sliced bananas for a banoffee vibe.
Mix crushed cookies right into the filling for extra texture.
Use mini chocolate chips instead of cookie crumbs on top.
Which one would you try first? Comment below!
Serving & Pairing Ideas
Serve these shooters with a cup of cold milk or a hot coffee. They’re perfect for a party. You can also top them with a tiny dollop of whipped cream. For a grand dessert table, pair them with a spiced pumpkin ice cream cake. Which would you choose tonight?
Keeping Your Biscoff Bites Beautiful
Let’s talk about storing these sweet treats. They live happily in the fridge for three days. Just cover them with a lid or wrap. You can also freeze them for a month. I once forgot a batch in my freezer. It was a lovely surprise weeks later!
Batch cooking is a wonderful time-saver. Make a double batch and freeze half. This means dessert is ready anytime guests pop over. It turns a treat into a handy gift, too. Storing food well matters. It saves money and cuts down on waste. You can enjoy your hard work longer. Have you ever tried storing it this way? Share below!
Simple Fixes for Common Kitchen Hiccups
First, is your cream not whipping? Your bowl and cream must be very cold. I remember when my cream just wouldn’t thicken. My kitchen was too warm that summer day! Chilling the bowl first fixes this every time.
Second, is the filling too runny? You likely overmixed it. Gently fold the whipped cream in. This keeps the air inside. That air gives you a light, fluffy texture. Getting this right builds your confidence. It makes the flavor feel luxurious.
Third, is the Biscoff layer too thick? Just re-melt it for a few seconds. A smooth pour makes pretty layers. Good layers make every bite perfect. Which of these problems have you run into before? For more fun with these cookies, try this homemade Biscoff cookies recipe.
Your Quick Questions, Answered
How to make Biscoff cheesecake bites without cream cheese?
You can use full-fat Greek yogurt or mascarpone cheese instead. Both will give a lovely tangy flavor. Make sure they are at room temperature. Whip them with the Biscoff spread until smooth. Then fold in your whipped cream. The texture will be slightly different but still delicious. It’s a great dairy-swap trick.
Can I use regular butter instead of Biscoff spread in the crust?
Yes, you can use melted butter for the base. Mix it with crushed Biscoff cookies. You won’t get the same spiced flavor, though. The spread has all the magic cookie butter taste. For a classic crust, try this easy 3-ingredient Biscoff pie crust method.
How long do no-bake Biscoff bites need to set in the fridge?
They need at least one hour to set properly. I always plan for two hours, just to be safe. This lets all the layers firm up nicely. The wait is worth it for the perfect slice. A fun fact: the word “Biscoff” comes from “biscuit” and “coffee”.
What can I use instead of heavy cream for a lighter version?
Chilled coconut cream is a good dairy-free option. Whip it just like heavy cream. For a lighter dairy choice, try cold evaporated milk. Whip it until it forms soft peaks. The filling will be less rich but still tasty. It’s a simple swap for everyday treats.
Can Biscoff cheesecake bites be frozen for later?
Absolutely! Freeze them for up to one month. Place them in a single layer first. Once solid, you can stack them. Thaw in the refrigerator for a few hours before serving. This makes them a perfect make-ahead dessert. For another great freezer-friendly idea, see this spiced pumpkin ice cream cake.
How do you prevent the cheesecake filling from sticking to the pan?
We use jars here, so sticking isn’t a problem! No pan to line or grease. The Biscoff spread layer at the bottom helps, too. It sets into a non-stick base. For other desserts, always line your pan with parchment paper. Which tip will you try first?
From My Kitchen to Yours
I hope you love making these little jars of joy. They always bring smiles to my table. Cooking is about sharing and creating sweet memories. I’d love to hear about your kitchen adventures. Have you tried this recipe? Tell me all about it in the comments below! For more Biscoff inspiration, this no-bake Biscoff banoffee pie is another favorite.
Happy cooking!
—Clara Cooper
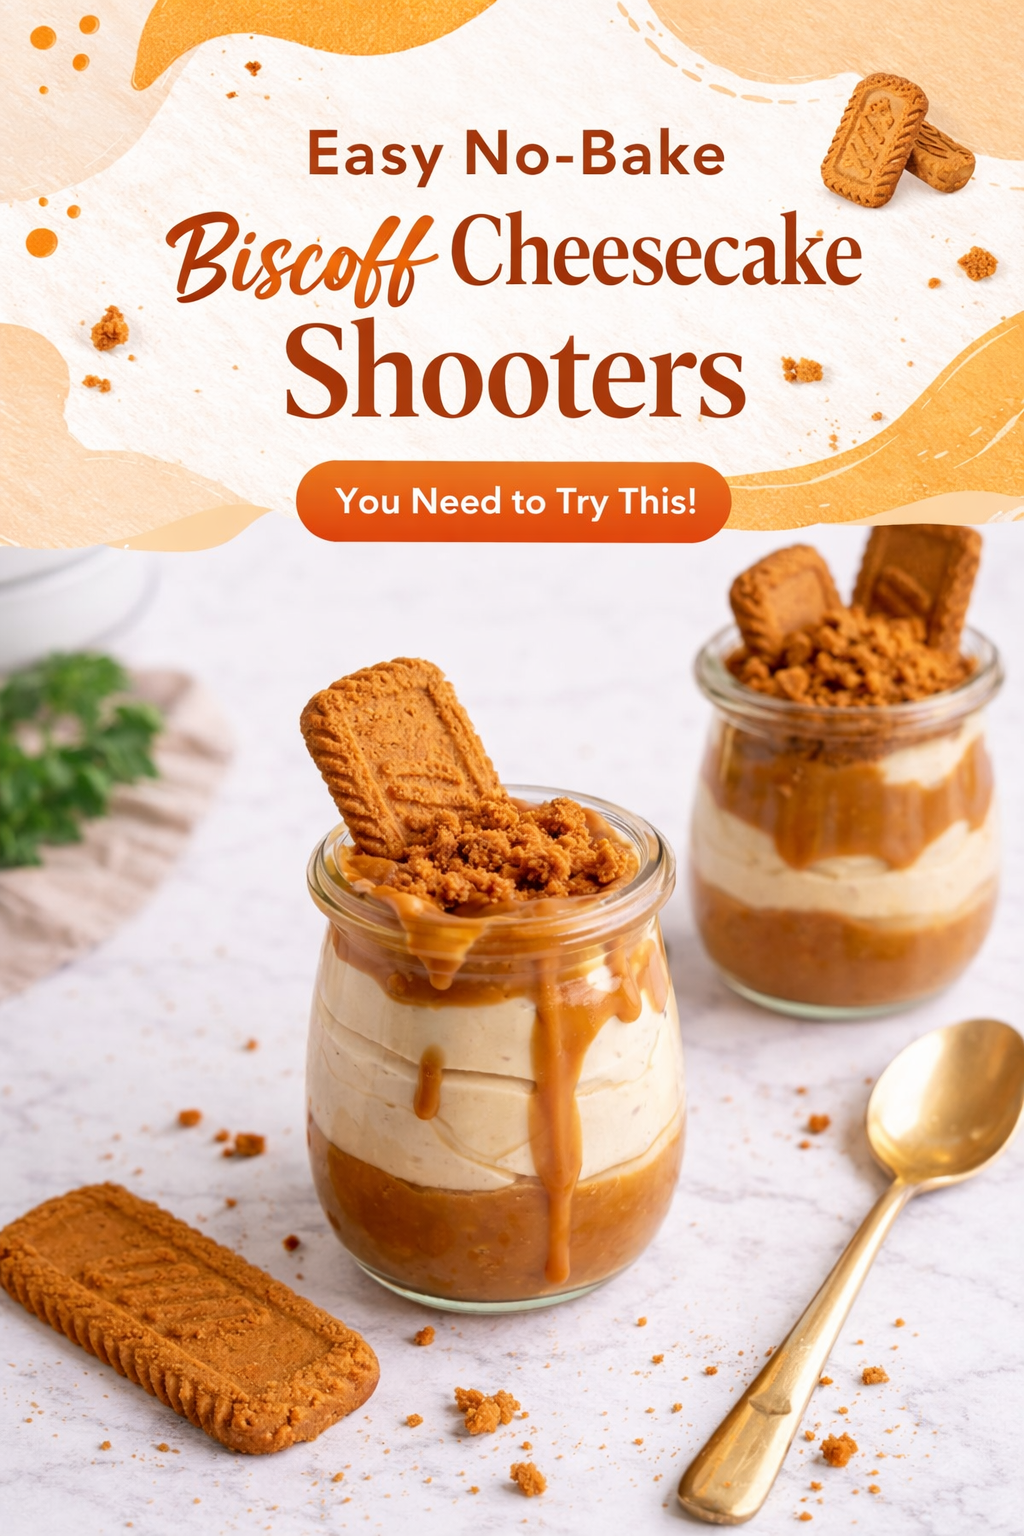
Biscoff No-Bake Cheesecake Bites
Description
Indulge in these decadent, no-bake cheesecake bites with layers of creamy Biscoff filling, melted spread, and a crunchy cookie topping.
Ingredients
8 tablespoons smooth Biscoff spread, melted (2 tablespoons per jar) (125g)
¾ cup heavy cream, at least 33% fat (180ml)
7 oz full-fat cream cheese, softened (200g)
½ cup smooth Biscoff spread (125g)
8 -12 tablespoons smooth Biscoff spread, melted (2-3 tablespoons per jar) (125-180g)
6 -8 Biscoff cookies, crushed (about 35-50g)
Instructions
- Chill a metal bowl in the freezer for about 10 minutes, then remove it. Add the heavy cream and beat with a hand mixer, starting on low and increasing to medium-high, until stiff peaks form. Set aside.
- In another bowl, beat the cream cheese and ½ cup Biscoff spread until smooth and creamy. Avoid overmixing.
- Gently fold the whipped cream into the Biscoff mixture in two batches. Chill while assembling.
- Melt 8 tablespoons of Biscoff spread in the microwave on low (about 10-15 seconds), or use a double boiler.
- Spoon 2 tablespoons into the bottom of each tulip jar. Swirl gently to coat the base.
- Spoon or pipe the cheesecake filling into each jar, filling to just below the rim.
- Melt another 8-12 tablespoons of Biscoff spread and spoon 2-3 tablespoons over the cheesecake layer in each jar.
- Refrigerate for about an hour to set.
- Just before serving, sprinkle each jar with a generous layer of crushed Biscoff cookies.
- Optional: Drizzle with more melted Biscoff spread for garnish.
Notes
- Ensure cream cheese is fully softened for a smooth filling. For a firmer set, chill for longer. Use a piping bag for a neater presentation.