
Why Banana Pops Are My Summer Secret
I remember the first time I made these frozen banana pops. It was a hot July afternoon, and my grandkids were bouncing off the walls. I had three brown bananas on the counter and no ice cream in the freezer. So I chopped them up, stuck in some sticks, and dunked them in melted chocolate. The kitchen got quiet real fast. That is when I knew I had stumbled onto something magical. These treats take only ten minutes to make, and they feel like a real dessert. But they are just fruit and a little chocolate. Doesn’t that smell amazing when you melt the chips? The secret is the coconut oil, which makes the chocolate smooth and shiny. You can find more quick kitchen wins on my site.
Why does this matter? Because we all want something sweet that does not make us feel bad. A frozen banana pop gives you that candy-bar feeling with actual fruit inside. It is a small swap that adds up over a whole summer. Have you ever tried frozen bananas before? I would love to know your favorite way to eat them.
The Simple Trick for Perfect Chocolate Coating
Let me share the little trick I learned the hard way. If you just dip a cold banana into hot chocolate, the chocolate gets clumpy and thick. So you need to add one teaspoon of coconut oil to your chocolate chips. Microwave it in short bursts, about thirty seconds each, and stir between each round. It takes about ninety seconds total. The oil makes the chocolate runny like syrup. Then you hold the banana upside down and spoon the chocolate over it. Let it drip down and use the back of the spoon to smooth it out. I still laugh at the first time I tried this and ended up with more chocolate on my fingers than on the banana. My granddaughter said I looked like a chocolate monster. She was right. For more fun kitchen stories, click over here.
Why does this matter? Because a good coating keeps the banana from turning brown and icy. It also makes the pop look pretty enough for a birthday party. You do not need fancy equipment. Just a bowl, a spoon, and a little patience. What is the messiest thing you have ever made in the kitchen? Tell me, I bet I have made something messier.
Toppings Are the Best Part
Here is where you get to be the boss. Once the chocolate is on the banana, you can roll it in anything you like. I keep a little tray of toppings ready before I start dipping. That way I can sprinkle while the chocolate is still wet. My grandson loves crushed-up fruity cereal on top. My granddaughter picks mini M&Ms, one by one, and presses them in like she is building a mosaic. I like chopped peanuts for a salty crunch. You can even drizzle peanut butter or caramel over the top after the chocolate sets. The options are endless. Have you ever tried freeze dried fruit crumbles? They add a sour pop that balances the sweet chocolate. You might also like this fresh pico de gallo recipe for a savory contrast.
Fun fact: Bananas are technically berries, but strawberries are not. I know, it sounds backwards. But botanically, a banana fits the definition of a berry, while a strawberry does not. Try telling that to a kid while they eat their banana pop. It makes a good conversation starter at the dinner table.
How to Make Them Look Fancy
If you want to impress someone, make a batch of these pops and arrange them on a pretty plate. The hardest part is waiting for them to freeze. It takes at least two hours, so plan ahead. I line a baking sheet with parchment paper and place the pops on it without letting them touch each other. That way they freeze flat and do not stick. Once they are solid, you can wrap each one in wax paper and store them in a zip bag. They last about two weeks in the freezer. But in my house, they never last more than two days. For more DIY projects to keep kids busy, check out my greenhouse page.
Why does this matter? Because having a healthy snack ready in the freezer means you are never caught off guard. When the kids come home hungry and hot, you have something cold and sweet waiting. It beats a store-bought popsicle full of corn syrup every time. Do you have a go-to freezer snack for your family? I am always looking for new ideas.
A Little History Lesson on Frozen Treats
People have been freezing fruit for a long time. Ancient Romans used to pack snow around fruit to keep it cold. But the first frozen banana pop as we know it became popular in the 1920s. Ice cream trucks started selling chocolate-covered frozen bananas at fairs and beaches. They called them “banana pops” and they cost a nickel. My dad used to tell me about buying them from a man with a cart at the county fair. He said the chocolate was always a little melty and the banana was still firm. That is exactly how I like mine today. You can read more about food memories in my personal stories.
I still think about those old fair treats when I make these at home. It feels like a little piece of history in my kitchen. And the best part is that I control the sugar. I use dark chocolate chips to cut down on sweetness, and I skip the candy toppings. But you do what makes you happy. That is the beauty of cooking. Do you have a food memory from your childhood that you still make today? I would love to hear about it.
Nutrition and Balance in Every Bite
Each banana pop has about 167 calories. That is less than most candy bars. You get 3 grams of fiber and 2 grams of protein, which helps keep you full. The fat comes from the chocolate and coconut oil, but it is mostly the good kind. I am not a nutritionist, but I know that a banana gives you potassium and vitamin B6. So when my kids ask for dessert, I can say yes without guilt. And they think I am the cool grandma who lets them eat chocolate before dinner. For more simple healthy swaps, take a peek at my privacy page for more resources.
Why does this matter? Because we do not have to choose between tasty and healthy. A banana pop gives you both. It is a small victory in a world full of complicated diets. If you try this recipe, let me know what toppings you use. I am always curious how people make it their own. Share your creation with me, and maybe I will try your version next time.
Instructions
Step 1: Line a small baking sheet with parchment paper. Make sure you have a flat spot in your freezer ready to go. I always forget and have to shuffle things around. (Trust me, clear that space first or your bananas will be stuck.)
Step 2: Peel your ripe bananas and cut each one in half. Push a popsicle stick halfway into the flat end of each banana half. It should feel snug, like a little handle for a frozen treat. What is your favorite kind of popsicle stick to use? Share below!
Step 3: In a small bowl, mix the chocolate chips and coconut oil. Microwave in 30-second bursts, stirring each time, until smooth and shiny. It usually takes about 90 seconds total. Doesn’t that smell amazing? It reminds me of making biscuits on a rainy Sunday.
Step 4: Coat each banana evenly with the melted chocolate using a spoon. I like to hold the banana upside down and let the chocolate slide right up to the stick. Then I use the back of the spoon to spread it smooth. It is a little messy, but I still laugh at that part every time.
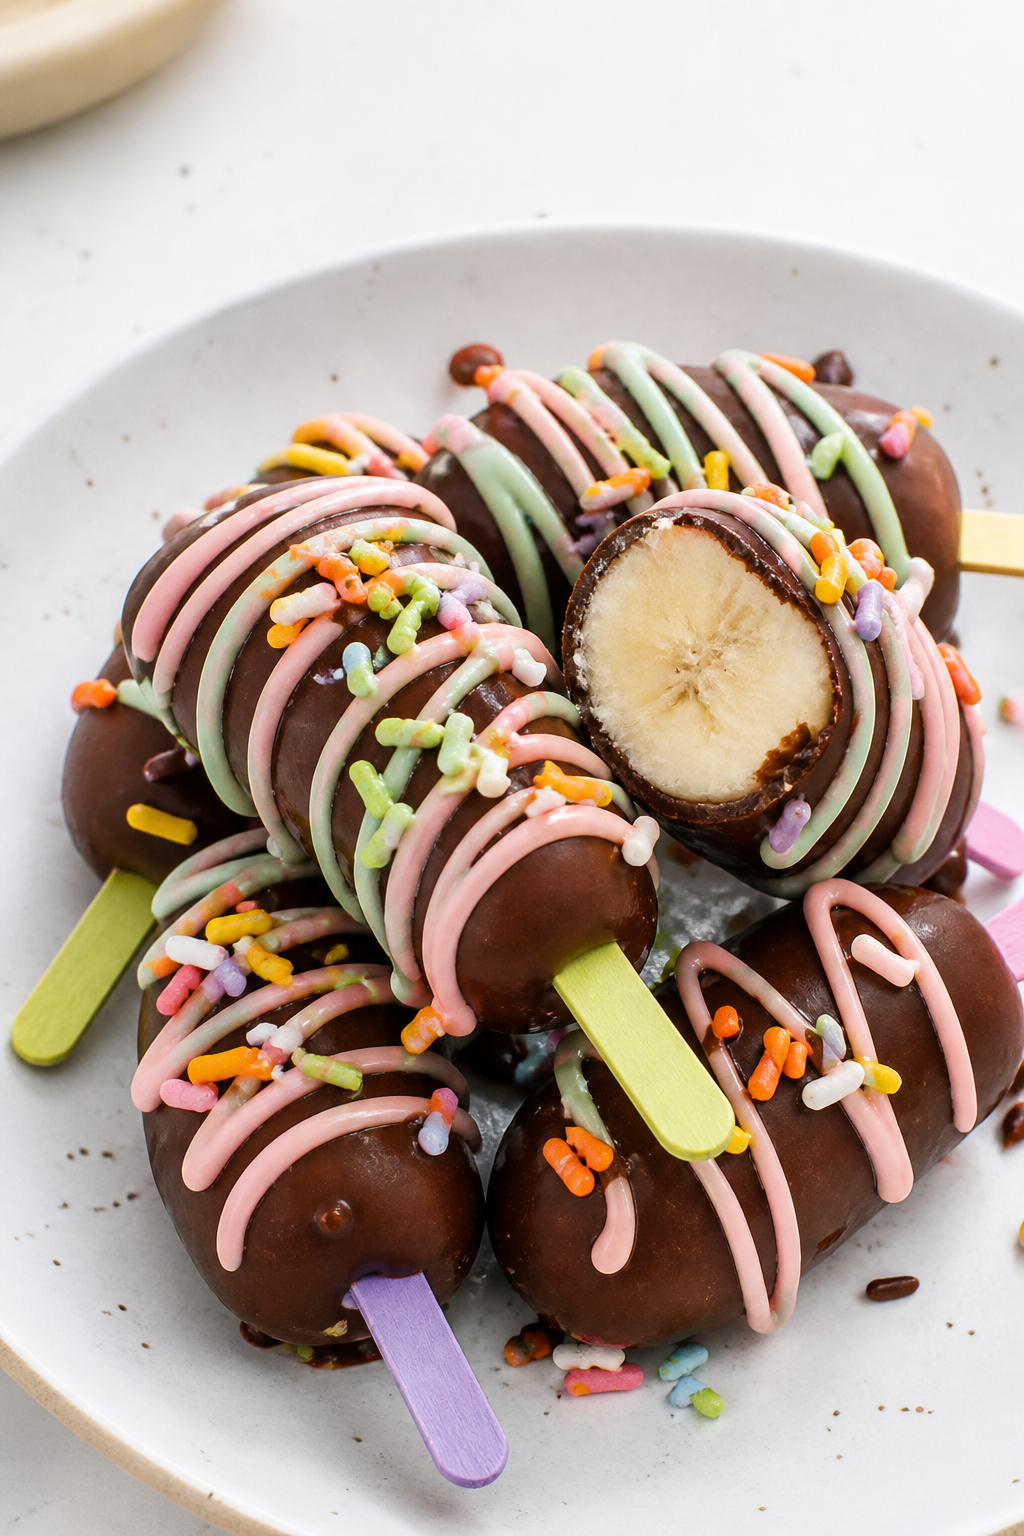
Step 5: Place each chocolate-covered banana on the prepared baking sheet. Decorate with your favorite toppings like sprinkles, nuts, or even pico de gallo for a fun twist. Freeze for at least two hours until firm. Then enjoy right away.
Creative Twists
… Dip the bananas in melted white chocolate and roll them in crushed freeze-dried strawberries for a pink crunch.
… Drizzle warm peanut butter over the chocolate coating, then sprinkle with crushed pretzels for a salty-sweet bite.
… Roll the pops in crushed cereal like Fruity Pebbles or granola for a breakfast-style treat that is still dessert.
Which one would you try first? Comment below!
Serving & Pairing Ideas
Serve these frozen banana pops on a bright plate with a little pool of extra melted chocolate for dipping. Pair them with a tall glass of cold milk or a scoop of vanilla ice cream for a fun contrast. I love stacking them in a tall glass like a bouquet of sweet treats for a party. They also look lovely next to a fresh pico de gallo appetizer board. Which would you choose tonight?
How to Store Your Frozen Banana Pops (And Why It Matters)
I remember the first time I made these pops. I stacked them in the freezer with no care. They all stuck together in one sad, chocolaty clump. Now I know better. Always line your tray with parchment paper first. Then place each banana pop flat, not touching, for two hours. Once they are solid, you can wrap each one in wax paper and store them in a sealed bag. They will last up to three months that way. Batch cooking saves time and gives you a treat ready for any sweet craving. This matters because having a healthy snack on hand keeps you from reaching for junk. Have you ever tried storing it this way? Share below!
Three Common Problems (And Easy Fixes)
I once had my chocolate seize up and turn grainy. It happens when water gets into the melted chocolate. Use a dry bowl and spoon. Another trouble is the banana sliding off the stick. Push the stick only halfway into the banana, not all the way through. A third issue is the chocolate cracking when frozen. That is why we add one teaspoon of coconut oil. It keeps the coating smooth and bendable. Fixing these problems boosts your confidence in the kitchen. It also makes every bite taste just right. Which of these problems have you run into before?
Your Quick Questions, Answered
How long do chocolate frozen banana pops last in the freezer?
They stay good for up to three months if stored correctly. After you freeze them solid on the tray, wrap each pop in wax paper or plastic wrap. Then place them in a freezer-safe zip bag. Squeeze out all the air before sealing. This keeps freezer burn away and the chocolate fresh. I once found a pop from two months ago and it tasted perfect. Just be sure your freezer stays at a steady temperature. This matters because a good storage method saves money and reduces waste.
Can you use milk chocolate instead of dark chocolate?
Yes, you can use milk chocolate, white chocolate, or even dark chocolate. Each kind changes the sweetness and flavor. Milk chocolate makes a creamier, sweeter pop. Dark chocolate gives a richer taste with less sugar. I use whatever I have in my pantry. Just remember to mix in one teaspoon of coconut oil for a smooth coating. This matters because using what you have on hand makes cooking easy and fun. No need to buy special ingredients.
How do you prevent the banana from turning brown?
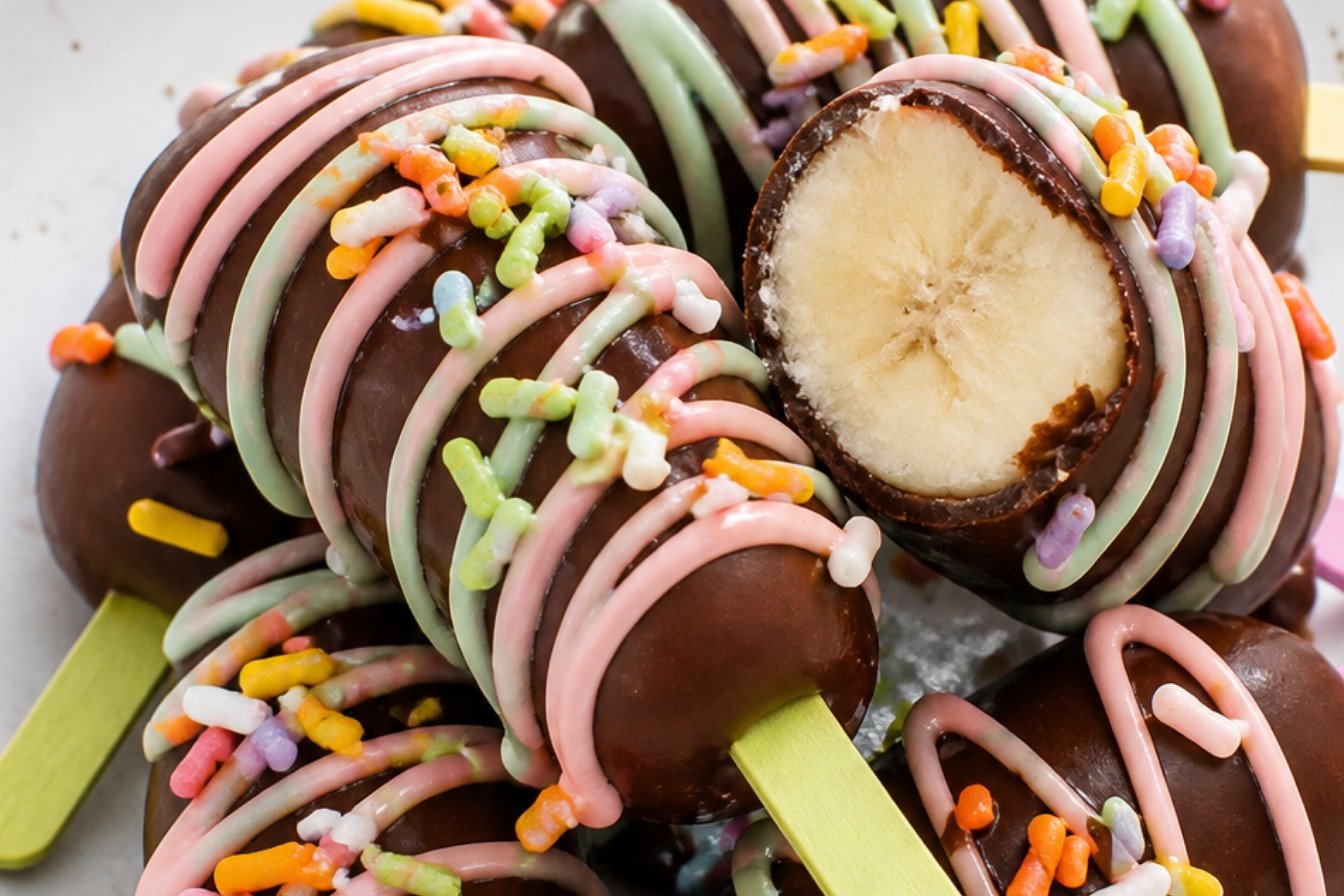
Bananas turn brown when they touch air. The chocolate coating seals the banana completely so no air gets in. Work quickly after peeling. Dip or spoon the chocolate over the banana right away. Make sure every bit of banana is covered, especially the cut ends. I always hold the banana upside down to coat the top near the stick. This matters because a fresh-looking pop tastes better and looks prettier on the tray.
Can you make them with yogurt instead of chocolate?
Yes, you can use thick Greek yogurt instead of chocolate. Dip the banana pops in yogurt and then freeze them. The yogurt will become firm and creamy, like a frozen treat. But yogurt does not freeze as hard as chocolate, so eat them within a week. I like to roll yogurt-dipped bananas in crushed nuts or granola before freezing. This matters because it gives you a lighter option with protein and probiotics for a healthy snack.
What toppings go best with chocolate frozen banana pops?
Crushed peanuts, sprinkles, shredded coconut, and mini M&M’s are top choices. I also love crushed freeze-dried strawberries for a tangy pop. Granola gives a nice crunch, and a drizzle of peanut butter adds richness. The trick is to add toppings right after coating, before the chocolate hardens. This matters because toppings add texture and fun to every bite. Children love helping with this step.
Fun fact: Bananas are botanically berries, while strawberries are not!
Are chocolate frozen banana pops healthy?
They are a healthier choice than many store-bought ice cream treats. Each pop has around 167 calories, 3 grams of fiber, and only 2 grams of protein. The bananas give you potassium and natural sweetness. Use dark chocolate and skip sugary toppings for an even better option. I serve these to my grandchildren as a fun snack, not a dessert. This matters because you can enjoy a sweet treat without feeling guilty.
Which tip will you try first?
A Warm Send-Off From My Kitchen to Yours
I hope these tips help you make the best frozen banana pops ever. They are easy, fun, and perfect for warm days. I still get a little thrill watching the chocolate set on the banana. It feels like kitchen magic every time. Have you tried this recipe? I would love to hear how yours turned out. Drop a comment below and tell me your favorite topping. Happy cooking!
—Grace Ellington.
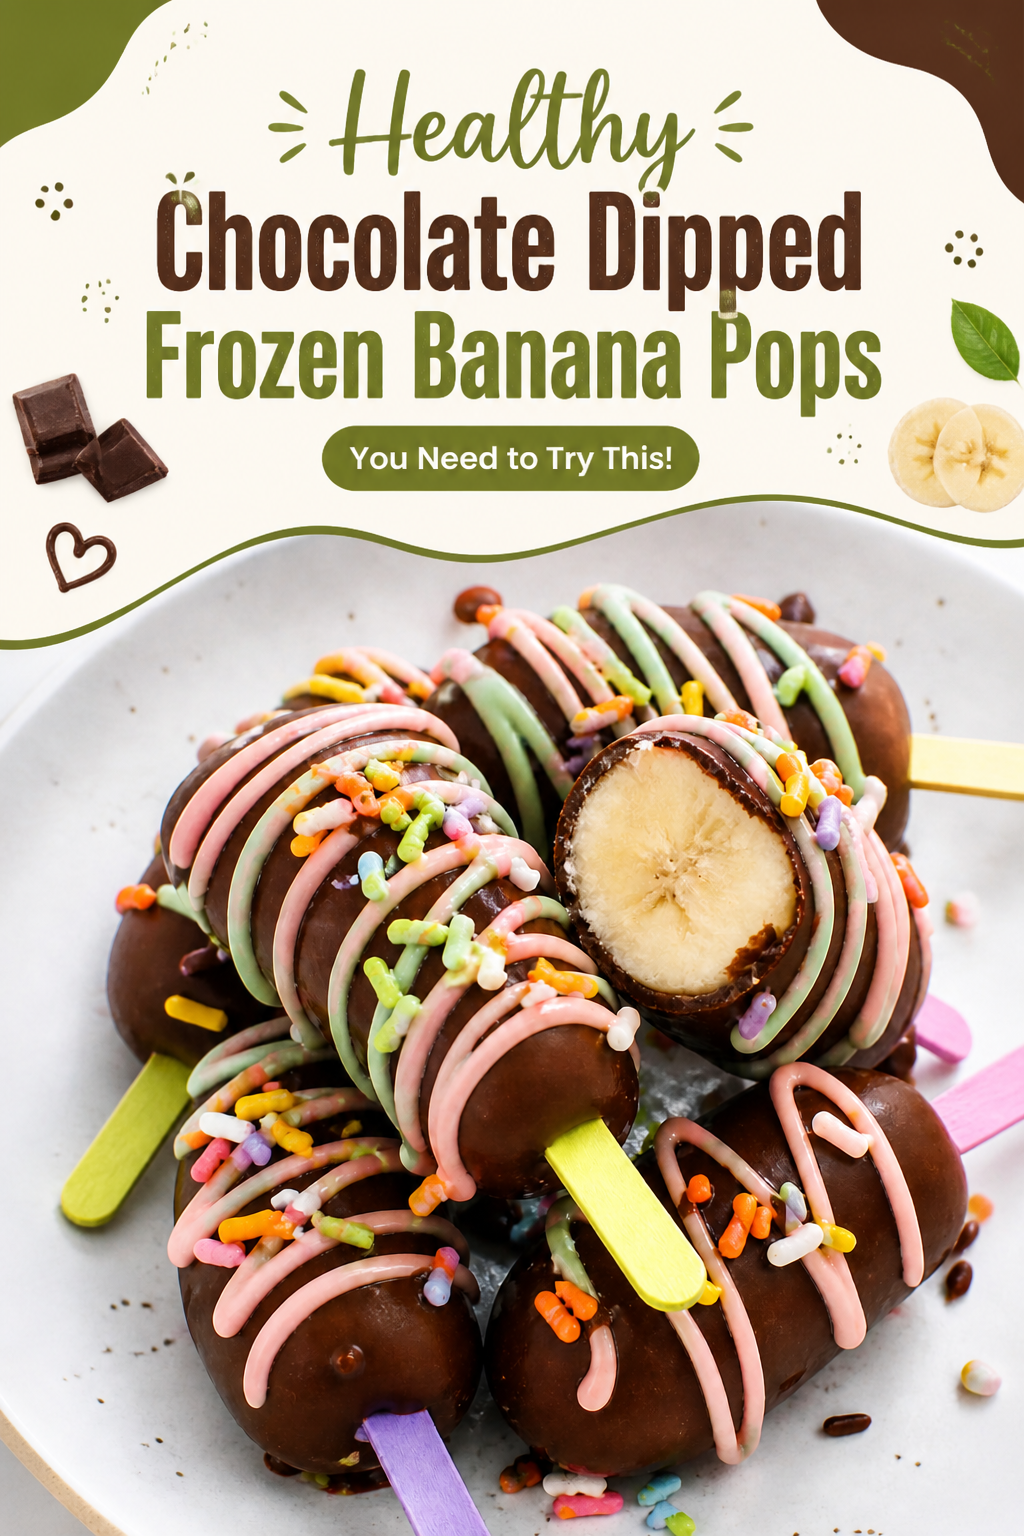
Chocolate Frozen Banana Pop Treats
Description
Frozen chocolate-covered banana pops on sticks, customizable with your favorite toppings for a fun, healthy treat.
Ingredients
Instructions
- Line a small baking sheet or tray with parchment paper and set aside. Make sure there is a flat space in your freezer to place the baking sheet.
- Peel bananas and cut them in half. Insert a popsicle stick in the base of each banana half, and push halfway into the banana.
- In a small bowl, combine the chocolate and coconut oil. Microwave in 30-second increments, stirring in between, until the chocolate is melted and smooth (about 90 seconds total).
- Using a spoon, coat each banana evenly with melted chocolate. I like to hold the banana upside down and use the spoon to scoop the chocolate all the way up to the popsicle stick and let the chocolate slide down, repeat until the entire banana is covered, then I use the back of the spoon to spread it out evenly.
- Place each chocolate covered banana on the prepared baking sheet. Decorate as desired and place in the freezer for at least 2 hours.
- Enjoy frozen!
Notes
- Store leftovers in an airtight container in the freezer for up to 2 weeks.