
My Go-To Party Trick
I make this cheese ball for every party. It only takes ten minutes. My grandkids call it “Grandma’s Magic Ball.” I still laugh at that. You just mix, taste, and shape it with your hands. It feels like playing with clay.
Then you get to dress it up. I love my way: cilantro, lime juice, and red chili flakes. It looks so pretty on a plate. Doesn’t that smell amazing? The lime makes it fresh. The chili gives it a little kick. What is your favorite thing to put on top? Tell me in the comments.
Why Simple Food Wins
This matters because food should bring joy, not stress. A good appetizer gets people talking. It is the first taste of the party. I learned this from my own grandma. Her table was always full of simple, tasty things.
One time, I forgot to make anything fancy. I only had this cheese ball. Everyone loved it the most! The lesson? Good food does not need to be hard. It just needs to be made with a happy heart. This is a great lesson for any easy dinner too.
A Little Story About Taste
Here is my mini-anecdote. My neighbor Sam is a very picky eater. He never tries my new recipes. But he tried this cheese ball. He ate half of it himself! Now he asks me to make it all the time.
This taught me to always “taste and adjust.” That step in the recipe is so important. Your family might like more lime. I might like more chili. Making it your own is the secret. Do you like your snacks more creamy, spicy, or tangy?
The Fun of Making It Yours
Garnishing is the best part. It is like choosing an outfit for your food. My red chili flakes look like confetti. You could use chopped nuts or paprika. The colors make everyone smile before they even take a bite.
*Fun fact*: The cheese ball became popular in America in the 1940s. It was a way to use cream cheese and canned goods! We have much better ingredients now. This matters because cooking changes with us. Just like my skillet chicken recipe, old ideas get new, tasty life.
More Than Just a Snack
This cheese ball is more than food. It is a conversation starter. It sits on the table while people chat. It brings everyone together. I think the best meals are shared, from a big healthy salad to a simple snack.
What is the one snack your family always asks you to make? Is it something sweet or savory? Share your story with me. I love reading them. Cooking connects us all. That is the real secret ingredient, if you ask me.
Instructions
Step 1: Let your cream cheese sit out. It needs to get soft and cozy. This makes mixing so much easier. My grandkids are always too impatient for this step! (A hard-learned tip: Use a fork to mash it first if you’re in a hurry.)
Step 2: Mix all your cheeses in a big bowl. Add your favorite spices. I use garlic powder and a little onion. Doesn’t that smell amazing already? What’s your favorite spice to add? Share below!
Step 3: Taste your mixture now. This is the fun part. Add a pinch more salt or spice if it needs it. I still laugh at the time I forgot the salt! Shape it into a ball with your clean hands.
Step 4: Roll your cheese ball in chopped nuts or herbs. Press them in gently. Then, wrap it up in plastic. Let it rest in the fridge for an hour. This helps all the flavors become best friends, just like in a good creamy lemon chicken skillet.
Step 5: Time to decorate! Garnish however you like. I love cilantro, lime juice, and red chili flakes. It makes it so pretty and tasty. Serve it with crackers or crisp veggies. It’s the perfect start to any meal, even before a hearty kale Caesar salad.
Creative Twists
Everything Bagel: Roll it in everything bagel seasoning for a savory crunch.
Sweet & Spicy: Mix in a little pepper jelly for a fun kick.
Herb Garden: Use fresh dill and chives, like in my savory herb biscuits.
Which one would you try first? Comment below!
Serving & Pairing Ideas
Place your cheese ball on a pretty plate. Surround it with salty crackers and apple slices. The sweet apple is a lovely surprise. For a full spread, add some quick creamy peanut noodles on the side. It’s a great protein-packed party. Which would you choose tonight?
Keeping Your Cheese Ball Happy
Let’s talk about storing your cheese ball. Wrap it tight in plastic wrap. This keeps it fresh in the fridge for a week. You can also freeze it for a month. Thaw it in the fridge overnight when you’re ready.
I remember my first cheese ball. I left it uncovered. It dried out like a rock! Now I always wrap it well. Batch cooking matters because it saves time. Make a double batch for future you. It means a tasty snack is always ready for guests.
To serve, let it sit out for 30 minutes. This softens it perfectly for spreading. Have you ever tried storing it this way? Share below!
Simple Fixes for Common Snack Fumbles
Sometimes our snacks need a little help. Here are three easy fixes. First, a cheese ball that’s too soft. Chill it for an hour. This makes it firm and easy to shape.
Second, flavors that taste bland. Always taste as you mix. Add a pinch more salt or a squeeze of lime. I once forgot the salt entirely. It was very forgettable! Getting the seasoning right matters. It turns good food into great food.
Third, a garnish that won’t stick. Pat your cheese ball dry with a paper towel first. Then roll it in nuts or herbs. This simple step builds your cooking confidence. Which of these problems have you run into before?
Your Quick Questions, Answered
What is the best way to cook chicken for coconut curry udon?
Cut boneless chicken into bite-sized pieces. Season them simply with salt. Cook in a hot pan with a little oil until golden. This seals in the juices. Then let it finish cooking in the simmering curry broth. It stays tender and soaks up all that creamy flavor.
Can I use shrimp instead of chicken in coconut curry udon?
Yes, shrimp is a wonderful swap! Add them at the very end. Cook them just until they turn pink and curl. This takes only 3-4 minutes. If you cook shrimp too long, they get rubbery. They make the soup feel special and light.
How do you make coconut curry sauce creamy without dairy?
Full-fat coconut milk is the key. It is naturally rich and creamy. Let your curry simmer gently to thicken. A spoonful of creamy peanut butter also works magic. *Fun fact: peanut butter is a classic trick in many West African stews.* It adds depth and a silky texture.
What vegetables go well in a coconut curry udon soup?
Use quick-cooking veggies. Bell peppers, spinach, and snap peas are perfect. Add them near the end so they stay bright and crisp. For heartier meals, try roasted sweet potatoes or cauliflower. They add wonderful color and make the bowl more filling.
Is there a quick or instant pot version for coconut curry udon?
Absolutely. Use the sauté function to cook your chicken and curry paste. Then add broth and coconut milk. Pressure cook on high for just 5 minutes. Quick release, stir in your udon and veggies. Let it sit for 5 minutes to cook the noodles. Dinner is done fast!
What type of udon noodles are best for creamy coconut curry?
Fresh, frozen, or dried udon all work. I prefer the frozen par-cooked kind. They have a wonderful chewy texture. Just rinse them under warm water to separate. Then add to your hot soup. They soak up the sauce beautifully without getting mushy. Which tip will you try first?
From My Kitchen to Yours
I hope you love making this cheese ball. It has been a joy in my home for years. The best recipes are the ones we share. I would love to hear about your kitchen adventures. Visit our about page to learn more about our story.
Tell me all about it in the comments below. Did you add your own special twist? Have you tried this recipe? I read every note from you.
Happy cooking!
—Clara Cooper

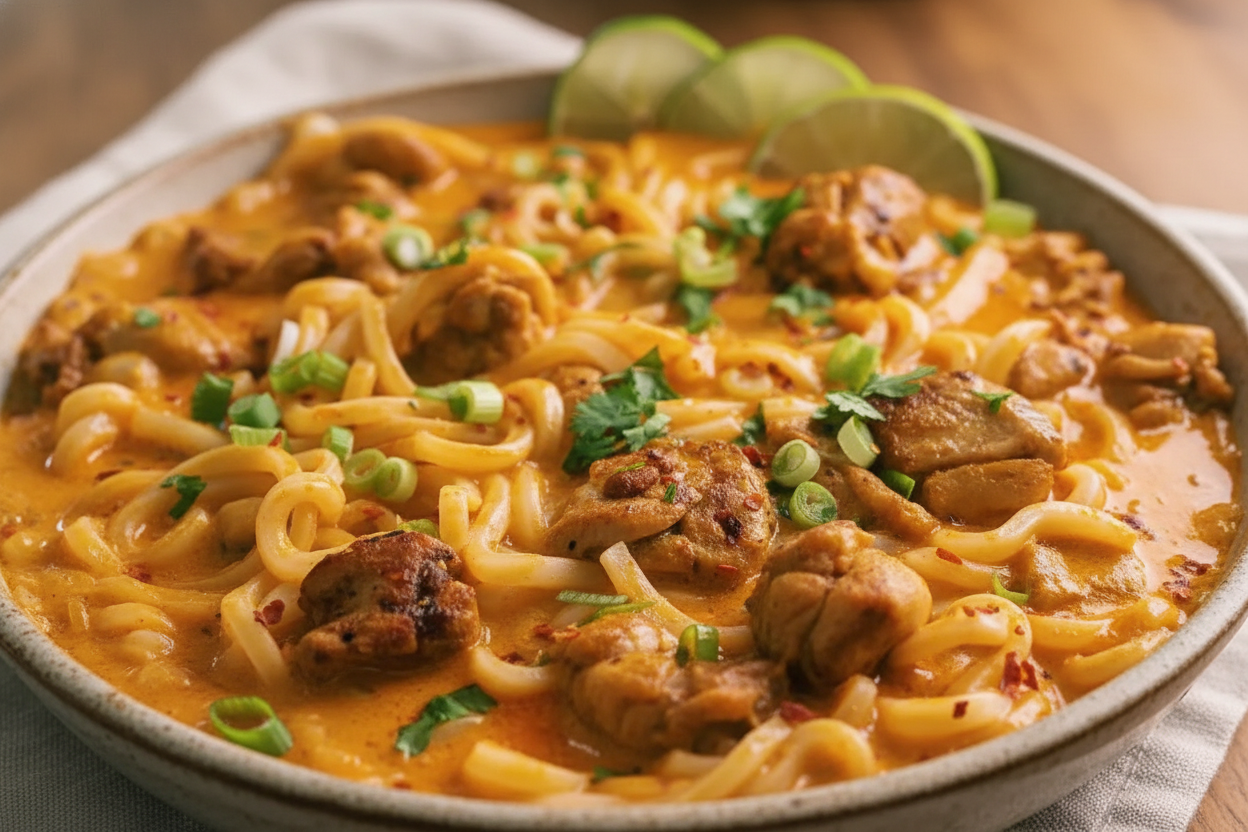
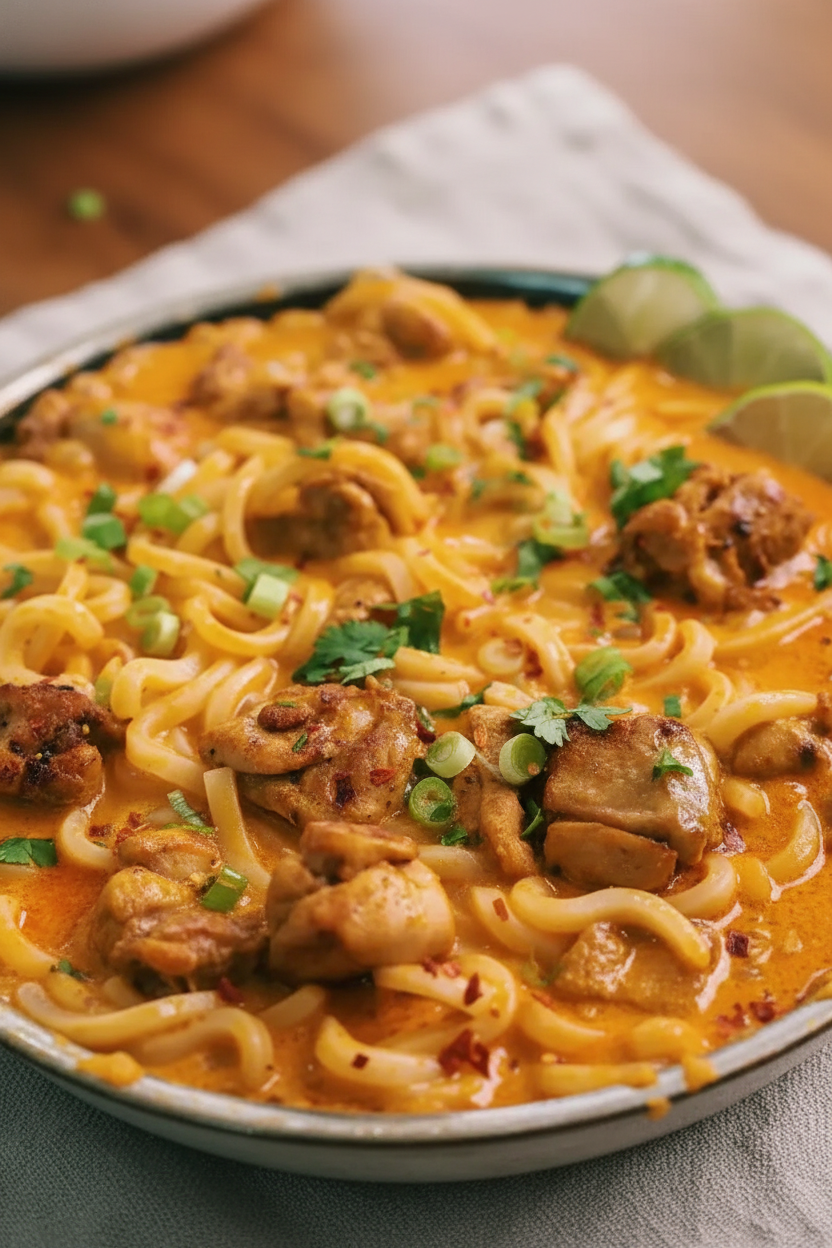
Creamy Coconut Curry Chicken Udon
Description
A rich and comforting noodle dish featuring tender chicken in a creamy coconut curry broth with udon noodles.
Ingredients
Instructions
- Heat oil in a large pot or deep skillet over medium heat. Add the onion, ginger, and garlic. Sauté until fragrant, about 2 minutes.
- Add the chicken slices and cook until they are no longer pink on the outside, about 4-5 minutes.
- Stir in the red curry paste and cook for 1 minute to release its aroma. Pour in the coconut milk, fish sauce, and brown sugar. Stir well to combine.
- Bring the curry to a simmer and let it cook for 10-12 minutes, or until the chicken is cooked through and tender.
- While the curry simmers, cook the udon noodles according to package directions. Drain and set aside.
- Add the cooked udon noodles to the creamy coconut curry chicken. Stir gently to coat the noodles in the sauce.
- Taste and adjust seasoning. Garnish however you like. I like topping with cilantro, lime juice, and red chili flakes.
Notes
- For a vegetarian version, substitute chicken with tofu or chickpeas. Adjust the amount of curry paste to control the spice level.