
Why I Make My Own Granola
My kitchen always smells like toasted oats and honey. I love that smell. It feels like a warm hug. This homemade granola is my favorite way to start the day.
Store-bought granola can be too sweet for me. When you make it yourself, you control what goes in. This is a truly healthy granola. You get just the right amount of sweet from the honey. That matters because a good breakfast should make you feel good, not sleepy.
A Little Story About Honey
I use local honey in my granola recipe. My neighbor keeps bees. He gave me a jar last fall. The honey was dark and rich. It tasted like wildflowers.
That honey made the best batch of breakfast granola I ever had. *Fun fact: local honey can have special benefits from your area’s plants.* I still smile thinking about it. Do you have a favorite local food you like to use?
Making It Your Own
This is an easy granola recipe. It is also very forgiving. You can change the nuts or the dried fruit. The recipe is just a friendly guide.
My grandson does not like apricots. So we use dried apples for him. That is the beauty of homemade granola. You make it for the people you love. What dried fruit would you put in yours?
Keeping It Simple & Healthy
This honey almond granola is naturally dairy free. It uses oil instead of butter. For a gluten free granola, just use certified gluten-free oats. It is that simple.
I love knowing exactly what is in my food. This dairy free granola is full of simple, real things. That matters to me. Food should be simple and good.
The Secret to Perfect Crunch
Do not stir the granola while it is still warm. I know it is hard to wait! Let it cool completely on the pan. This is the secret for big, crispy clusters.
The granola will crisp up as it sits. I learned this the hard way. I once stirred it too soon. It turned into oat crumbs! Now I am patient. Do you like big clusters or small crumbs in your almond granola?
Instructions
Step 1: First, warm your oven. Line a big pan with parchment paper. In a large bowl, mix your oats and raw slivered almonds. Add the salt, cinnamon, and ginger. This mix is the heart of your homemade granola. Doesn’t that smell amazing already? Stir it all with love.
Step 2: Now, pour in the melted coconut oil and honey. Add the vanilla, too. Stir until every oat is shiny and happy. (A hard-learned tip: use a spatula to get every last drop of that sweet healthy granola coating!). Spread the mix evenly on your pan.
Step 3: Bake your easy granola recipe until it’s golden. Stir it once halfway. I watch it like a hawk. Honey browns fast! Let it cool completely on the pan. It gets crisp as it sits. What’s your favorite nut for almond granola? Share below!
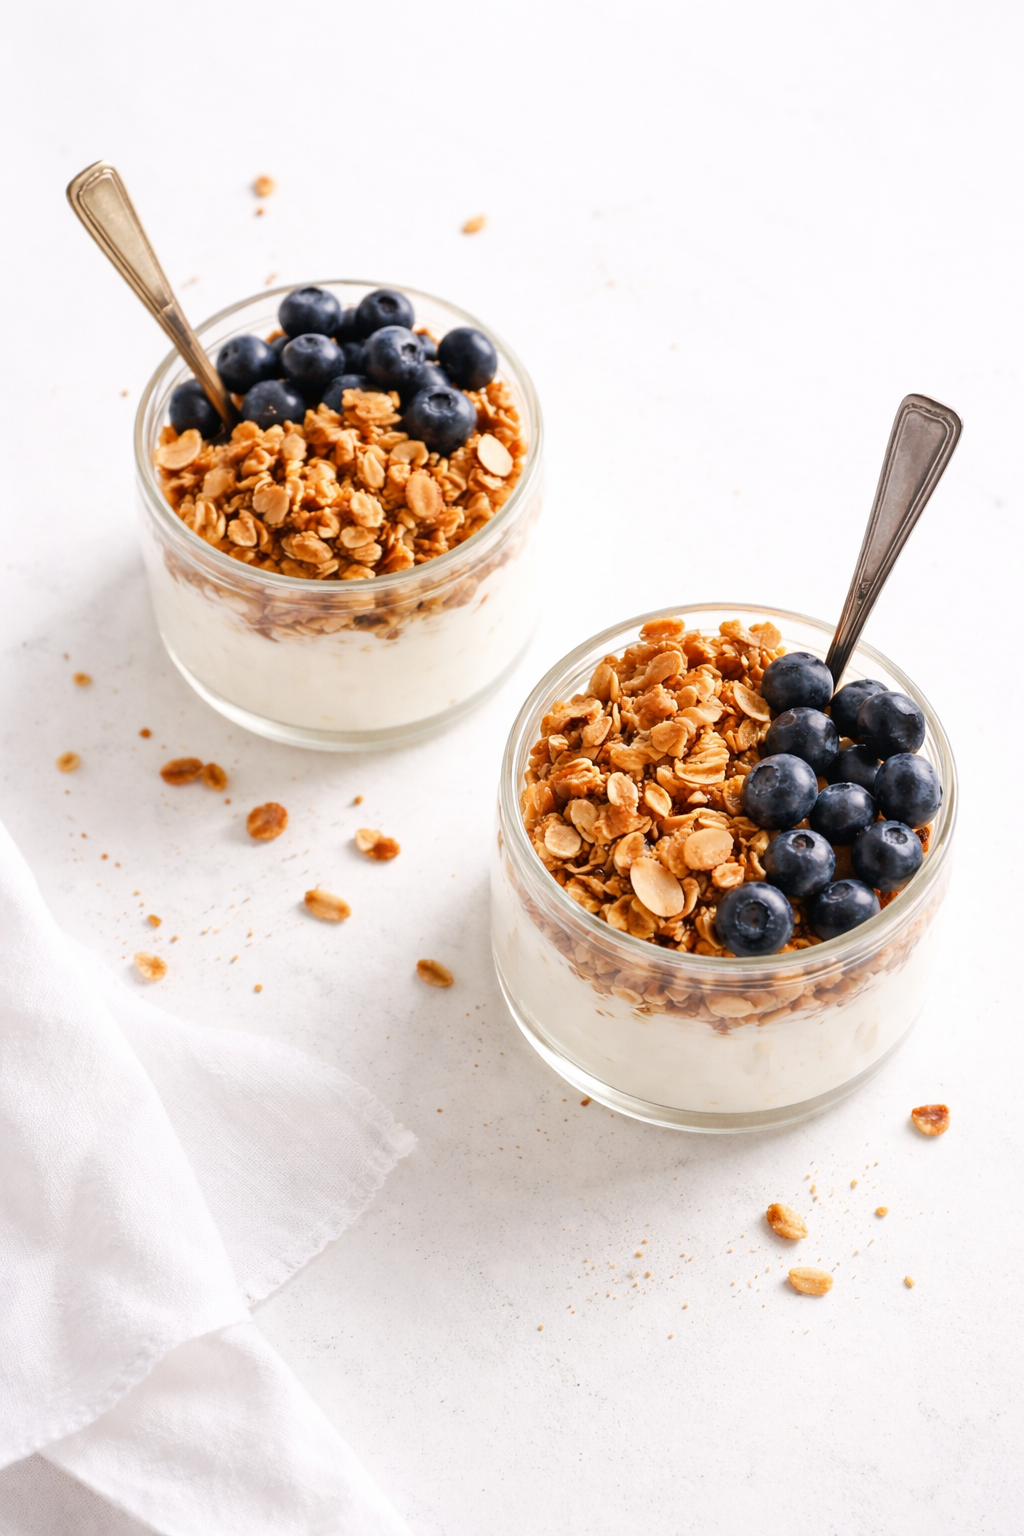
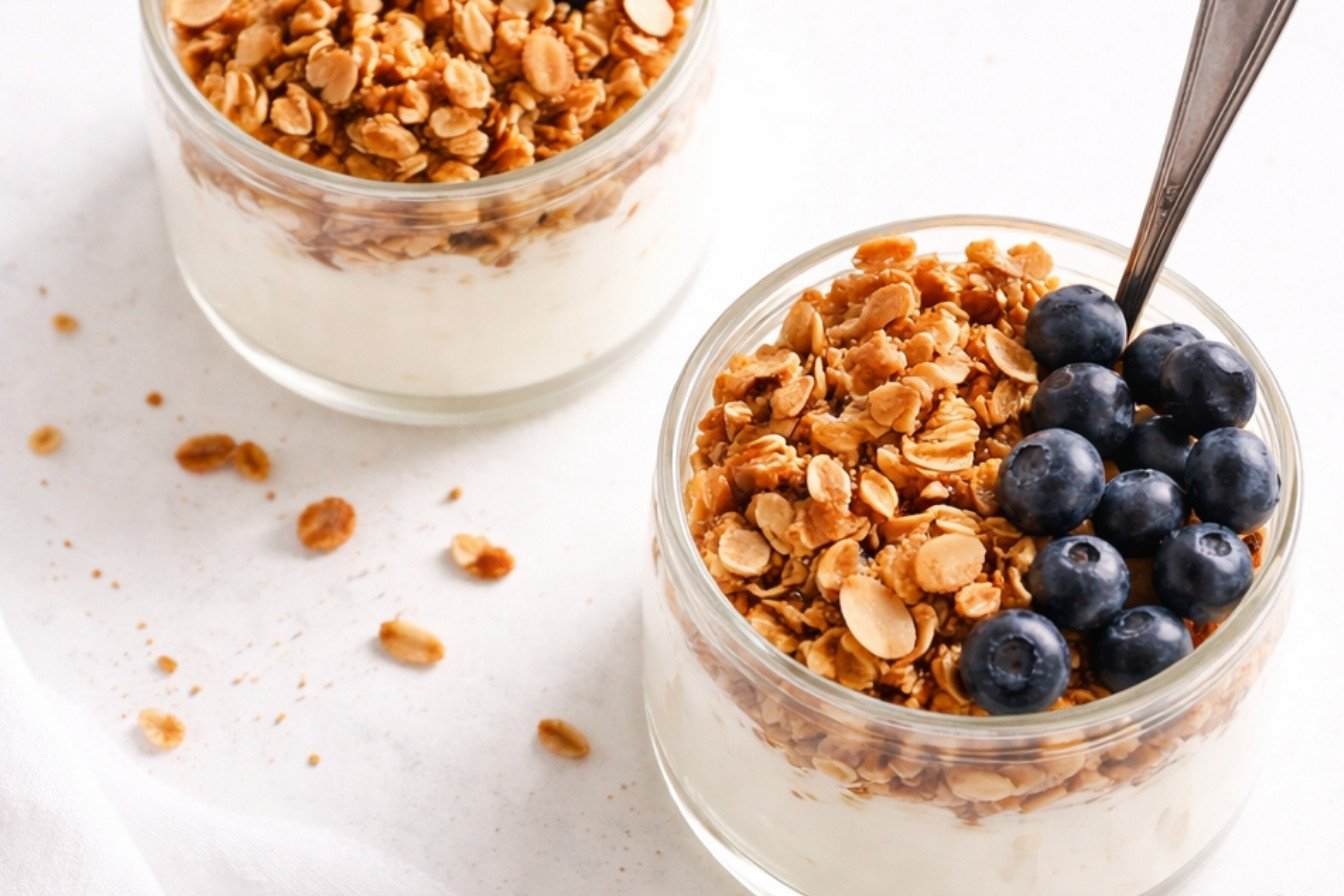
Step 4: Once cool, add the dried fruit. I love the apricots and cherries. Store your breakfast granola in a jar. This dairy free granola stays crunchy for weeks. You made the best honey almond granola! I’m so proud of you.
Creative Twists
Chocolate Chip: Stir in mini chocolate chips after baking for a sweet surprise.Orange Zest: Add orange zest to the wet mix for a sunny, bright flavor.Seed Power: Swap half the almonds for pumpkin or sunflower seeds.Which one would you try first? Comment below!
Serving & Pairing Ideas
Pour this gluten free granola over creamy yogurt. Try it with cold milk for a classic treat. You can also just eat it by the handful! It’s a perfect topping for a fruit yogurt oat smoothie. This healthy granola is so versatile. Which would you choose tonight?
Keeping Your Granola Perfectly Crunchy
Let’s talk about storing your homemade granola. This keeps it fresh for weeks. I always use a clean, airtight container. A big glass jar works wonderfully. Keep it in a cool, dark cupboard away from the stove.
You can also freeze this healthy granola. Just pour it into a freezer bag. Squeeze out all the air first. It will stay crunchy for months. Thaw it on the counter when you are ready.
I learned this the hard way. My first batch went soft in a bread bag. Now, a good jar is my secret. Storing it right means less waste. You always have a quick, easy granola recipe breakfast ready. Have you ever tried storing it this way? Share below!
Simple Fixes for Common Granola Troubles
Is your granola not clumping? Do not worry. This happens to everyone. The mixture might need more honey or a good press before baking. I remember my first loose batch. It was more like toasted oats!
Another issue is burnt nuts. They cook faster than oats. Stir them in halfway through baking. This protects their flavor. Getting this right builds your cooking confidence.
Finally, soggy granola is no fun. Let it cool completely on the pan. This is when it gets crisp. Proper cooling makes all the difference for that perfect breakfast granola crunch. Which of these problems have you run into before?
Your Quick Questions, Answered
How to make crunchy honey almond granola clusters?
Press the mixture firmly onto your baking sheet. Do not stir it while it bakes. Let the whole pan cool completely before you break it apart. The cooling time is what creates those big, satisfying clusters for your dairy free granola bowl.
Are granola clusters healthy?
Yes, when made at home! You control the sugar and oil. This gluten free granola uses oats and nuts for fiber. Dried fruit adds natural sweetness. It is far healthier than many store-bought versions packed with extra sugar.
What is the best way to store granola clusters?
An airtight container is key. A glass jar with a tight lid works best. Keep it in a cool, dark place like your pantry. For long-term storage, use the freezer. This keeps your almond granola perfectly crunchy for months.
Can you use maple syrup instead of honey?
Absolutely! Maple syrup is a great swap. Use the same amount. Your honey granola will become maple almond granola. The flavor will be different but still delicious. It makes a wonderful vegan-friendly option too.
Why are my granola clusters not clumping?
You may need more sticky liquid. Try adding one extra tablespoon of honey. Also, press the mix down hard before baking. Do not stir it while it cooks. Let it cool fully on the pan. This helps the clusters set properly.
How long do homemade granola clusters last?
They last 1 to 2 weeks at room temperature. Store them in that airtight jar. For longer freshness, freeze them. They can last up to 3 months in the freezer. Just take out what you need each week. Which tip will you try first?
From My Kitchen to Yours
I hope you love this granola recipe as much as I do. It always makes my kitchen smell wonderful. *Fun fact: The smell of baking is called “ketone bread aroma” by scientists. I just call it cozy.
Making your own food is a special kind of magic. It is a simple joy to share. I would love to hear about your baking adventure. Have you tried this recipe? Tell me all about it in the comments below.
Happy cooking!
—Clara Cooper
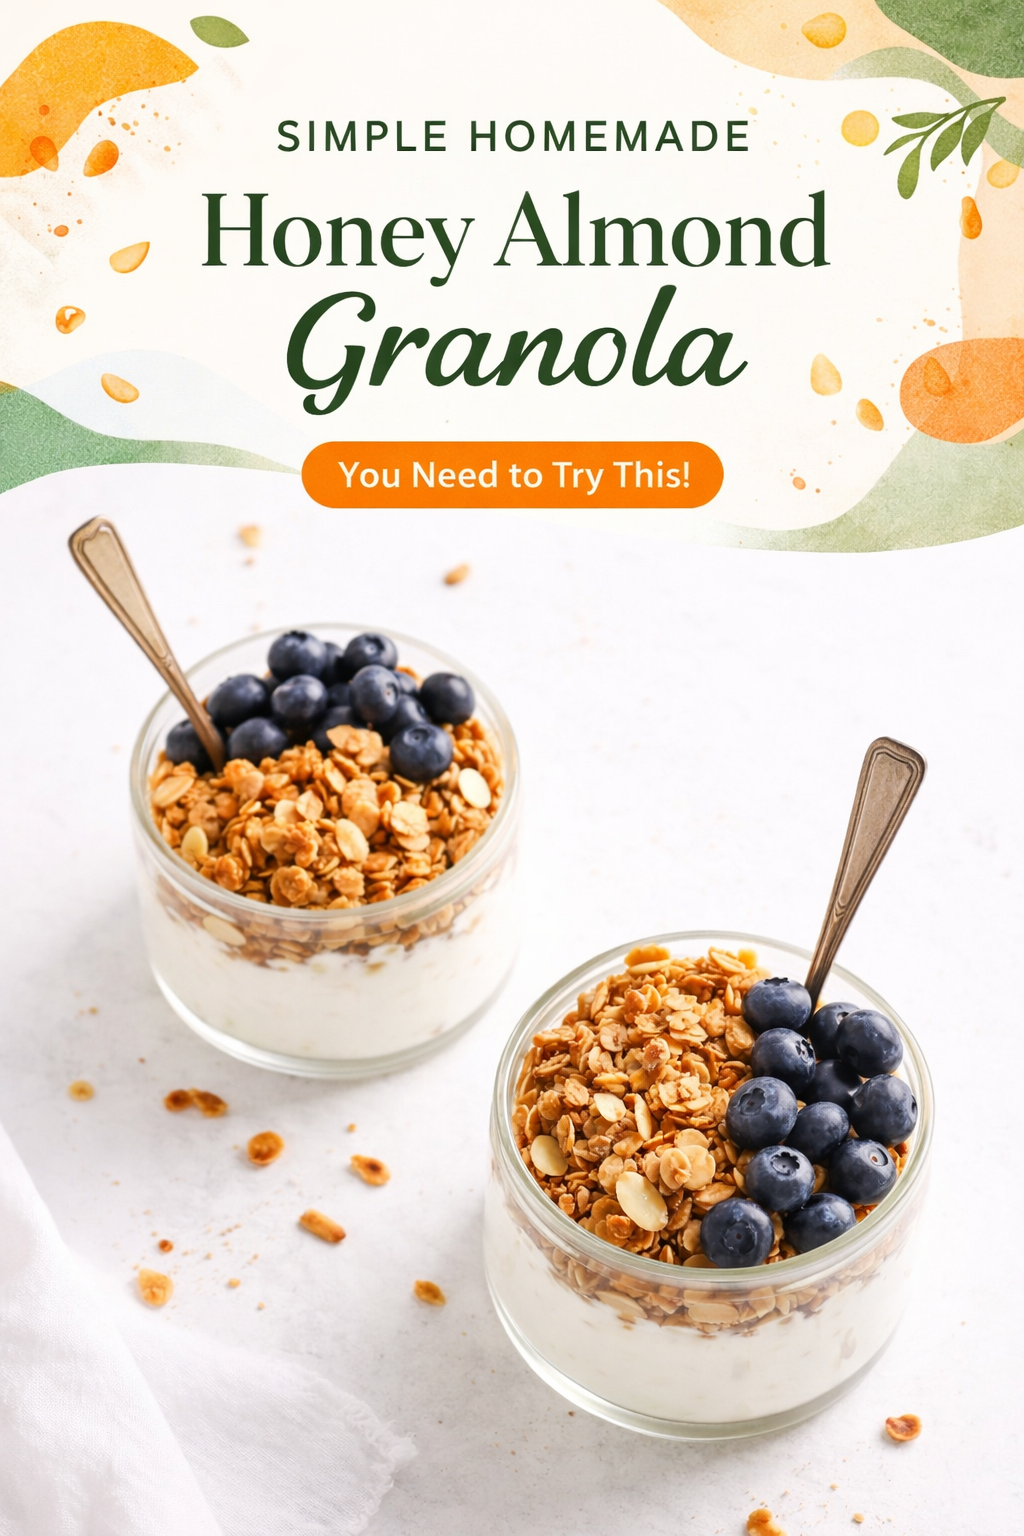
Crunchy Honey Almond Granola Clusters
Description
Honey Almond Granola
Ingredients
Instructions
- Preheat the oven to 350 degrees Fahrenheit and line a half-sheet pan with parchment paper. In a large mixing bowl, combine the oats, nuts, salt, cinnamon and ground ginger. Stir thoroughly to combine.
- Stir in the oil, honey and vanilla. Turn the granola out onto your prepared pan and use a large spoon to spread it in an even layer. Bake for 22 to 26 minutes, stirring halfway. The granola should be turning lightly golden (keep an eye on it as honey tends to brown). The granola will crisp up as it cools.
- Let the granola cool before stirring in the chopped fruit. Store the granola in an airtight container at room temperature for 1 to 2 weeks, or keep it in the freezer for longer shelf life.
Notes
- The information shown is an estimate provided by an online nutrition calculator. It should not be considered a substitute for a professional nutritionist’s advice.