

Why I Love These Coffee Popsicles
I remember the first time I made these. I was looking for a way to cool down without giving up my morning coffee. Doesn’t that sound like a dream? These popsicles taste just like a frozen coffee shop drink, but you make them at home. My grandkids call them “grown-up popsicles,” and I still laugh at that.
The best part is you only need three ingredients. Coffee, water, and sweetened condensed milk. That’s it. You probably have most of them in your kitchen right now. Have you ever tried making your own frozen treats at home?
The Secret to Smooth Coffee
This recipe asks for something called a “cold brew.” That is just a fancy name for steeping coffee grounds in cold water. You let it sit in your fridge for a full day. The long wait makes the coffee smooth and not bitter at all. Why this matters: Cold brewing pulls out the sweet flavors without the harshness.
My neighbor once tried to rush this step. She used hot water and froze it fast. The popsicles turned out cloudy and a little sour. So be patient, friend. Your fridge does all the work while you sleep. *Fun fact*: Cold brew coffee has less acid than hot coffee, so it is gentler on your stomach.
Straining is Not a Chore
After your coffee has rested, you need to strain out the grounds. I use a paper coffee filter over a bowl. It takes about 30 minutes to drip through. I usually clean the kitchen counter while I wait. Why this matters: If you skip this step, you will have gritty, muddy popsicles instead of smooth, creamy ones.
Do not throw away those used coffee grounds. I toss mine into my garden soil or my compost bin. The worms in my compost pile love them. What do you do with your old coffee grounds? I would love to hear your ideas.
Sweetening the Mix
Once your coffee is clear and dark, you whisk in the sweetened condensed milk. Watch it turn a beautiful caramel color. The smell fills your kitchen like a cozy coffee shop. Doesn’t that smell amazing? I still laugh at that one time my husband walked in and thought I had bought him a fancy latte.
You might wonder if you can use something else instead. Some folks swap the condensed milk for coconut cream or a little sugar. That changes the taste quite a bit. Stick to the condensed milk for the creamiest, richest popsicle you have ever had.
Freezing and Waiting
Pour the mixture into your popsicle molds. Slide in the sticks carefully. Then comes the hardest part: waiting. You need to freeze them for at least six hours. Overnight is even better. Have you ever gotten impatient and tried to eat a popsicle too early? I have. It turns into a drippy mess.
A quick trick to get them out: run warm water over the outside of the mold for 30 seconds. They slide right out. No wrestling with plastic or breaking sticks. This is one of my favorite kitchen secrets, and I am happy to share it with you.
Serving and Storing Your Treats
These popsicles are wonderful on a hot afternoon. My granddaughter takes one to the park for a cool snack. You can also wrap each one tightly in plastic wrap and put them in a zip-top bag. They stay good for up to three months in the freezer. Why this matters: You can make a big batch now and have treats ready for weeks.
Each popsicle has about 98 calories and 17 grams of sugar. That is less sugar than a fancy coffee drink from the store. Plus, you know exactly what is inside. No weird chemicals or long names you cannot pronounce. Would you rather have chocolate or vanilla popsicles? Or maybe something fruity? I would love to know your favorite flavor.
Let’s Make This Together
I hope you give these coffee popsicles a try. They are simple, fun, and perfect for sharing. I would love to see your pictures or hear your stories. Have you ever made popsicles with your kids or grandkids? Tell me all about it in the comments below. And if you try a different milk or sweetener, let me know how it turns out. Which part of this recipe sounds the most fun to you—the waiting, the straining, or the eating?
Instructions
Step 1: Grab a big jar and stir together 1 cup of ground coffee and 3 cups of cold water. I use a French roast, like the one my grandma swore by. Cover the jar and pop it in the fridge for at least 12 hours. (Patience is key here, or it will taste weak.)
Step 2: Line a fine mesh strainer with a coffee filter or a clean cloth. Set it over a bowl and slowly pour the cold coffee mixture through. It might take 30 minutes to drip, but that is okay. Watch it work while you daydream, just like I do. Have you ever made Frozen Hot Chocolate this way? Share below!
Step 3: Toss the leftover coffee grounds into your compost or garden. Whisk the smooth black liquid with 1 cup of sweetened condensed milk until it is creamy. Doesn’t that smell amazing? It reminds me of lazy summer mornings on the porch.
Step 4: Pour the mixture into a 10-popsicle mold. Cover it, slide in the sticks, and freeze for at least 6 hours. Overnight is even better, so you can wake up to a treat. I always struggle to wait that long, too!
Step 5: Run the mold under hot water for 30 seconds to loosen the pops. Pull them out gently and serve right away. If you want to save some, wrap each one in plastic and store in a bag for up to 3 months. Try this with Frozen Chocolate Chip Cookie Delights for a fun snack!
Creative Twists
Try these fun ideas to mix up your popsicles. They are simple and oh-so-tasty.
… Swirl in a spoonful of chocolate syrup before freezing for a Frozen Peppermint Chocolate Roll vibe.
… Add a pinch of cinnamon or vanilla extract to the mix for a warm, cozy flavor.
… Dip the frozen pops in melted white chocolate and sprinkle with crushed nuts.
Which one would you try first? Comment below!
Serving & Pairing Ideas
Serve these popsicles on a hot afternoon with a side of fresh fruit, like sliced strawberries. I love them with a soft Savory Herb Biscuit for a sweet-and-salty bite. For a bigger treat, pair them with Frozen Cherry Ribbon Dessert and enjoy the burst of flavor.
You can also place a popsicle in a glass of cold milk for a creamy sipper. My grandkids call that a “melted milkshake,” and I still laugh at that. Which would you choose tonight?
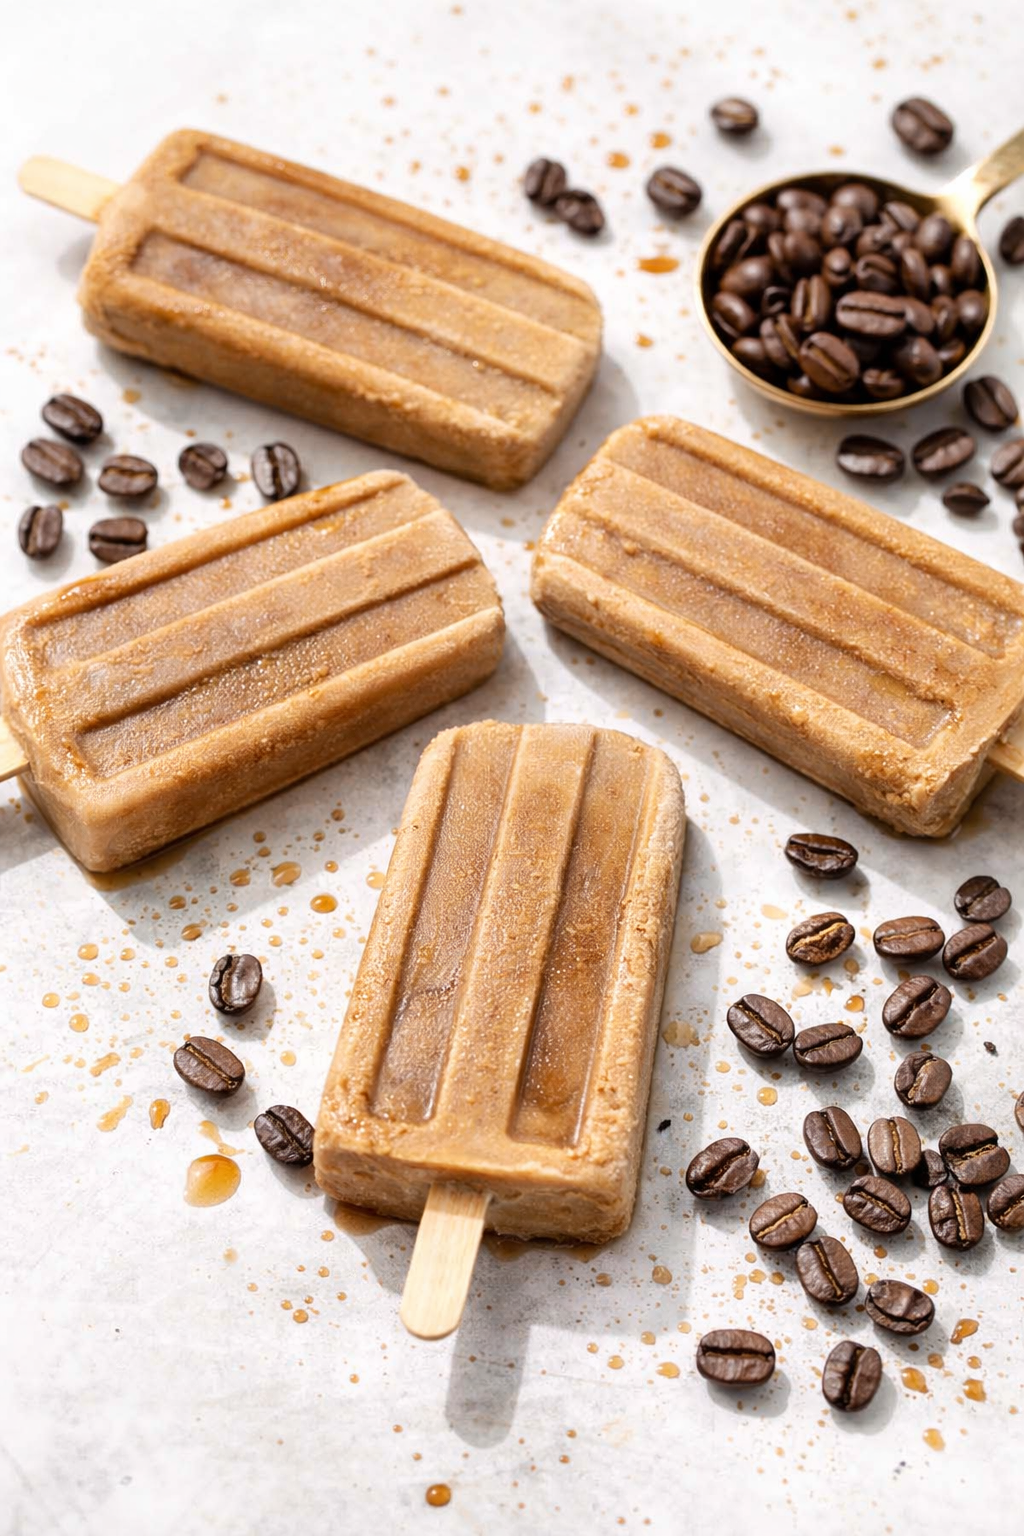
Storing Your Frozen Coffee Treats the Right Way
Once you make these iced coffee protein popsicles, you will want to keep them fresh. I remember my first batch melted into a puddle because I did not wrap them tightly. Always wrap each popsicle in plastic wrap, then place them in a zip-top bag. This keeps freezer burn away. You can store them for up to three months this way. That matters because you can make a big batch on Sunday and have treats all month. Batch cooking saves time and keeps you from wasting ingredients. Have you ever tried storing it this way? Share below!
When you are ready to eat one, run the mold under hot water for 30 seconds. The popsicle will slide right out. This matters because a stuck popsicle means a broken treat. No one wants a coffee popsicle that is just crumbs. The secret is patience and a little hot water. *Fun fact: My grandma taught me this trick with homemade ice pops when I was twelve.*
Three Common Problems and Easy Fixes
Problem one: Your popsicles taste icy, not creamy. This happens if you skip the sweetened condensed milk. The milk adds sugar and fat, which stops big ice crystals from forming. I once forgot the milk and ended up with coffee ice cubes. Not good. Fix it by always using the full cup of sweetened condensed milk. Your popsicles will be smooth and rich.
Problem two: The coffee taste is too weak. That means your coffee did not steep long enough. Let the grounds sit in water for at least 12 hours, up to 72. I remember my first try, I only waited four hours. The popsicles tasted like brown water. Patience is key here. This matters because a strong coffee flavor makes the popsicles worth eating. It builds your cooking confidence when you get it right.
Problem three: The popsicles are hard to remove from the mold. Do not yank or twist. Run the mold under hot tap water for 30 seconds, then pull gently. This matters because broken popsicles are disappointing. You worked hard to make them. A smooth removal makes you feel like a kitchen pro. Which of these problems have you run into before?
Your Quick Questions, Answered
Can I use any protein powder in frozen coffee popsicles? You can use most protein powders, but stick with unflavored or vanilla. Chocolate or berry powders will change the coffee taste. Mix the powder with a little warm water first to avoid clumps. Stir it into the coffee mixture before freezing. I find that whey protein works best for a smooth texture. Always taste the mixture before pouring into molds.
How many calories are in a coffee protein popsicle? This recipe has about 98 calories per popsicle. That number comes from the sweetened condensed milk and coffee. If you add protein powder, calories will go up by 50 to 100, depending on the brand. The nutrition facts also show 17 grams of sugar and 2 grams of protein. For a lighter treat, use sugar-free condensed milk. You can check the label on your protein powder for exact numbers.
What type of coffee is best for protein popsicles? Use a dark roast or French roast coffee for the strongest flavor. Chicory coffee, like Cafe Du Monde, adds a nice earthy taste. Avoid light roasts because they can taste sour when frozen. I always use a coarse grind for better steeping. The coffee steeps for 12 hours, so a bold roast holds up well. Your popsicles will taste like a real iced coffee.
How do I keep protein popsicles from getting icy? The secret is sweetened condensed milk and a little patience. The sugar and fat in the milk stop big ice crystals from forming. You can also add a teaspoon of cornstarch mixed with water. Stir it into the coffee mixture before freezing. This creates a smoother texture. I learned this trick from making homemade ice cream. The result is creamy, not crunchy like ice cubes.
Can I make these dairy-free or vegan? Yes, you can easily swap ingredients. Use coconut condensed milk or oat milk condensed milk instead of regular sweetened condensed milk. These are sold at most grocery stores now. For the protein, choose a plant-based powder like pea or soy protein. The popsicles will still be creamy and delicious. I have made them with coconut milk for a tropical twist. They taste amazing and freeze just as well.
How long do homemade protein popsicles last in the freezer? They stay fresh for up to three months if stored correctly. Wrap each one tightly in plastic wrap first. Then place them in a zip-top freezer bag. Squeeze out all the air before sealing. This prevents freezer burn and keeps the coffee flavor strong. I always label my bags with the date. After three months, the taste starts to fade. Which tip will you try first?
A Warm Send-Off from My Kitchen to Yours
I hope you enjoy making these frozen coffee treats as much as I do. They remind me of summer afternoons on the porch with a cold drink. Every batch brings a little joy to my day. Have you tried this recipe? I would love to hear how yours turned out. Please share your stories and tips in the comments below. Your kitchen adventures inspire me every day.
Thank you for cooking along with me today. Remember, the best recipes are the ones we share with others. Now go make some popsicles and cool off. Happy cooking! —Grace Ellington.
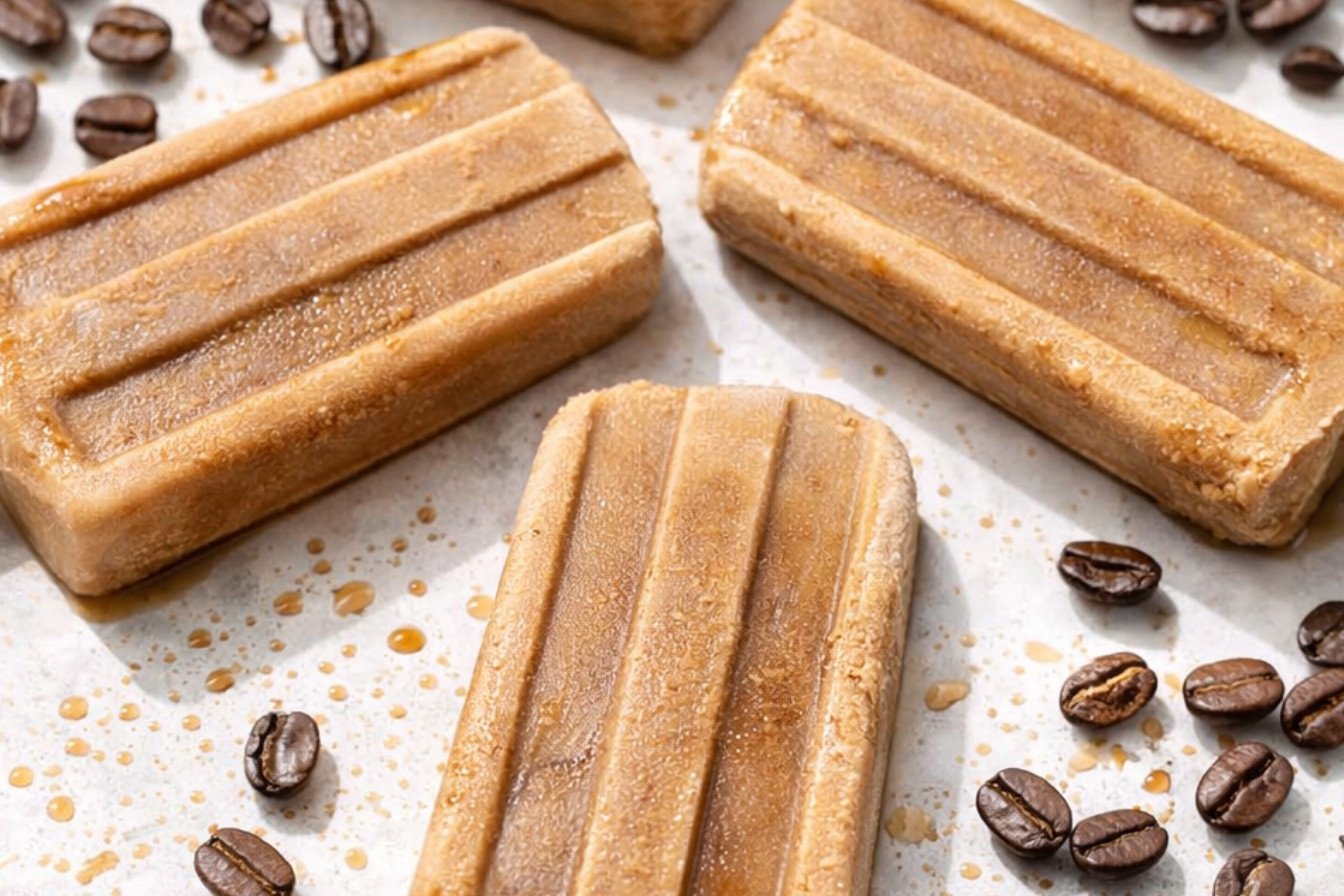
Frozen Coffee Protein Popsicle Recipe
Description
A refreshing frozen coffee popsicle made with cold brew concentrate and sweetened condensed milk.
Ingredients
Instructions
- Stir the coffee grounds and water together in a large jar, then cover and refrigerate for at least 12 hours, or up to 72.
- Place a fine mesh strainer over a bowl, then line it with a coffee filter, cheese cloth or a few layers of paper towels. Pour the coffee mixture through and allow it to slowly drain. This may take up to 30 minutes to fully drain, so be patient.
- Discard the coffee grounds (compost them!), then whisk the liquid with sweetened condensed milk.
- Pour into a 10-popsicle mold, cover, and insert popsicle sticks. Freeze until solid, at least 6 hours or overnight.
- Run the popsicle mold under hot water for about 30 seconds to loosen, then remove the pops and serve immediately or store for later. Wrap tightly with plastic wrap, then store in a zip-top bag in the freezer for up to 3 months.
Notes
- For best flavor, use a good quality French roast or chicory coffee. Compost the used grounds for an eco-friendly touch.