
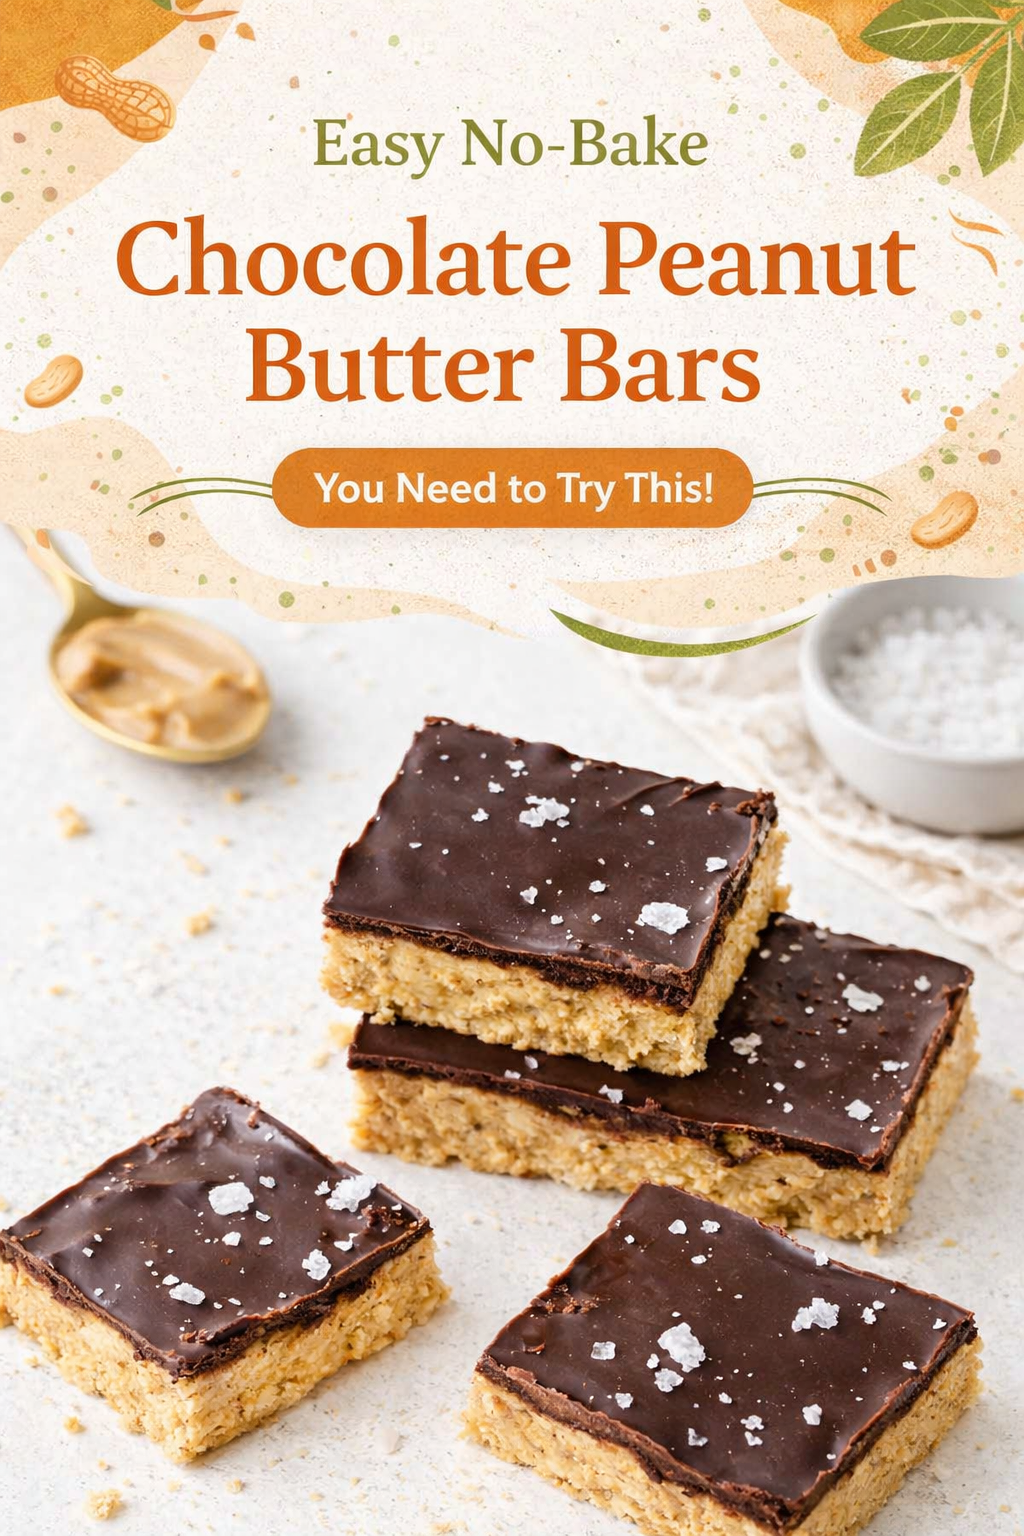
My Go-To Treat for Surprise Guests
I always keep these bars in my fridge. You never know when someone will stop by. I learned that from my own grandma. She was always ready with a sweet bite.
These no-bake bars are my secret. They come together so fast. The best part? You don’t even need to turn on the oven. I still laugh at that. My kitchen stays cool while I make magic.
The Joy of Crushing Graham Crackers
Let’s start with the graham crackers. You can use a food processor. But I like the old way. Put them in a bag and roll them out! It’s a fun little task. It makes you feel like a real cook.
This step matters. It’s not just about crumbs. It’s about texture. Those little bits make the filling interesting. They give it a gentle crunch. For another recipe that uses a fun texture, try these salted peanut butter pretzel cookies.
Mixing Up the Heart of the Bar
Now for the good stuff. Butter and peanut butter beat until smooth. Then you add the powdered sugar. It will look very thick at first. Don’t worry! Just keep mixing.
Watch it change. It becomes light and fluffy. Doesn’t that smell amazing? This is the soul of your bar. This creamy mix is why people love it. It’s simple food that feels like a hug. What’s your favorite peanut butter treat to make? I’d love to know!
The Magic of Chocolate Topping
Melting the chocolate is my favorite part. I use a double boiler. It’s just a bowl over a pot of simmering water. It melts the chocolate gently so it stays shiny.
*Fun fact*: Graham crackers were invented to be a healthy snack! Now we use them for treats. Life is funny that way. Pour that melted chocolate over the peanut butter. Spread it with love. A little sprinkle of salt on top makes all the flavors sing.
Why This Recipe is a Keeper
This recipe matters for two big reasons. First, it builds confidence. Anyone can make it. Second, it creates joy. Sharing food you made is a special kind of happy. If you enjoy creamy fillings, you might adore this peanut butter sandwich cookie recipe too.
Let the pan chill in the fridge. The waiting is the hardest part! But it’s worth it. You get a perfect, neat slice. Do you prefer your desserts chewy or crunchy? For a chewy option, these chewy peanut butter cookies are wonderful.
Stories from My Kitchen
I once made these for my grandson’s bake sale. He came home with an empty tray. He said his friends ate them all before the sale even started! We just had to make another batch together.
That’s the thing about simple recipes. They make memories. They get passed around. For a different kind of peanut butter dessert, this peanut butter custard pie is a dream. What’s a treat that always reminds you of someone special? Tell me your story.
Instructions
Step 1: First, make your graham cracker crumbs. You can use a food processor. Or, put them in a bag and crush them. I still laugh at that method. It’s a great way to get out some energy! (A rolling pin works best for this fun job.)
Step 2: Now, beat the butter and peanut butter together. Use a mixer if you have one. Add the powdered sugar next. Beat it until it’s fluffy and light. Doesn’t that smell amazing? It reminds me of my childhood.
Step 3: Mix in those crunchy crumbs you made. It will look very thick at first. Just keep mixing. It will get smoother and stick together. What’s your favorite no-bake treat? Share below! I love how simple this is.
Step 4: Press the mix into your lined pan. I use greased fingers. Press it down nice and even. This is the fun, messy part. (Greasing your fingers first keeps the dough from sticking.) Try this chewy peanut butter cookie method for pressing dough too.
Step 5: Melt the chocolate chips carefully. A double boiler is safest. Stir until it’s perfectly smooth. Pour it over your peanut butter layer. Spread it gently with a spatula. For another chocolate-peanut butter dream, see this peanut butter mousse cup recipe.
Step 6: Sprinkle a tiny bit of salt on top. This makes the chocolate taste richer. Now, the hard part: waiting! Chill the pan in the fridge. Let it set for a couple of hours. Then slice into bars and enjoy. They store best in the fridge.
Creative Twists
Pretzel Power: Swap half the graham crackers for crushed pretzels. Salty and sweet!
Jam Surprise: Spread a thin layer of strawberry jam before the chocolate.
Cookie Crunch: Use crushed peanut butter sandwich cookies instead of graham crackers.
Which one would you try first? Comment below!
Serving & Pairing Ideas
Serve these bars cold for the best texture. A glass of cold milk is the perfect partner. For a party, cut them into tiny squares. You could also crumble one over a scoop of vanilla ice cream. It’s so good! For another creamy peanut butter delight, this peanut butter custard pie is wonderful. Which would you choose tonight?
Keeping Your Bars Fresh and Tasty
Let’s talk about storing these sweet bars. They must stay in the fridge. This keeps the chocolate firm and the filling perfect. I keep mine in a sealed container. They last about a week this way.
You can freeze them too. Wrap each bar tightly in plastic wrap. Then place them all in a freezer bag. They will keep for two months. Thaw in the fridge before eating.
I once left a batch on the counter. The chocolate melted into a soft mess. It was still delicious but very messy. Now, the fridge is my best friend for storing treats.
Batch cooking matters. It saves you time for fun later. Making a double batch means sweet snacks are always ready. Have you ever tried storing it this way? Share below!
Simple Fixes for Common Kitchen Hiccups
First, your mixture seems too crumbly. Do not worry. Just add a tiny bit more peanut butter. Mix it in slowly. This will help everything stick together nicely.
Second, the chocolate is too thick to spread. Take it off the heat. Stir in a teaspoon of coconut oil. This makes it smooth and easy to pour. I remember when my first chocolate topping cracked.
Third, the bars are too hard to cut. Let them sit out for five minutes. Use a warm knife. Wipe the knife clean between cuts. You will get perfect squares every time.
Fixing small problems builds your cooking confidence. It also makes the flavor and texture just right. Which of these problems have you run into before?
Your Quick Questions, Answered
How do you make no-bake chocolate peanut butter squares?
You mix a peanut butter filling and press it into a pan. First, crush graham crackers into fine crumbs. Beat soft butter and peanut butter until smooth. Add powdered sugar and beat until fluffy. Mix in the crumbs. Press this mix into a lined pan. Melt chocolate chips and spread them on top. Chill until set, then slice.
What are the ingredients for no-bake peanut butter bars?
You need simple things. Grab graham crackers, unsalted butter, and peanut butter. You also need powdered sugar and chocolate chips. A little coarse salt for topping is nice but optional. That is all. These common items make a magical dessert. It is easier than making chewy peanut butter cookies.
Can you use natural peanut butter for no-bake squares?
Yes, but be careful. Natural peanut butter often separates. You must stir it very well first. Make sure it is fully mixed. The oil and solids must be combined. If you do not, your filling can be too oily. This might make the bars soft. For best results, use a standard creamy peanut butter.
How long do no-bake chocolate peanut butter bars need to set?
They need at least one to two hours in the fridge. The chocolate layer must become firm. This makes slicing clean and easy. For a very hot day, chill them longer. A fun fact: chilling also makes the peanut butter layer taste even better. It allows all the flavors to settle together.
How to store no-bake peanut butter squares?
Always store them in the refrigerator. Place them in a sealed container. Use parchment paper between layers. This stops them from sticking. They will stay fresh for up to one week. The cool temperature keeps the chocolate shiny and the bar firm. It is the same way you would store a delicate peanut butter mousse.
Can you freeze no-bake chocolate peanut butter bars?
You absolutely can. Freezing is a great idea. Wrap each bar tightly in plastic wrap. Put all the wrapped bars in a freezer bag. They will keep for two months. Thaw them in the fridge before you eat them. This is perfect for making ahead for parties or sweet cravings.
Which tip will you try first?
From My Kitchen to Yours
I hope you love making these bars. They bring such joy. My grandkids always ask for them. I think of them as little squares of happiness.
I would love to hear about your baking adventures. Did you add a special twist? Maybe you used crunchy peanut butter for fun. Tell me all about it.
Have you tried this recipe? Please leave a comment below. Share your story or a photo. Let us create a sweet community right here. Happy cooking!
—Clara Cooper.
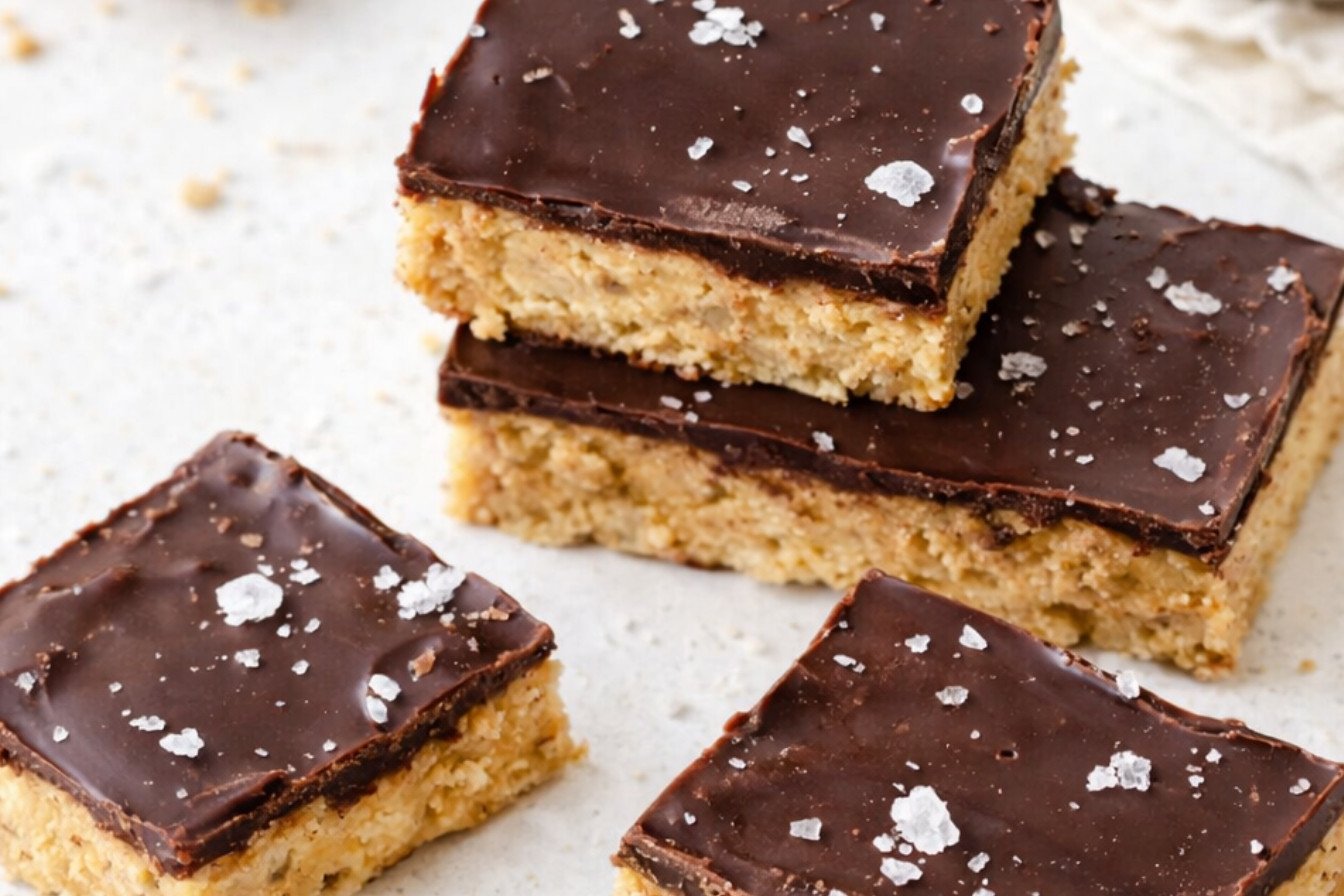
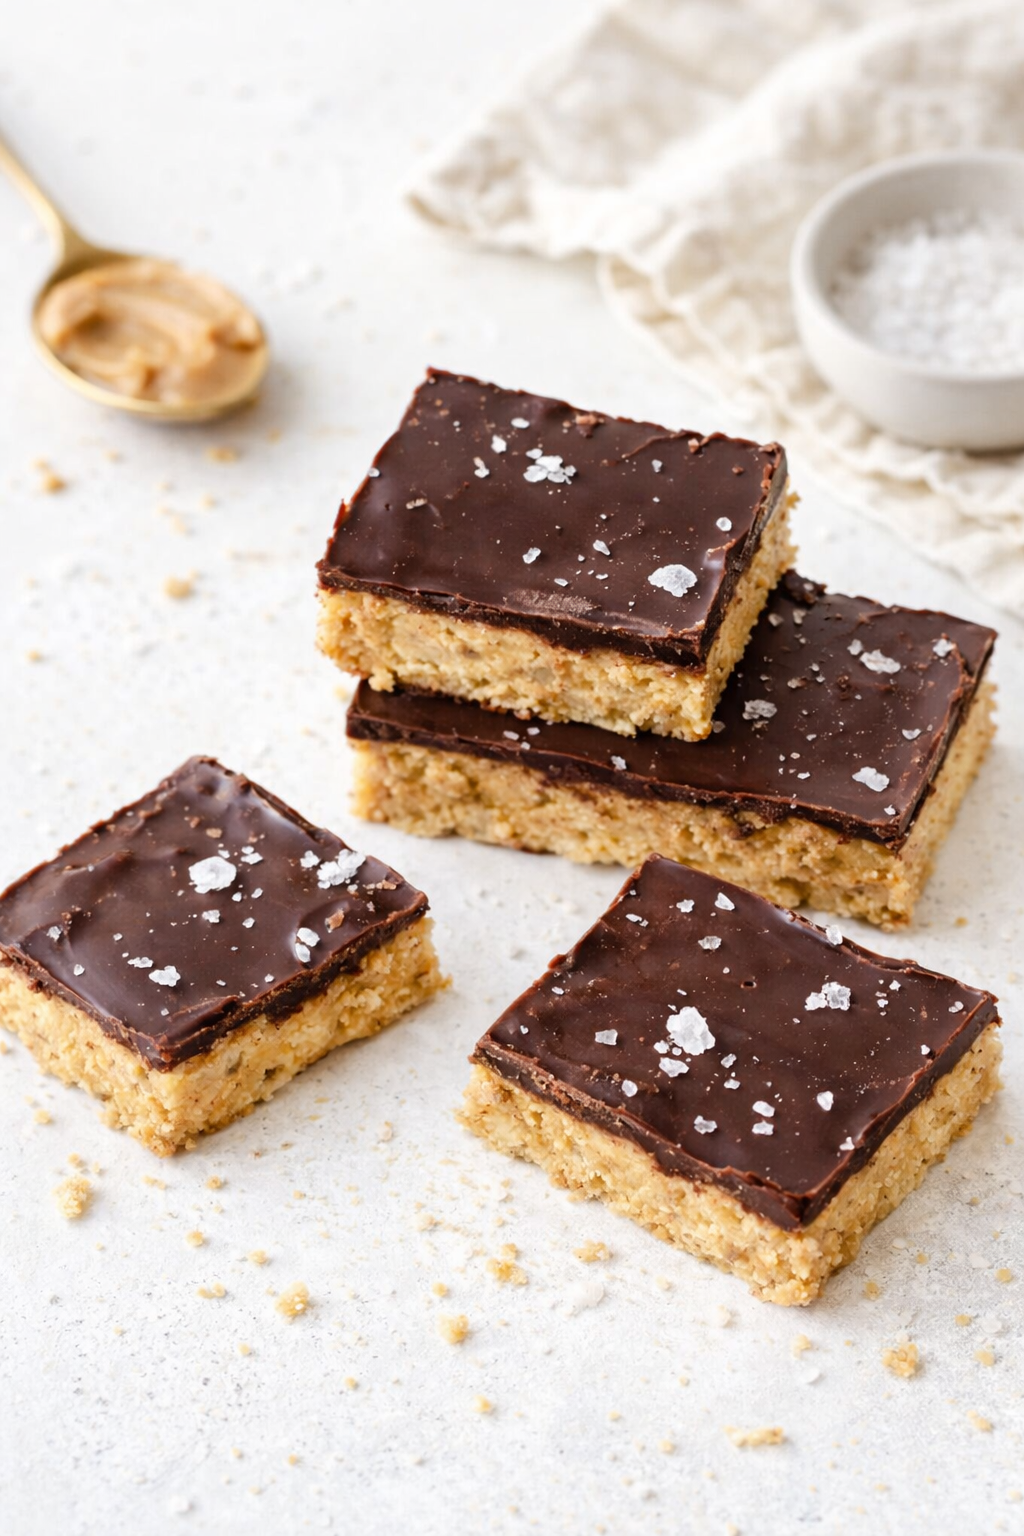
No-Bake Chocolate Peanut Butter Squares
Description
These easy No-Bake Chocolate Peanut Butter Bars feature a sweet, fluffy peanut butter filling and a rich chocolate topping.
Ingredients
Instructions
- Pulse the graham crackers in a food processor until they are crumbs. Or place them in a ziplock bag and beat with a rolling pin. Set aside.
- In the bowl of an electric mixer or in a large bowl with a hand-held mixer, beat together the butter and peanut butter until smooth. Add the powdered sugar and beat on high until light and fluffy, about 2 minutes.
- Add the graham crackers and mix to combine. At first mixture will be very thick, but keep beating on medium high speed until it lightens and starts to stick to the sides of the bowl.
- Dump contents into a quarter-sheet pan or 9×13-inch pan lined with parchment paper and press into the pan evenly, using greased fingers or a greased spatula.
- In a double boiler over barely simmering water, melt the chocolate chips, stirring until smooth. Remove from heat and pour on top of peanut butter mixture. Use a spatula to spread evenly. Sprinkle with salt, if desired.
- Chill in the fridge for 1-2 hours until set. Slice and serve. For best results, store in the fridge.
Notes
- For clean slices, use a sharp knife dipped in hot water and wiped dry between cuts. You can use milk chocolate chips for a sweeter topping.