

The Day I Forgot the Oven
I once tried to bake a cheesecake for a family picnic. I turned on the oven, then got busy picking flowers in the garden. I came back an hour later to a cold, empty oven. I still laugh at that. That is why I love this no-bake recipe. There is no oven to forget. You just press and chill. Doesn’t that smell amazing? Well, you don’t even need to turn on a stove for this one. These tarts are perfect for a hot summer day. You get all the creamy, sweet flavor without breaking a sweat. Why this matters: You can make dessert even when the power is out. That is a handy trick to know.What You Really Need
The ingredient list is short and sweet. You need graham cracker crumbs, sugar, butter, and cherry pie filling. That is it. Four simple things from your pantry. No fancy tools are required either. Just a mini tart pan and your clean fingers. I love recipes that don’t make me wash extra bowls. Here is a fun little science bit. The butter melts in your warm hands as you press the crumbs. That helps the crust hold its shape later. *Fun fact: Graham crackers were invented in the 1800s as a “healthy” snack.* Now we use them for buttery pie crusts. I think the inventor would be proud. Why this matters: You are learning how simple fats and sugars create a solid crust. That is real kitchen wisdom.Let Your Fingers Do the Work
Spray your mini tart pan with cooking spray first. Then mix the crumbs, sugar, and melted butter in a bowl. It should look like wet sand. Scoop about a tablespoon into each little cup. Use your fingers to press it firmly into the bottom and up the sides. Press hard enough so it holds together. This is the most important step. I always let my grandchildren help with this part. They love getting their hands messy. You can make the crust as thick or thin as you like. Just keep it even. Pop the tray in the fridge for at least two hours. Overnight is even better if you can wait. Have you ever used your hands to press a crust before? Tell me about it in the comments.The Big Reveal
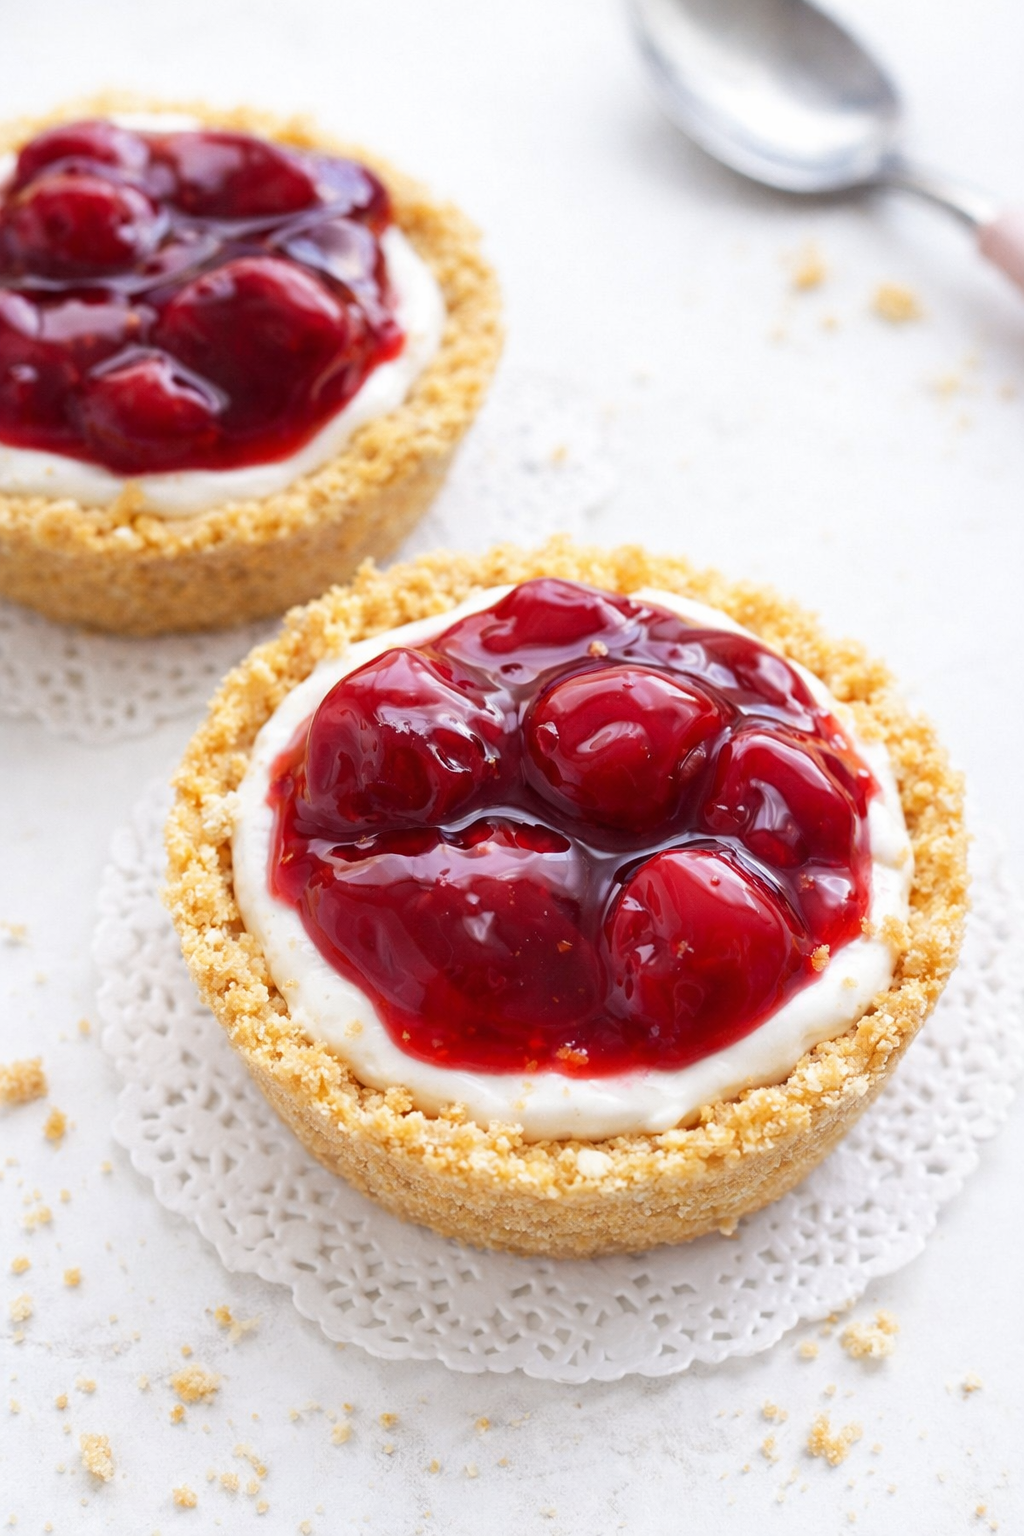
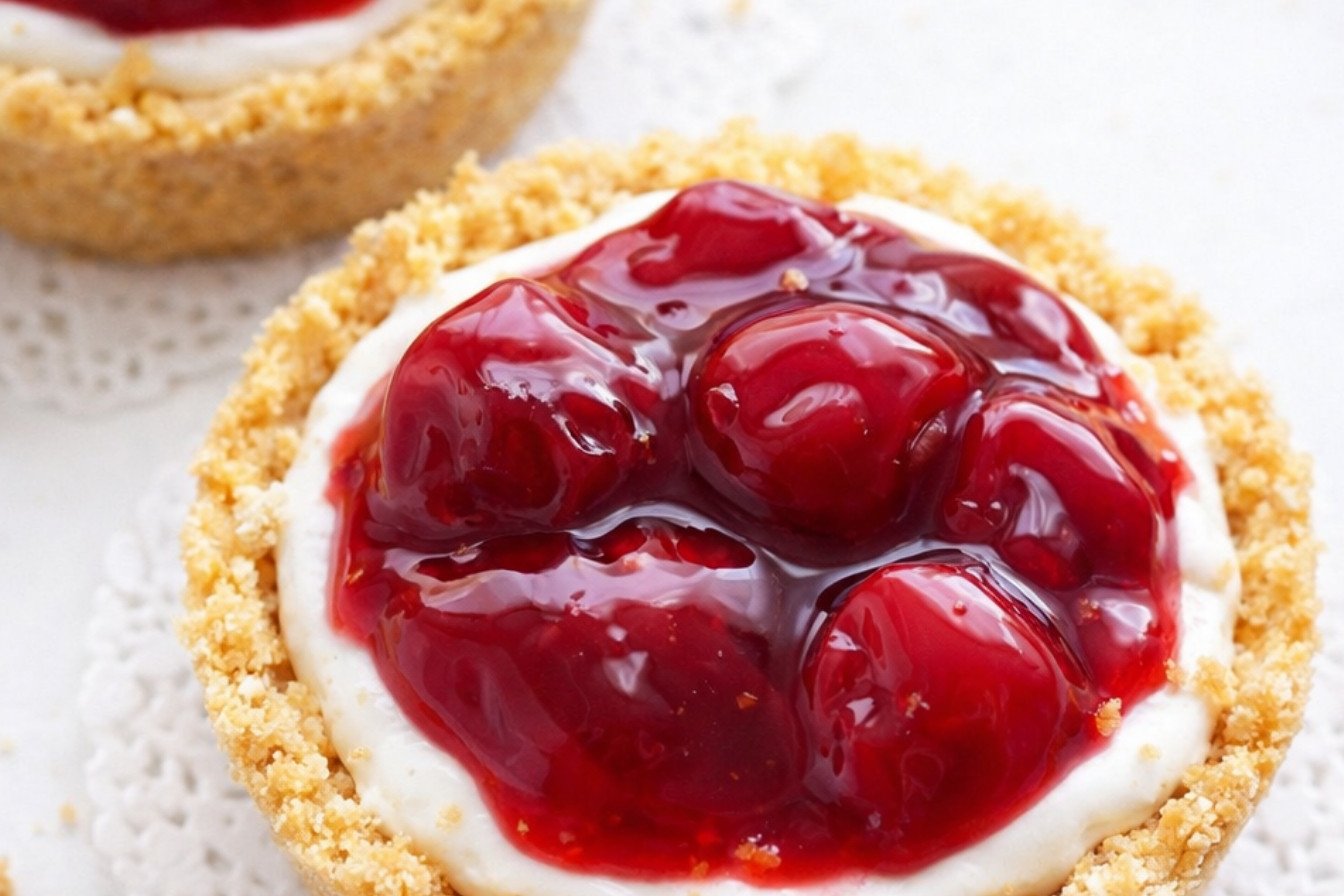
After the tarts are cold and firm, take them out of the fridge. Turn the pan upside down over a clean counter. Give each little cup a firm tap. The tarts should pop right out. If one sticks, just tap a bit harder. They are sturdy little things. I still get excited every time they release cleanly. Now comes the fun part. Spoon a tablespoon of cherry pie filling into each tart shell. Watch the red cherries and glossy syrup pool in the center. It looks like a little jewel. You can serve them right away or keep them cold until dessert time. Which topping would you pick if cherries were not your favorite? Lemon curd or chocolate pudding would work too. I would love to hear your idea.A Little Patience Goes a Long Way
I know waiting two hours is hard. Especially when you want a treat right now. But that chilling time is not wasted. It lets the butter re-harden and the crumbs lock together. If you rush, the crust will crumble in your hand. Trust me, I made that mistake once. Doesn’t that smell amazing? Well, you will not smell much here, but you will taste the difference. Why does this matter? Because patience in the kitchen teaches you about texture. A good crust should snap when you bite it, not fall apart. That little chill time gives you that perfect snap. Plus, you can make these a whole day ahead for a party. That makes you a smart cook, not just a fast one.Small Tarts, Big Smiles
These little tarts are perfect for sharing. You can pass them around on a plate. No slicing, no mess. Everyone gets their own pretty dessert. I made them for my book club last month. The ladies asked for the recipe before they even finished eating. That is the highest praise a cook can get. Each mini tart has only 112 calories. So you can enjoy one without guilt. Or two, if nobody is counting. They are light and fruity, not heavy like a big cheesecake. I think that is why they disappear so fast. Would you serve these at a party or keep them just for your family? Let me know which way you lean.Your Turn to Make Memories
Now you have everything you need. A no-bake dessert that tastes like summer in a bite. You do not need a fancy kitchen or special skills. Just a tart pan, your hands, and a little patience. I hope you try these for your next picnic or birthday. And I hope you forget the oven too, on purpose. Take a picture of your tarts when you make them. Share it with a friend or keep it for yourself. Cooking is about making little moments feel special. These cherry tarts do that for me every time. What is your favorite no-bake dessert to make in summer? I am always looking for new ideas to try.Instructions
Step 1: Grab your mini tart pan and give it a light spray with cooking spray. This little trick helps your tarts pop right out later. (I learned this the hard way after a sticky mess one summer.) Doesn’t that spray sound like the start of something good? Step 2: In a medium bowl, stir together the graham cracker crumbs, sugar, and melted butter. Use a fork to mix it until it feels like wet sand. My grandson loves helping with this part. What’s your favorite dessert to make with kids? Share below! Step 3: Scoop about a tablespoon of the crumb mix into each tart cavity. Press it firmly into the bottom and up the sides with your fingers. Clean hands work best here. Remember to press evenly so the crust holds together. Step 4: Pop the tart pan into the fridge for at least two hours. Overnight is even better if you can wait. I still laugh at how hard it was to resist sneaking a bite before it set. Step 5: When you are ready to serve, flip the pan upside down and give each cavity a firm tap. The tarts should slide right out like little gifts. Add a tablespoon of cherry pie filling to each one. Doesn’t that cherry red look amazing?Creative Twists
… Swap the cherry pie filling for lemon curd and top with fresh blueberries for a tangy surprise. … Mix a pinch of cinnamon into the graham cracker crust for a warm, cozy flavor. … Drizzle melted white chocolate over the top and add a sprinkle of crushed almonds. Which one would you try first? Comment below!Serving & Pairing Ideas
Serve these tarts on a pretty plate with a dollop of whipped cream on the side. They pair beautifully with a tall glass of cold milk or a cup of hot tea. For a fun twist, line the plate with fresh mint leaves for color. You can also add a scoop of vanilla ice cream next to each tart. I like to serve them after a light dinner on a warm summer evening. Which would you choose tonight?
Storing Your Cherry Cheesecake Tarts the Right Way
These little tarts are perfect for making ahead. I learned that the hard way. Once, I made a batch and left them out on the counter. By morning, the crust was soggy, and the cherry filling had leaked everywhere. What a mess! Always store your tarts in the fridge. Place them in a single layer inside an airtight container. They will stay crisp and fresh for up to three days. You can even freeze the empty crusts. Just wrap them tightly in plastic wrap, then foil. When you are ready, thaw them in the fridge overnight. Then add the cherry filling right before serving. Batch cooking these crusts saves so much time for busy weeks. That is why storing them matters. It means you can have a fancy dessert ready in minutes. Have you ever tried storing it this way? Share below!
Three Common Problems and Easy Fixes
The first problem is a crust that crumbles apart. This happens when you do not press the crumbs firmly enough. I remember my first time—I was too gentle. The shells fell to pieces when I tried to remove them. Use the back of a small spoon to press hard. The second problem is leaking cherry filling. Too much liquid makes the crust wet. Spoon the cherry pie filling gently, leaving extra syrup behind. The third problem is the tart sticking to the pan. Spray your pan well with cooking spray. This matters because fixing these problems builds your cooking confidence. You will feel proud when your tarts come out perfect every time. And it matters for flavor, too. A sturdy, dry crust tastes so much better than a soggy one. Which of these problems have you run into before?
Your Quick Questions, Answered
How to make a simple cherry cheesecake tart?
Start by mixing graham cracker crumbs, melted butter, and sugar. Press that mixture into a mini tart pan. Chill it for two hours until firm. Then, fill each tart shell with a spoonful of cherry pie filling. That is it. You can also add a thin layer of no-bake cheesecake filling if you want. Just beat cream cheese with a little sugar and vanilla, spread it in the shell, then add cherries. Keep everything cold until serving. This dessert is perfect for hot summer days when you do not want to turn on the oven. For more easy ideas, try making this cherry ricotta ice cream recipe as a side treat.
Can I use canned cherry pie filling?
Yes, absolutely. Canned cherry pie filling is the easiest shortcut for this recipe. It is already sweetened and thickened, so you do not need to cook anything. Just open the can and spoon it directly into your tart shells. Look for a brand with big, plump cherries and not too much syrup. If you want a less sweet tart, drain the syrup first. This saves time and cleanup. Many home cooks keep a can in the pantry for last-minute desserts. Pair it with a strawberry pretzel salad recipe for a fun dessert table.
What crust is best for a cherry cheesecake tart?
Graham cracker crust is the classic choice. It is sweet, buttery, and crunchy. It pairs perfectly with the creamy cheesecake and tart cherries. You can also use crushed vanilla wafers or shortbread cookies. For a richer flavor, try chocolate graham crackers. Just remember to use melted butter to hold the crumbs together. Press the mixture firmly into the pan. The crust should be about a quarter-inch thick. This gives you a sturdy base that does not fall apart. A good crust matters because it is the foundation of your tart. Want more dessert inspiration? Check out these mini pineapple upside-down cheesecake bites for another crust idea.
How do you keep the cheesecake layer from cracking?
Since this is a no-bake tart, cracking is less common. But it can happen if the cheesecake layer dries out. Always cover your tarts with plastic wrap while they chill. This locks in moisture. Also, make sure your cream cheese is fully softened before mixing. Cold cream cheese creates lumps that lead to cracks later. Beat the mixture until it is smooth and fluffy. Do not overmix, though. Too much air can cause bubbles that pop and leave holes. Chilling the tarts for at least two hours helps everything set evenly. This tip matters because a smooth, creamy texture makes your dessert look beautiful and taste perfect. For a similar treat, try this black forest poke cake delight for a fudgy alternative.
Can I use cream cheese instead of mascarpone?
Yes, you can. Cream cheese is a great substitute for mascarpone. It is thicker and tangier, which works well in a cherry cheesecake tart. Just let the cream cheese sit at room temperature for 30 minutes before mixing. This makes it smooth and creamy. If you want a milder flavor, blend equal parts cream cheese and heavy cream. Mascarpone is richer and softer, so your texture will be a little different. But cream cheese will still taste delicious. Many home cooks prefer it because it is easy to find at any grocery store. This swap matters because it lets you make the recipe with ingredients you already have. Pair it with savory herb biscuits with cream for a sweet and savory meal.
Simple Cherry Cheesecake Tart Recipe
Ingredients
Instructions
- Spray a mini tart pan with cooking spray. In a medium sized bowl, stir together graham cracker crumbs, butter and sugar. Add a tablespoon or so to each cavity. With clean fingers, press graham cracker mixture into the bottom and sides of the tart pan. Refrigerate 2 hours, at minimum, or overnight.
- When ready to serve, remove tart pan from the fridge. Turn upside down and give a firm tap to each cavity to remove graham tart. Add 1 tbsp cherry pie filling to each tart to serve.