

A Sweet Memory That Sticks
I learned to make Rocky Road Fudge from my Aunt Mimi. She was the kind of grandma who always had a jar of cookies on her counter. I remember the first time she let me stir the chocolate. I was so careful, but I still splashed a little onto my shirt. She just laughed and said, “Now you smell like a real cook.” Doesn’t that smell amazing? Chocolate and sweet milk bubbling together is pure happiness.
Why this matters: When you cook with someone you love, you make more than food. You make a memory that lasts forever. This fudge does not need an oven. That means even little hands can help without getting too close to heat.
Reader prompt: What is the first sweet thing you remember making with a grown-up? Tell me your story. I would love to hear it.
Only 10 Minutes of Work
This recipe is a lifesaver on busy days. You just melt chocolate chips, sweetened condensed milk, and butter in a pot over low heat. Stir until it looks like a shiny river of chocolate. That takes about five minutes. Then you stir in vanilla, let it cool a little, and fold in marshmallows and pecans.
The best part? You do not bake anything. Just pour it in a pan and let the fridge do the rest. In two hours, you have a treat that looks fancy but was hardly any work. I still laugh at how easy this is. My kids used to think I spent all day in the kitchen.
Fun fact: The name “Rocky Road” comes from a candy bar made during the Great Depression. They wanted to make candy last longer by adding cheap nuts and marshmallows.
Why this matters: You do not need expensive tools or a big oven to make something special. Just a pot, a spoon, and a fridge. That is all you need.
The Right Way to Add Marshmallows
Here is a trick I learned after a few sticky mistakes. You must let the chocolate cool for two or three minutes before you add the marshmallows. If the chocolate is too hot, the marshmallows will melt into puddles. You want them to stay soft and puffy inside the fudge.
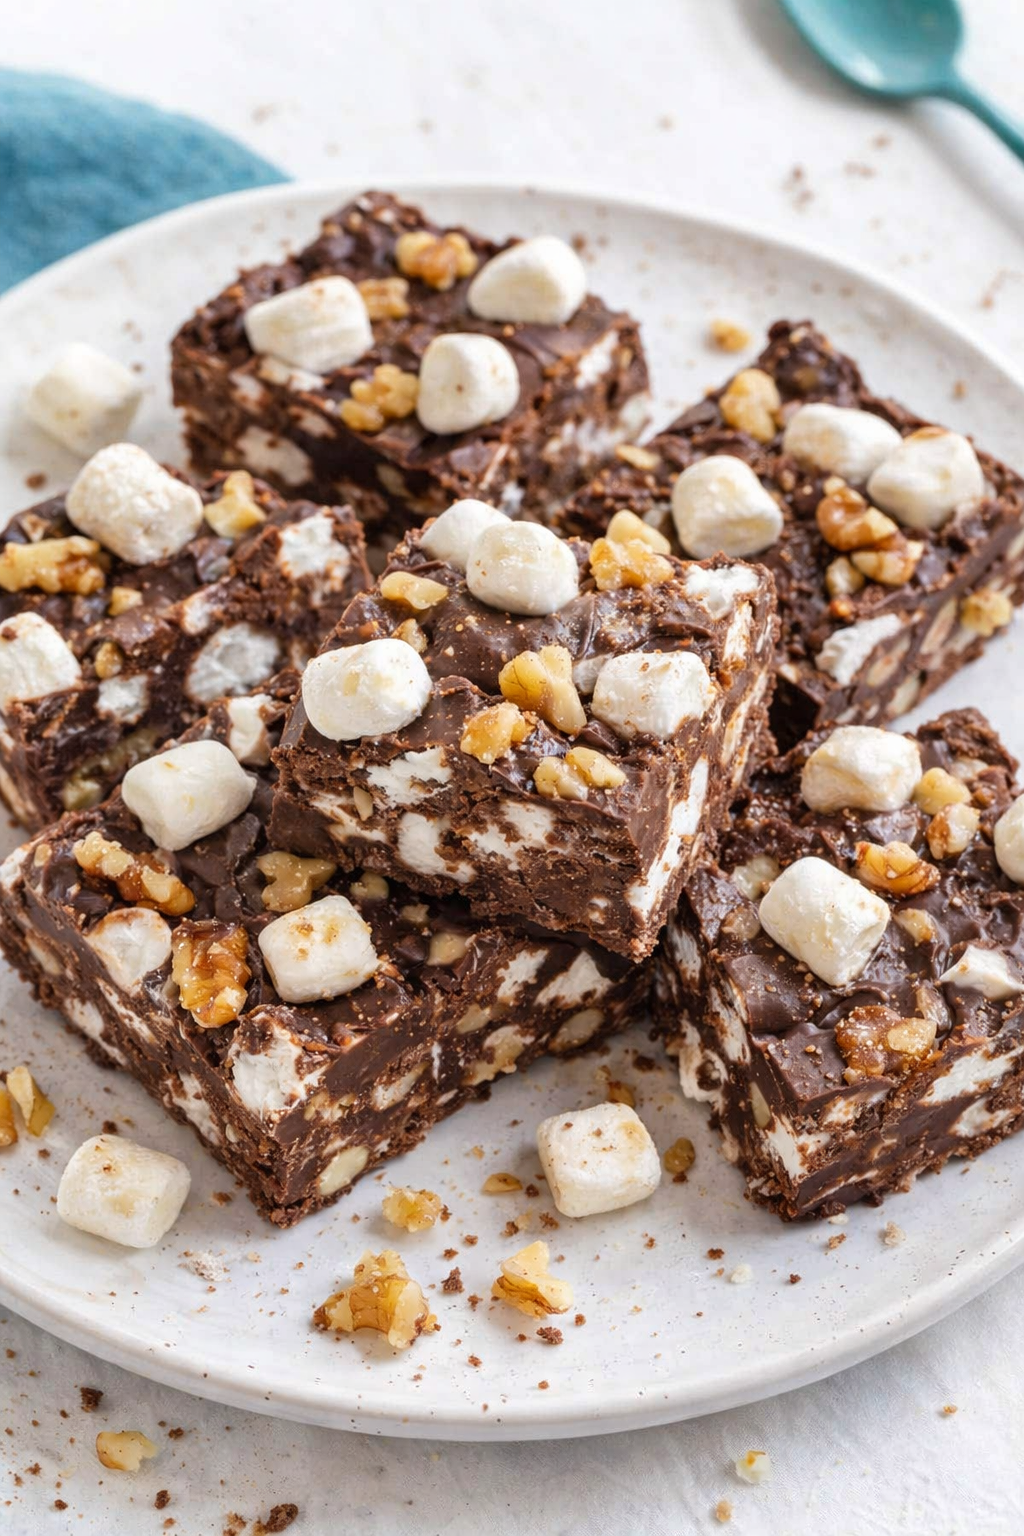
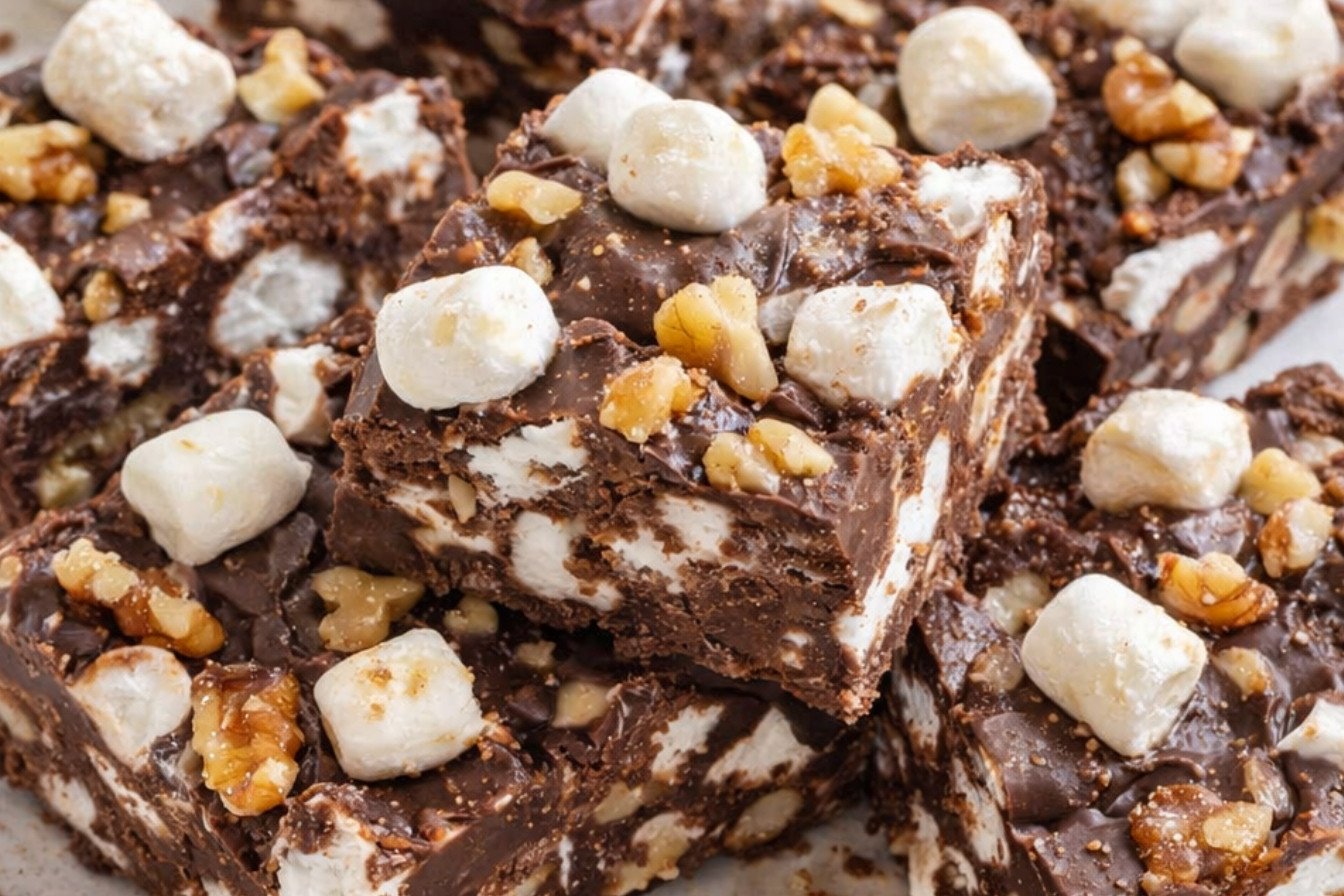
Gently fold them in with a spatula. Do not stir hard or you will break them. Then spread the mixture into your pan. I like to press a few extra marshmallows and pecans on top. That makes each square look like a little mountain of treats.
Reader prompt: Do you like your fudge with lots of marshmallows or just a few? Drop your answer below. No wrong choices here.
Pecans or No Pecans?
You can use pecans, walnuts, or even skip the nuts entirely. My Uncle Joe always said, “Nuts make it rocky, and rocky makes it road.” But I have made a nut-free version for school parties. Just leave them out and add extra marshmallows. That works great too.
If you do use nuts, toast them first in a dry pan for three minutes. It brings out a warm, toasty flavor. The crunch against the soft chocolate is a lovely thing. I cannot stop sneaking bites while I cut the squares.
You can find more ideas for nutty snacks at irresistible sweet treats.
Make It Your Own
Once you know the basic recipe, you can play around. Swap the chocolate chips for milk chocolate or dark chocolate. Add crushed pretzels for a salty crunch. Sprinkle a pinch of sea salt on top before it sets. Every change gives you a new flavor.
I once added dried cherries for a friend who loved tart fruit. She said it tasted like a fancy candy bar. That was the day I learned that small changes can make big surprises. Cooking is just a game of “what if.”
Reader prompt: If you could add one weird thing to this fudge, what would it be? Dried fruit? Crushed cookies? Let me know. I might try it myself.
Why This Fudge Is a Weekday Hero
Some desserts need hours of mixing and rising. Not this one. You can make it before dinner and serve it after. It saves you time and still feels like a treat. That is why I keep the ingredients in my pantry at all times.
Why this matters: When life gets busy, you still deserve something sweet. You do not have to skip dessert just because you are tired. A ten-minute recipe can bring a smile to your whole family.
For healthy tips to balance out the sweetness, check out healthy lifestyle tips. Everything in moderation, right?
How to Serve and Share
Cut the fudge into small squares. A little goes a long way because it is rich and sweet. I like to place them on a plate with a napkin. They also make great gifts. Wrap a few in a little bag and tie it with a ribbon.
Store the fudge in the fridge for up to a week. If it lasts that long. In my house, it is usually gone in two days. My grandson once hid a piece under his pillow for later. I still laugh at that.
Reader prompt: Who would you share this fudge with first? A neighbor, a teacher, or someone you miss? Tell me in the comments.
For more easy recipes, look at tasty evening meals and appetizer ideas. Need something on the side? Try perfect sides or a fresh crisp and fresh salad. And for hearty dinners, beef recipes are always a hit.
Instructions
Step 1: Line an 8×8-inch pan with parchment paper. Leave extra paper hanging over the sides. This makes lifting the fudge out so easy. (Trust me, I learned this trick after a sticky mess one time.)
Step 2: In a saucepan over low heat, stir together 3 cups chocolate chips, one can sweetened condensed milk, and 2 tablespoons butter. Stir until smooth and glossy. Doesn’t that smell amazing? My grandson always peeked over my shoulder at this point.
Step 3: Take the pan off the heat. Stir in 1 teaspoon of vanilla extract. Do you know why we add vanilla? It makes the chocolate taste richer! Share below!
Step 4: Let the mixture cool for two or three minutes. If it is too hot, the marshmallows will melt into puddles. Gently fold in 3.5 ounces of mini marshmallows and chopped pecans.
Step 5: Spread everything into your lined pan. Press a few extra marshmallows and pecans on top. Refrigerate for at least two hours until firm. I still laugh at how hard it is to wait that long.
Creative Twists
… Swap the pecans for salted peanuts for a crunchy, salty twist. … Add a handful of crushed pretzels for extra crunch and a hint of salt. … Sprinkle in some dried cranberries for a tart, chewy surprise. Which one would you try first? Comment below!
Serving & Pairing Ideas
Cut the fudge into tiny squares for a party platter. Serve it next to a tall glass of cold milk. For a fancy touch, dust the top with a little flaky sea salt. This fudge also pairs beautifully with a scoop of vanilla ice cream. Which would you choose tonight?
Storing Your Rocky Road Fudge
Making a batch of this rocky road fudge is like giving yourself a present. You can enjoy it all week long. After you cut the squares, layer them in a container with wax paper between each layer. This stops them from sticking together. Keep the container in your fridge. It will stay fresh for up to two weeks. I remember my first time making this fudge. I forgot the parchment paper. The fudge stuck to the pan like glue. I learned that day! Have you ever tried storing it this way? Share below! Batch cooking matters because it saves you time later. When a sweet tooth hits, you have a treat ready. That is a wonderful feeling.
You can also freeze this fudge for up to three months. Wrap each square tightly in plastic wrap. Then put them in a freezer bag. When you want a piece, let it thaw in the fridge. Do not microwave it to thaw. That changes the texture. I once froze a whole batch for a holiday visit. It tasted just as good two weeks later. Why does this matter? Freezing lets you spread out the joy. You make it once, and enjoy it many times.
Common Fudge Problems and Fixes
There are three things that can go wrong when making this fudge. First, the fudge might be too soft. This usually means you did not chill it long enough. Give it a full two hours in the fridge. I once took it out after one hour. It was a gooey mess. Second, the marshmallows might melt completely. Let the chocolate mixture cool for a few minutes before adding them. I remember when I was in a hurry. I added them right away. They vanished into the chocolate. Third, the fudge can be too hard to cut. Let it sit at room temperature for five minutes before slicing. Which of these problems have you run into before? Fixing these issues matters because it builds your cooking confidence. You learn to trust your eyes and hands.
Another common worry is that the chocolate will burn. Always melt it over low heat. Stir constantly. This is the most important step. Burnt chocolate tastes bitter. I ruined a whole pan once because I walked away. My kitchen smelled like a campfire gone wrong. Why does getting this right matter? It makes the fudge taste rich and smooth. Good flavor comes from patience.
Your Quick Questions, Answered
Can I use milk chocolate instead of semi-sweet?
Yes, you can use milk chocolate, but your fudge will be much sweeter. Semi-sweet chocolate gives a nice balance with the sweetened condensed milk. Milk chocolate has more sugar and less cocoa. This can make the fudge very rich and a bit softer. If you love a very sweet treat, go ahead. Just know the flavor will be different. You may also need to chill it a little longer for it to set properly. Start with a smaller batch to test it out.
How long does this fudge need to set in the fridge?
This fudge needs at least two hours in the fridge to set firm. I always give it a full three hours to be safe. The fudge should feel solid to the touch. When you press it gently, no indent should remain. If you live in a warm house, it may need a bit more time. Overnight is even better if you have patience. The longer it sets, the cleaner your cuts will be. Do not skip this step. It makes all the difference.
Can I add other mix-ins like peanuts or M&Ms?
Absolutely, you can swap the pecans for peanuts or add M&Ms. This is your fudge, so make it how you like. If you use M&Ms, add them after the chocolate cools. The heat can melt the candy coating. I once added crushed pretzels for a salty twist. It was delicious. Keep the total mix-ins to about one cup. Too many add-ins will make the fudge crumble. Have fun with it. Every batch can be a new creation.
What is the best way to cut clean squares?
The best way to cut clean squares is to use a sharp knife. Run the knife under hot water first. Wipe it dry, then slice. The heat helps the blade glide through the fudge. Wipe the blade clean between each cut. Let your fudge sit at room temperature for five minutes before slicing. Cold fudge can crack. I learned this trick from my neighbor, Mrs. Bell. Her fudge always looked perfect. Patience and a warm knife are your best tools.
Can I freeze rocky road fudge for later?
Yes, you can freeze rocky road fudge for up to three months. Wrap each square tightly in plastic wrap. Then place them in a freezer-safe bag or container. Squeeze out as much air as you can. To thaw, move the fudge to the fridge overnight. Do not thaw at room temperature. The marshmallows can get sticky. I froze a batch for a summer picnic. It was just as good as fresh. Freezing is a great way to save treats for later.
How do I fix fudge that won’t set properly?
If your fudge will not set, it may be too warm. Put it back in the fridge for another hour or two. If it is still soft after that, you can try a trick. Melt the fudge again with a little more chocolate chips. Add about half a cup and stir until smooth. Pour it back into the pan and chill again. This can help firm it up. If it stays soft, use it as a warm ice cream topping. I have done that before. It was a happy accident.
Which tip will you try first?
A Sweet Farewell from My Kitchen to Yours
I hope you feel ready to make this wonderful rocky road fudge. It is a simple recipe that fills your home with sweetness. Remember, cooking is about having fun and sharing joy. Every batch teaches you something new. Fun fact: This fudge was first made in the 1920s by a candy company in California. I love that a treat so old still makes people smile today. Have you tried this recipe? Tell me in the comments. I would love to hear how it turned out. Happy cooking! —Grace Ellington.
Simple No-Bake Rocky Road Fudge
Description
Rich, creamy, and crunchy no-bake fudge with chocolate, marshmallows, and pecans.
Ingredients
Instructions
- Get prepped: Line an 8×8-inch baking pan with parchment paper, leaving overhang for easy removal.
- Melt chocolate: In a medium saucepan over low heat, combine 3 cups semi-sweet chocolate chips, 14 ounces sweetened condensed milk, and 2 tablespoons butter. Stir continuously until melted and smooth.
- Add flavoring: Remove from heat and stir in 1 teaspoon vanilla extract.
- Fold in mix-ins: Let mixture cool for 2-3 minutes so marshmallows don’t melt completely. Gently fold in 3.5 oz mini marshmallows and 3.5 oz pecans.
- Chill: Spread mixture evenly into prepared pan. Top with extra marshmallows and pecans, press gently in. Refrigerate for at least 2 hours, or until firm.
- Serve: Cut into squares and enjoy.
Notes
- Nutrition per serving: Calories: 156kcal | Carbohydrates: 17g | Protein: 2g | Fat: 9g | Saturated Fat: 4g | Polyunsaturated Fat: 1g | Monounsaturated Fat: 3g | Trans Fat: 0.04g | Cholesterol: 6mg | Sodium: 23mg | Potassium: 138mg | Fiber: 1g | Sugar: 13g | Vitamin A: 58IU | Vitamin C: 0.3mg | Calcium: 43mg | Iron: 1mg