
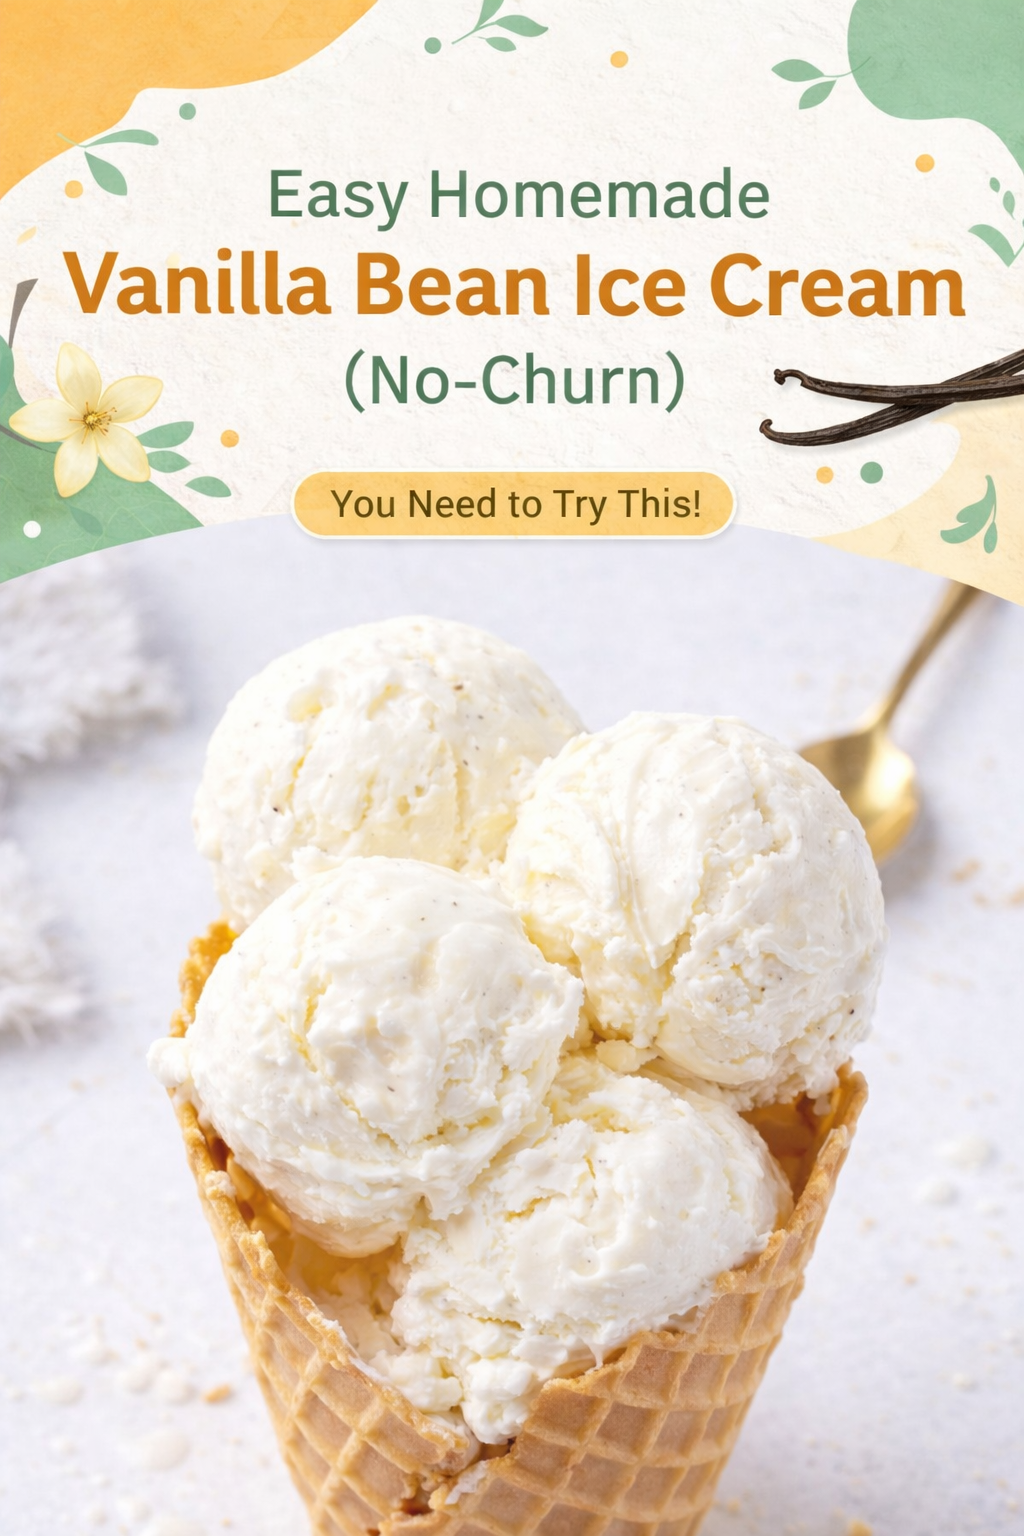
Why I Love This No-Churn Ice Cream
I remember the first time I made ice cream without a machine. I was sure it would turn into a block of ice. But this recipe surprised me. All you need is a bowl, a mixer, and a little patience. The secret is the whipped cream. It traps air, so the ice cream stays soft and scoopable. I still laugh at how easy it is. Have you ever tried making ice cream from scratch?
This matters because you don’t need fancy tools. Anyone can make this, even kids. It is a great way to learn how simple ingredients can become something magical. You control what goes in, so no weird additives. Doesn’t that smell amazing when you open the vanilla bean?
The Vanilla Bean Magic
Splitting a vanilla bean is like opening a tiny treasure chest. You take a sharp knife and slice it down the middle. Then you scrape out the tiny black seeds. Those little specks give the ice cream a rich, natural flavor. Store-bought vanilla extract works too, but the bean is special. Why this matters: real vanilla has over 200 flavor compounds. Imitation vanilla only has one, so the bean tastes deeper and warmer.
I once tried making this for a summer party. I forgot to chill the bowl first. The cream refused to whip into stiff peaks. I learned my lesson: cold bowl, cold cream, happy ice cream. Have you ever had a kitchen disaster that taught you something? Try using vanilla bean paste if you want the specks without the work.
How to Whip Cream Right
Pour your very cold heavy cream into a chilled bowl. Use a hand mixer or stand mixer. Start slow, then go faster. You want firm peaks, which means when you lift the beaters, the cream stands up straight. Do not over-whip it, or you will get butter. I did that once. I served butter-flavored ice cream to my neighbors. We all laughed about it.
The condensed milk is the real hero here. It adds sweetness without making the ice cream gritty. It also stops big ice crystals from forming. This matters because nobody likes icy, crunchy ice cream. You want it smooth and creamy, like a cloud. What is your favorite ice cream texture?
Folding Gently Is Key
Once the cream is whipped, you add the condensed milk and vanilla. Use a rubber spatula to fold everything together. Move slowly and gently, scraping from the bottom up. If you stir too fast, you let the air out of the cream. That means flat, heavy ice cream. Take your time. I like to count ten slow folds, then check if it looks even.
This matters because the air you trapped in the cream gives the ice cream its fluffy texture. Without that air, it would be dense like a brick. I once rushed this step and ended up with a hard, icy block. Now I always whisper to myself, “Be gentle.” Do you have a cooking tip you repeat in your head? Try this with cookie dough chunks mixed in for a fun twist.
The Long Freeze Is Worth It
Pour your mixture into a loaf pan or any freezer-safe container. Cover it tightly with plastic wrap or a lid. Then put it in the coldest part of your freezer. Wait at least four hours, but six is better. I once peeked after two hours and tasted soup. It needs time to firm up all the way through.
Fun fact: the longest recorded ice cream flavor list has over 1,000 options, but vanilla remains the most popular in the world. People love it because it pairs with everything. You can serve this plain, or with fresh berries, hot fudge, or sliced peaches. What would you put on top of your scoop? I love summer berries and a drizzle of honey.
How to Store and Serve
This ice cream keeps in the freezer for up to a month. Wrap it well so it doesn’t pick up weird smells from the freezer. I use a layer of plastic wrap right on the surface, then a lid. When you are ready to eat, let it sit on the counter for five minutes. That makes scooping much easier. I always forget this step and fight with a frozen block.
Why this matters: proper storage keeps the texture creamy. If air gets in, ice crystals form. Nobody wants crunchy ice cream. I learned this after finding a sad, icy container in the back of my freezer. Now I treat my ice cream like a precious treasure. Have you ever rediscovered something in your freezer that was still good? Try serving this with chocolate swirl cookies on the side.
Why Simple Is Best
This recipe has only three main ingredients. No eggs, no cooking, no machine. It proves that you don’t need complicated steps to make something wonderful. I love sharing this with kids who think cooking is hard. They see how easy it is, and their faces light up. That is the best feeling.
This matters because homemade food connects us. When you make ice cream for someone, you are saying “I cared enough to do this.” It is a small act of love. I hope you try this recipe and share it with someone you love. Do you have a favorite dessert memory from childhood? I would love to hear about it. You can even turn this into a sundae with brioche donuts or a splash of vanilla coffee creamer poured on top.
Instructions
Step 1: First, put your metal mixing bowl in the fridge for 10 minutes. A cold bowl helps the cream whip up nice and fluffy. Pour in the heavy cream and whip it until it looks like soft clouds. (If you whip too long, you will get butter — I learned that the hard way!)
Step 2: If you are using a vanilla bean, slice it open with a small knife. Scrape out all those tiny black seeds with the back of the knife. Doesn’t that smell amazing? It reminds me of my grandmother’s kitchen on a summer afternoon.
Step 3: Pour the sweetened condensed milk into the whipped cream. Add your vanilla seeds (or two teaspoons of extract). Gently fold everything together with a rubber spatula. Be slow and careful so you don’t pop all the air bubbles out.
Step 4: Scoop the mixture into a loaf pan or a freezer-safe container. Cover it tightly with plastic wrap or a lid. Pop it in the freezer for at least 6 hours — overnight is even better. What is your favorite ice cream topping to add? Share below!
Creative Twists
… Crush up some vanilla slice-and-bake cookies and stir them in before freezing.
… Swirl in a handful of fresh berries from this lovely summer berry dessert for a fruity surprise.
… Drizzle in some vanilla cardamom coffee creamer for a warm, spicy kick.
Which one would you try first? Comment below!
Serving & Pairing Ideas
Scoop this creamy ice cream next to a warm slice of brioche donut with vanilla custard. The cold and warm together is pure magic. You can also pile a scoop on top of a chocolate-vanilla spiral cookie for a crunchy treat. My grandson loves it with a drizzle of creamy vanilla panna cotta with honeyed berries on the side. Which would you choose tonight?
How to Keep Your No-Churn Ice Cream Perfect
Storing homemade ice cream is just as important as making it. Your freezer is the key. Always use a tight lid or wrap your loaf pan in plastic wrap. This keeps ice crystals from forming on top.
I remember my first batch of ice cream. I left it uncovered. The next day, it tasted like frozen cardboard. Now I always press a piece of wax paper right onto the surface. It makes a huge difference.
Batch cooking matters because it saves time. You can make two batches at once. One for this week and one for later. That means more dessert with less work. Have you ever tried storing it this way? Share below!
If you love vanilla flavors, try our fluffy homemade vanilla marshmallows for a fun topping. Or pair your ice cream with a scoop of creamy vanilla panna cotta with honeyed berries for a special treat.
Three Common Ice Cream Problems and Easy Fixes
First, ice cream can turn rock hard. This happens when the freezer is too cold. Just let it sit on the counter for five minutes before scooping. That softens it right up.
Second, your ice cream might get icy. This means too much air got in. Fold your cream gently. You want it fluffy, not rough. I once stirred too fast and ended up with ice chips. Now I take my time.
Third, the flavor can taste flat. Why this matters: good flavor comes from good ingredients. Use real vanilla, not imitation. It makes your dessert taste like a treat, not a store-bought box. Which of these problems have you run into before?
Fixing these issues builds your cooking confidence. You learn to trust your hands and your taste. That makes every batch better. Try our classic vanilla icebox slice and bake cookies to crumble on top for extra crunch.
Fun fact: Homemade ice cream has fewer additives than store-bought brands. That is why it freezes differently.
Your Quick Questions, Answered
How long does no churn ice cream need to freeze?
Your no churn ice cream needs at least four to six hours in the freezer. I always leave mine overnight for the best texture. The top should feel firm when you touch it. Longer freezing gives you a creamier scoop. Just make sure you cover it well so it stays fresh and smooth.
Can I use vanilla extract instead of vanilla bean?
Yes, you can use two teaspoons of vanilla extract instead of one vanilla bean. The flavor will still be rich and sweet. Extract is easier to find and costs less. I use it all the time when I forget to buy beans. Your ice cream will taste just as wonderful.
Why is my no churn ice cream icy or grainy?
Icy or grainy ice cream happens when you overmix or use warm cream. Fold your ingredients gently. Cold cream helps the fat stay stable. Another reason is too much air. Whip only until firm peaks form. If your freezer is too cold, that can also cause ice crystals. Keep it at a steady temperature.
What is the best cream to use for no churn ice cream?
The best cream is heavy whipping cream with at least 36 percent fat. This fat gives you that smooth, rich texture. Light cream or half-and-half will not whip properly. Your ice cream will end up thin and watery. I always check the label before buying. Cold cream whips up faster and better.
Can I add mix-ins like chocolate chips or fruit?
Yes, you can add mix-ins like chocolate chips or chopped fruit. Fold them in gently before freezing. Do not stir too much or you will deflate the cream. I love adding fresh berries in summer. For chocolate chips, use mini ones so they stay soft. Your ice cream will be full of surprises.
How long does homemade no churn ice cream last in the freezer?
Homemade no churn ice cream lasts up to one month in the freezer. Keep it tightly wrapped with plastic wrap or a lid. After a month, ice crystals can form and change the taste. I always label my containers with the date. That way, I know when to eat it. Which tip will you try first?
For another sweet twist, try our lovely summer berry and cream dessert next to your ice cream. Or bake some spiral cookie contrast chocolate vanilla swirls for a crunchy side.
A Warm Goodbye from My Kitchen to Yours
Thank you for spending time with me today. I hope your ice cream turns out creamy and full of joy. Remember, mistakes are just learning moments. Every batch teaches you something new about your kitchen and your taste.
I would love to hear how yours turns out. Have you tried this recipe? Drop a comment below. Share your tips or your favorite mix-ins. Your stories make this kitchen feel warm and full of friends. Happy cooking!
—Grace Ellington.
For more vanilla magic, check out homemade brioche donuts with vanilla custard or make our homemade vanilla cardamom coffee creamer recipe for your morning cup.
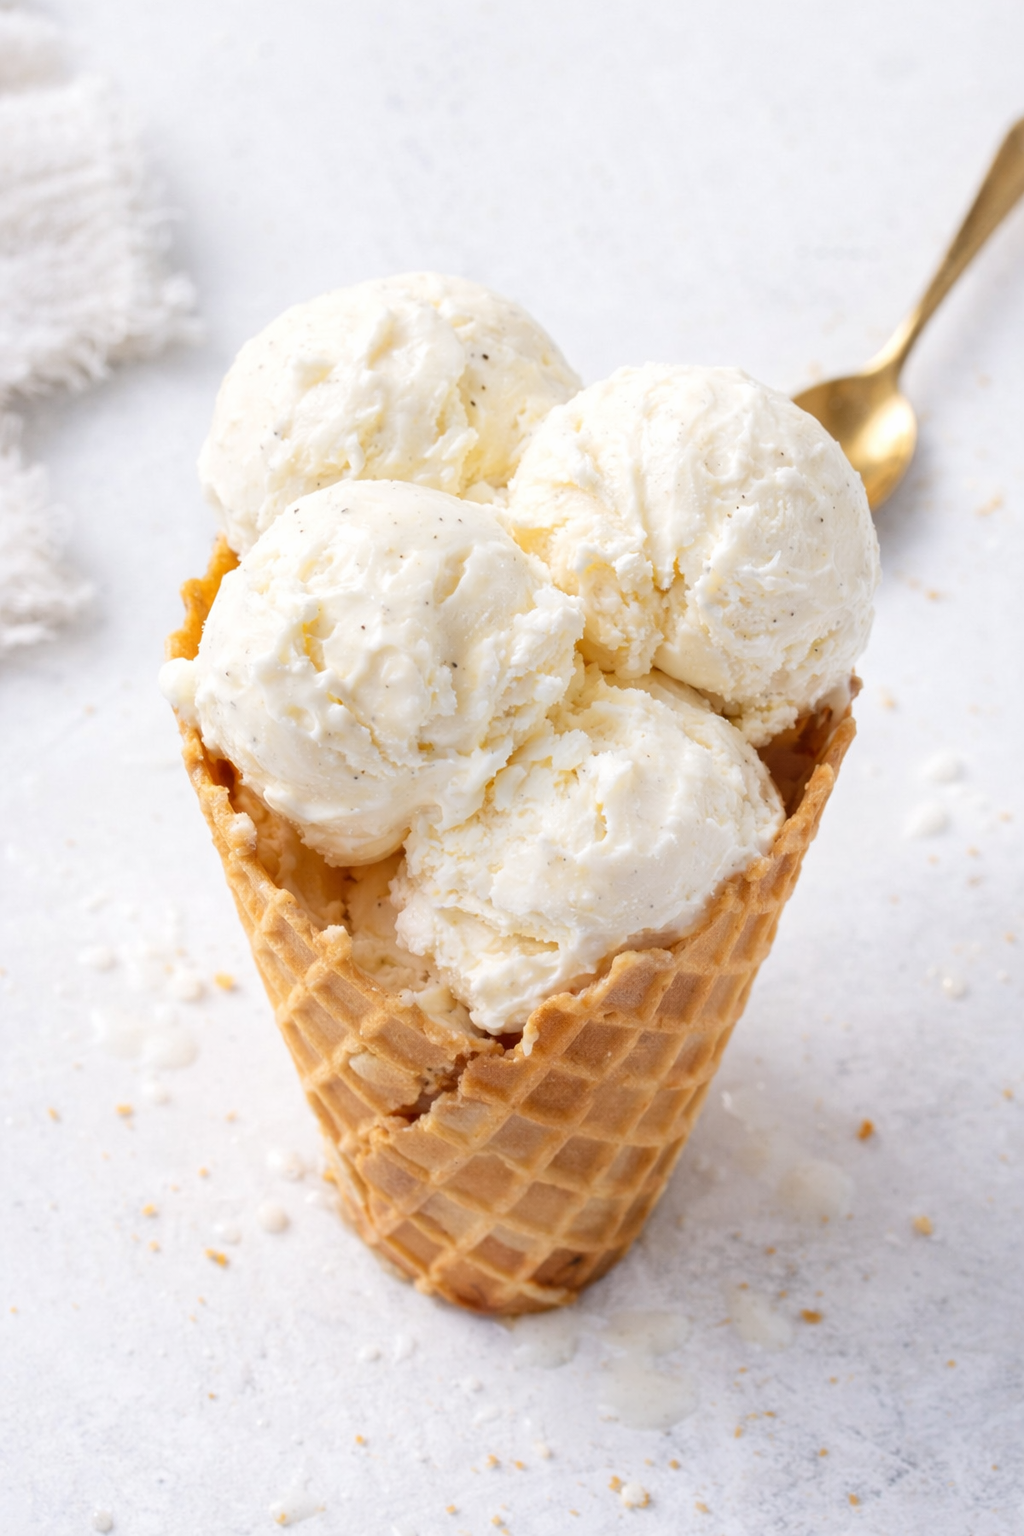
Simple No Churn Vanilla Bean Ice Cream
Description
This no-churn vanilla bean ice cream is incredibly creamy and easy to make with just a few simple ingredients.
Ingredients
Instructions
- Whip the cream: In a chilled bowl, whip the heavy cream with a hand mixer or stand mixer, until firm peaks form.
- Scoop vanilla beans, optional: If you’re using a vanilla bean, use a sharp paring knife to split the bean down the middle, then use the back of the knife to scrape out the vanilla bean seeds.
- Add milk and vanilla to cream: Add the condensed milk and vanilla bean seeds (or extract, or paste) to the whipped cream, and begin gently folding them together. This ice cream gets its texture from the whipped cream, so you don’t want to stir it too vigorously and deflate the cream.
- Freeze: Scrape the ice cream mixture into an ice cream storage container, or a 9×5 inch loaf pan. Cover the container firmly with a lid, or plastic wrap if using a loaf pan. Place the pan in the freezer for at least 4-6 hours, or until the top of the ice cream is firm to the touch.
- Serve or store: Scoop and enjoy! This ice cream can be stored, well-wrapped, in the freezer for up to a month.
Notes
- Nutrition per serving: Calories: 363kcal | Carbohydrates: 29g | Protein: 6g | Fat: 26g | Saturated Fat: 16g | Polyunsaturated Fat: 1g | Monounsaturated Fat: 7g | Cholesterol: 84mg | Sodium: 79mg | Potassium: 241mg | Sugar: 29g | Vitamin A: 1007IU | Vitamin C: 2mg | Calcium: 180mg | Iron: 0.2mg