

My First Mug Cake Mistake
I still laugh at the first time I made a mug cake. I used a tiny cup, and the batter bubbled over everywhere. It made a big mess in the microwave. That is how I learned to pick a proper 8-ounce mug. This recipe uses the right size and just the right batter amount. Doesn’t that smell amazing when it cooks? Have you ever had a kitchen mishap that taught you something? The simple trick is spraying your mug with nonstick cooking spray first. That little step saves you from scraping cake off the sides. It also makes cleanup super fast. A warm cake that slides right out feels like a small victory. Why do we always forget the simple steps first?The Peanut Butter Secret
You warm the peanut butter and butter together for just fifteen seconds. Not until it bubbles, just until it relaxes. Then you stir until it looks like soft, shiny gold. This makes the whole cake taste rich and smooth. Why this matters: warming the butter keeps the batter from turning lumpy. A smooth batter means a soft cake every single time. Do you prefer chunky or creamy peanut butter in your baking? I once skipped the warming step because I was in a hurry. The batter turned out clumpy and the cake was dry. Now I never rush that part. A little patience makes a big difference. What is one cooking shortcut you learned the hard way?The Right Stir
You add the flour, baking powder, and salt last. Stir gently until you see no white spots left. Do not stir too much or the cake will get tough. Why this matters: overmixing makes gluten form, which makes cake rubbery. We want a tender, fluffy cake, not a bouncy one. Do you usually stir fast or slow when making batter? My grandma always said to stir batter like you are petting a kitten. Soft and gentle, not rough and fast. I still hear her voice when I mix cakes. Those little memories make cooking feel like a hug. Apple crumble gets the same gentle treatment in my kitchen.Chocolate Chip Surprise
Fold in mini chocolate chips at the very end. Mini chips spread better than big ones in a small mug. You can also sprinkle a few on top for a pretty look. A simple glaze can dress up a plain cake, but here the chocolate does the work. *Fun fact: mini chocolate chips were invented for small batch baking just like this.* Did you know that? The chocolate melts into little pools of soft sweetness. Every bite has a surprise pocket of warm chocolate. It turns a plain peanut butter cake into something special. Have you ever added an extra ingredient to a recipe on a whim?Timing is Everything
Microwave times vary a lot from one machine to another. Start checking at forty seconds, even if the recipe says longer. The top should look set but still a little shiny in the middle. Sous vide carrots teach you the same lesson: patience with timing leads to perfect results. Have you ever burned a dessert trying to guess the microwave time? Let the cake cool for two minutes before eating. It continues cooking inside from the heat. If you eat it too fast, it might taste doughy. Egg bites also need that little rest time. Waiting is hard, but it makes dessert much better.Why This Cake Matters
This is not just a quick dessert. It teaches you how to bake without turning on a big oven. You learn about timing, mixing gently, and using the right tools. A perfect brownie follows the same simple rules. Every tiny skill you learn here helps you become a better cook. What is one kitchen skill you want to get better at? Making a single serving also saves food and money. You do not waste a whole batch of batter. It is just enough for one cozy moment. I love that this cake feels like a secret treat just for you. Would you share this cake with someone or keep it all to yourself?Instructions
Step 1: Grab a microwave-safe mug and spray it lightly with nonstick cooking spray. This little step stops the cake from sticking. I still laugh at how many cakes I ruined by skipping it. (Hard-learned tip: always spray the mug, even if it says nonstick.) Step 2: In a small bowl, combine 3 tablespoons of creamy peanut butter with 1 tablespoon of unsalted butter. Microwave for 15 to 20 seconds, just until soft. Stir until it looks smooth and glossy. Doesn’t that smell amazing already? Step 3: Stir in 2 tablespoons of packed light brown sugar until it’s fully mixed. Add one lightly beaten egg yolk, 1 tablespoon of milk, and 1/2 teaspoon of vanilla. Stir gently until the batter is smooth and happy. What is your favorite thing to bake in a mug? Share below! Step 4: Add 3 tablespoons of flour, 1/4 teaspoon of baking powder, and a pinch of salt. Stir until no dry spots remain, but don’t overmix or the cake gets tough. Fold in 1 tablespoon of mini chocolate chips for little melty surprises. Try this fudgy brownie recipe next time you want chocolate. Step 5: Spoon the batter into your prepared mug. Sprinkle a few extra chocolate chips on top if you like. Microwave on high for 40 to 55 seconds. Start checking at 40 seconds, because microwaves are tricky. The top should look set but still a little shiny in the center. Step 6: Let the mug cake cool for about 2 minutes before digging in. This is the hardest part, I know. Eat it warm, straight from the mug, with a spoon. For another quick treat, check out this apple crumble perfection.Creative Twists
- Swap the chocolate chips for a spoonful of strawberry jam for a peanut butter and jelly mug cake.
- Add 1/4 teaspoon of cinnamon and a pinch of nutmeg for a cozy, spiced peanut butter cake.
- Top with a scoop of vanilla ice cream right after microwaving for a melty, cold-and-hot dessert.
Serving & Pairing Ideas
Serve your mug cake with a cold glass of milk for dipping each bite. It’s the classic pairing, and it never fails. For a fancier touch, add a drizzle of warm caramel sauce or a few fresh raspberries on the side. You could also pair it with a simple citrus salad to balance the richness, like these lemon thyme carrots. For a cozy night, enjoy it after a bowl of beans, greens, and grains. Which would you choose tonight?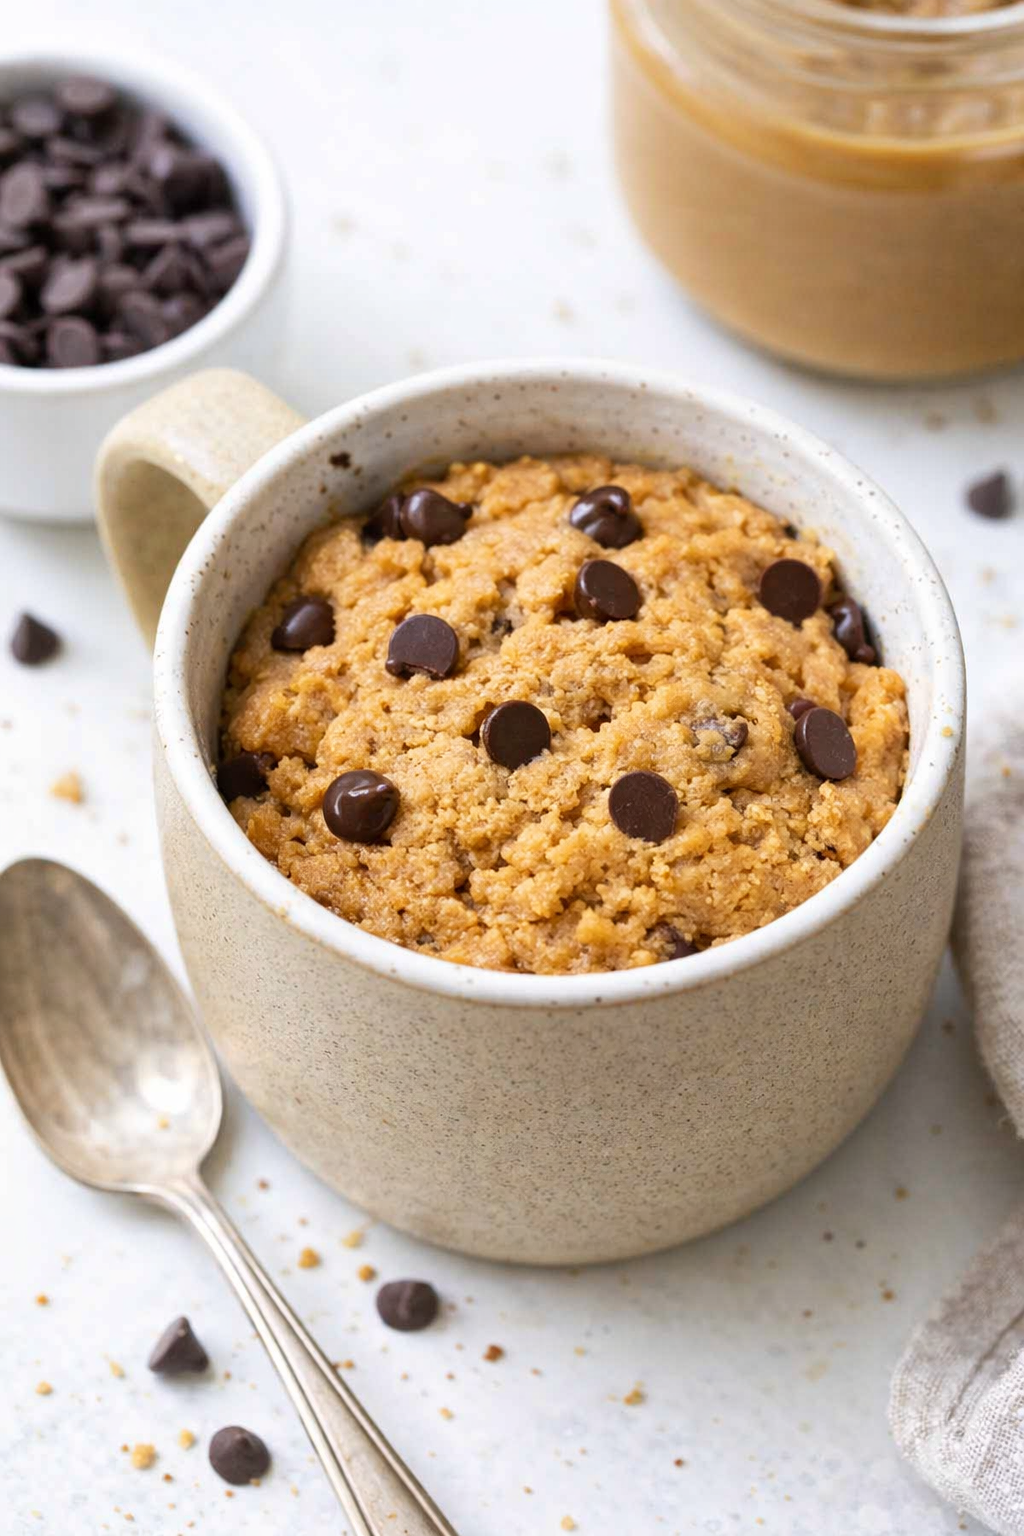
Why This Mug Cake is Your New Best Friend
This little cake is perfect for one. No big pan to wash. No leftovers that go bad. I remember the first time I made one. I was skeptical. How could a mug and a microwave make a real cake? Then I took that first warm, peanut buttery bite. I was hooked. The trick is to not overmix the batter. Stir just until the flour disappears. Overmixing makes the cake tough. Also, watch your microwave closely. Start checking at 40 seconds. Every microwave is different. You want the top to look set but still a little glossy in the center. This matters because a perfectly cooked mug cake is soft and tender, not dry and rubbery. It turns a quick treat into a real comfort dessert. I love to batch-make the dry ingredients in a little jar. Then I just add the wet stuff when I want a cake. Have you ever tried storing it this way? Share below!Three Common Problems and How to Fix Them
Sometimes a mug cake doesn’t turn out right. That is okay. We all learn by trying. The first problem is a dry cake. This happens when you microwave it too long. Remember to start checking at 40 seconds. The second problem is a rubbery cake. I once made one that bounced like a ball. It was because I stirred the batter too much. Mix gently until the flour is just wet. The third problem is a flat cake. Your baking powder might be old. Check the date on the can. Fresh baking powder makes the cake rise properly. Why does this matter? Because fixing these small mistakes makes you a more confident cook. You learn how ingredients work together. And you get a better, more delicious cake every time. Which of these problems have you run into before?Your Quick Questions, Answered
Can I use natural peanut butter instead of processed? Yes, you can. Natural peanut butter often separates, so stir it very well before measuring. It has less sugar and sometimes more oil than processed peanut butter. This can make the batter a little thinner or less sweet. Your cake might spread more in the mug, but it will still taste delicious. I use natural peanut butter often. It gives the cake a deeper, nuttier flavor. Just be careful not to overcook it. Natural peanut butter can make the cake dry out faster. Start checking at the 40-second mark to be safe. Have you tried this swap before? Let me know how it worked for you. How do I make this cake without eggs? You can replace the egg yolk with a flax egg. Mix one tablespoon of ground flaxseed with three tablespoons of warm water. Let it sit for five minutes until it thickens. This mixture acts like an egg yolk. It will bind your cake and keep it moist. The texture will be slightly denser, but still very good. Another option is to use two tablespoons of unsweetened applesauce. This adds moisture and a little sweetness. Your cake will be a bit more tender. Both of these substitutes work well. Why does this matter? Because it means anyone can enjoy this cake, even if eggs are a problem. Baking should be for everyone. What size mug or bowl works best for this recipe? Use an 8-ounce microwave-safe mug or bowl. This is a standard size that you probably have in your cabinet. A mug that is too small will make the batter overflow as it cooks. That is a sticky mess in your microwave. A mug that is too large will make the cake flat and thin. The batter needs to be deep enough to rise high. An 8-ounce mug gives the cake room to puff up and stay soft. I use the same sturdy ceramic mug every time. It has never let me down. Do you have a favorite mug you like to use for baking? Can I add chocolate chips or other mix-ins? Yes, and you should. Mini chocolate chips are perfect because they are small and melt evenly. You can also add chopped peanuts for crunch. Or a swirl of jam for a peanut butter and jelly cake. I once added a spoonful of Nutella right in the middle. It made a gooey, chocolate center. That was a very good day. If you use bigger mix-ins, like regular chocolate chips, just fold them in gently. Do not stir too hard. Also, be careful not to add too much. One tablespoon is perfect. Too many mix-ins can make the cake dense or dry. What is your favorite mix-in to try? How do I prevent the cake from becoming rubbery? The biggest cause of a rubbery mug cake is overmixing the batter. When you stir gluten in the flour too much, it gets tough. Mix just until the dry spots are gone. That is all you need. Another cause is overcooking. The microwave dries out the cake quickly. That is why you check at 40 seconds. A third reason can be old baking powder. If your cake does not rise properly, it can become dense and chewy. Replace your baking powder every six months. Why does this matter? Because a soft, tender cake is what we are all here for. It makes the treat worth the two minutes of waiting. Can I double the recipe for a larger microwave cake? Yes, you can double the recipe. Use a larger bowl, about 16 ounces, to give the batter room to rise. You will need to cook it longer. Start with 60 seconds and check. Then add 10 seconds at a time until it is set. A larger cake may need up to 1 minute and 15 seconds. Do not just double the time. That will burn the edges. I doubled this for my grandson once. We shared it with a big spoon and some vanilla ice cream. It was a wonderful little mess. Which tip will you try first?A Warm Goodbye from My Kitchen to Yours
Thank you for spending a few minutes with me today. I hope you feel ready to make this little mug cake. It is the perfect treat for a quiet afternoon or a late-night craving. The best part is that it is just for you. No sharing required, unless you want to. I would love to hear how your cake turns out. Have you tried this recipe? What did you think? Did you add your own special twist? Please share in the comments below. Your stories make this kitchen feel full of friends. Until next time, keep cooking with joy and a little bit of patience. Happy cooking! —Grace Ellington.
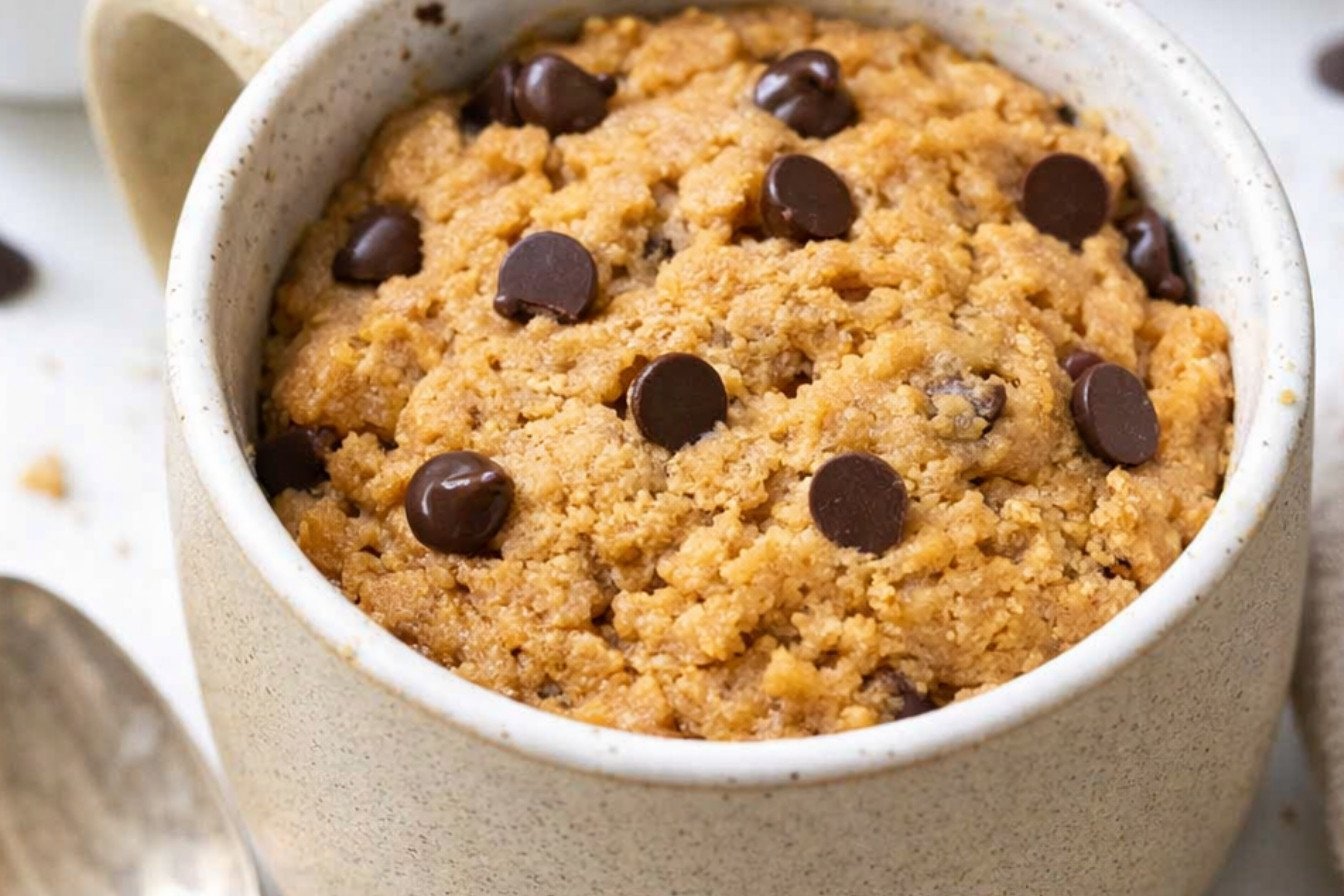
Speedy Microwave Peanut Butter Cake Recipe
Description
A quick and indulgent single-serving dessert that combines creamy peanut butter with rich chocolate chips, ready in under 2 minutes.
Ingredients
Instructions
- Lightly coat the inside of an 8-ounce microwave-safe mug with nonstick cooking spray. Set aside.
- In a small microwave-safe bowl, combine peanut butter and unsalted butter. Microwave for about 15-20 seconds, just until softened, but not bubbling. Stir together until completely smooth.
- Add light brown sugar to the warm peanut butter mixture and stir until combined. Add lightly beaten egg yolk, milk, and vanilla. Stir until the mixture is fully smooth and combined.
- Add flour, baking powder, and salt. Stir gently until no dry spots remain; do not overmix. Fold in mini chocolate chips.
- Spoon the batter into the prepared microwave-safe mug. If desired, sprinkle a few extra chocolate chips on top.
- Microwave on high for 40 to 55 seconds, depending on your microwave’s strength. The top should look just set but still slightly glossy in the center. Start checking at 40 seconds to avoid overcooking, as the cake can dry out quickly.
- Let the mug cake cool for about 2 minutes before serving. Enjoy warm, straight from the mug.
Notes
- For best results, use a microwave between 900-1100 watts. Adjust cooking time accordingly if your microwave is higher or lower wattage.
Peanut Butter, Chocolate, Mug Cake, Quick, Microwave, Dessert