

My First Peanut Butter Lesson
I still remember the first time I tried making candy as a young girl. I mixed everything in a bowl and hoped for the best. The result was a sticky mess that tasted good but looked sad. That is why I love these no-bake peanut butter bars. They are simple enough for a beginner but make you look like a kitchen hero. Have you ever had a baking mishap that turned out delicious anyway?
Why This Recipe Works So Well
This recipe uses butter and peanut butter melted together to create a soft dough. You don’t need an oven or any fancy tools. The creamy peanut butter custard pie teaches us that peanut butter loves being paired with sugar and butter. That same magic happens here. *Fun fact: Peanut butter was first sold as a health food back in the 1900s. It was for people who had trouble chewing meat.
This matters because simple food can make your day better. When you make something from scratch with your own hands, it feels special. You don’t need a long list of steps to create a treat that people will remember.
The Little Trick That Changed Everything
I used to burn chocolate on the stove all the time. My grandmother showed me the microwave trick. She would say “Go slow, child, go slow.” Melting chocolate in 30-second bursts stops it from seizing up. The 5-minute no-bake peanut butter oatmeal bites also use this same gentle method. Doesn’t that smell amazing when the chocolate gets all shiny and smooth?
This matters because patience is a secret ingredient. Rushing can ruin good chocolate. Waiting those tiny 30-second intervals makes all the difference between a glossy top and a grainy mess.
Better Than a Store-Bought Treat
These bars taste like the inside of a famous candy cup but ten times better. Homemade food always has a little extra love in it. The peanut butter mousse chocolate cup recipe shows how creamy peanut butter can transform a dessert. My neighbor once told me these bars reminded her of her own grandmother’s kitchen. I still laugh at that. Have you ever had a homemade version of a candy bar that blew your mind?
How to Make Them Your Own
You can swap the semi-sweet chocolate for milk chocolate if you like things sweeter. Some people add a pinch of salt on top before the chocolate sets. The chewy peanut butter cookies taught me that a little salt makes peanut butter sing. You could even use crunchy peanut butter for a little texture surprise. What would you add to make this recipe your own?
This matters because cooking is about your taste, not just following rules. You get to decide what makes you happy. That is the whole point of being in the kitchen.
The Waiting Is the Hardest Part
After you spread the chocolate, you must let the bars cool completely. I know, I know. It is so hard to wait. I sometimes put mine in the fridge to speed things up. The honey cinnamon peanut butter sandwich cookies also need a little patience before they are ready. But when you cut that first clean square and hear the chocolate crack, it is worth every second. Do you eat the corners first like I do, or save them for last?
Instructions
Step 1: Get out a large microwave-safe bowl. Add the butter, brown sugar, vanilla, peanut butter, and confectioner’s sugar. (I once forgot the sugar and my bars were a sticky mess. Learn from me!) Microwave it all for about one minute, then stir well.
Step 2: Keep microwaving in 30-second bursts until everything is soft and melty. Stir it into a thick dough that pulls away from the bowl. It will smell like warm peanut butter cookies. Doesn’t that smell amazing? What is your favorite thing to bake with peanut butter? Share below!
Step 3: Press the warm dough into a 9×13 pan. Use your hands or the back of a spoon to flatten it evenly. Make sure it goes all the way into the corners for perfect squares.
Step 4: Put the chocolate chips in a separate bowl. Melt them in the microwave, stopping every 30 seconds to stir. Do not walk away or the chocolate will burn. I still laugh at that one time I scorched a whole bag.
Step 5: Pour the melted chocolate over the peanut butter layer. Spread it gently with a spatula until it covers everything. Let the bars sit on the counter until the chocolate hardens. You can pop them in the fridge to speed it up.
Step 6: Cut the bars into squares once the chocolate is firm. Serve them to your family or friends. Watch their faces light up with the first bite. These are better than anything from a store.
Creative Twists
… Swap the semi-sweet chips for white chocolate and sprinkle crushed pretzels on top.
… Stir a handful of mini marshmallows into the warm dough for a gooey surprise.
… Add a pinch of sea salt over the chocolate before it sets for a salty-sweet kick.
Which one would you try first? Comment below!
Serving & Pairing Ideas
Serve these bars with a tall glass of cold milk. It makes the chocolate taste even richer. You can also crumble one over a bowl of vanilla ice cream for a quick sundae. For a fun party tray, cut them into tiny bite-sized squares and arrange them on a plate with fresh berries. The tart fruit balances the sweet peanut butter perfectly. Which would you choose tonight?
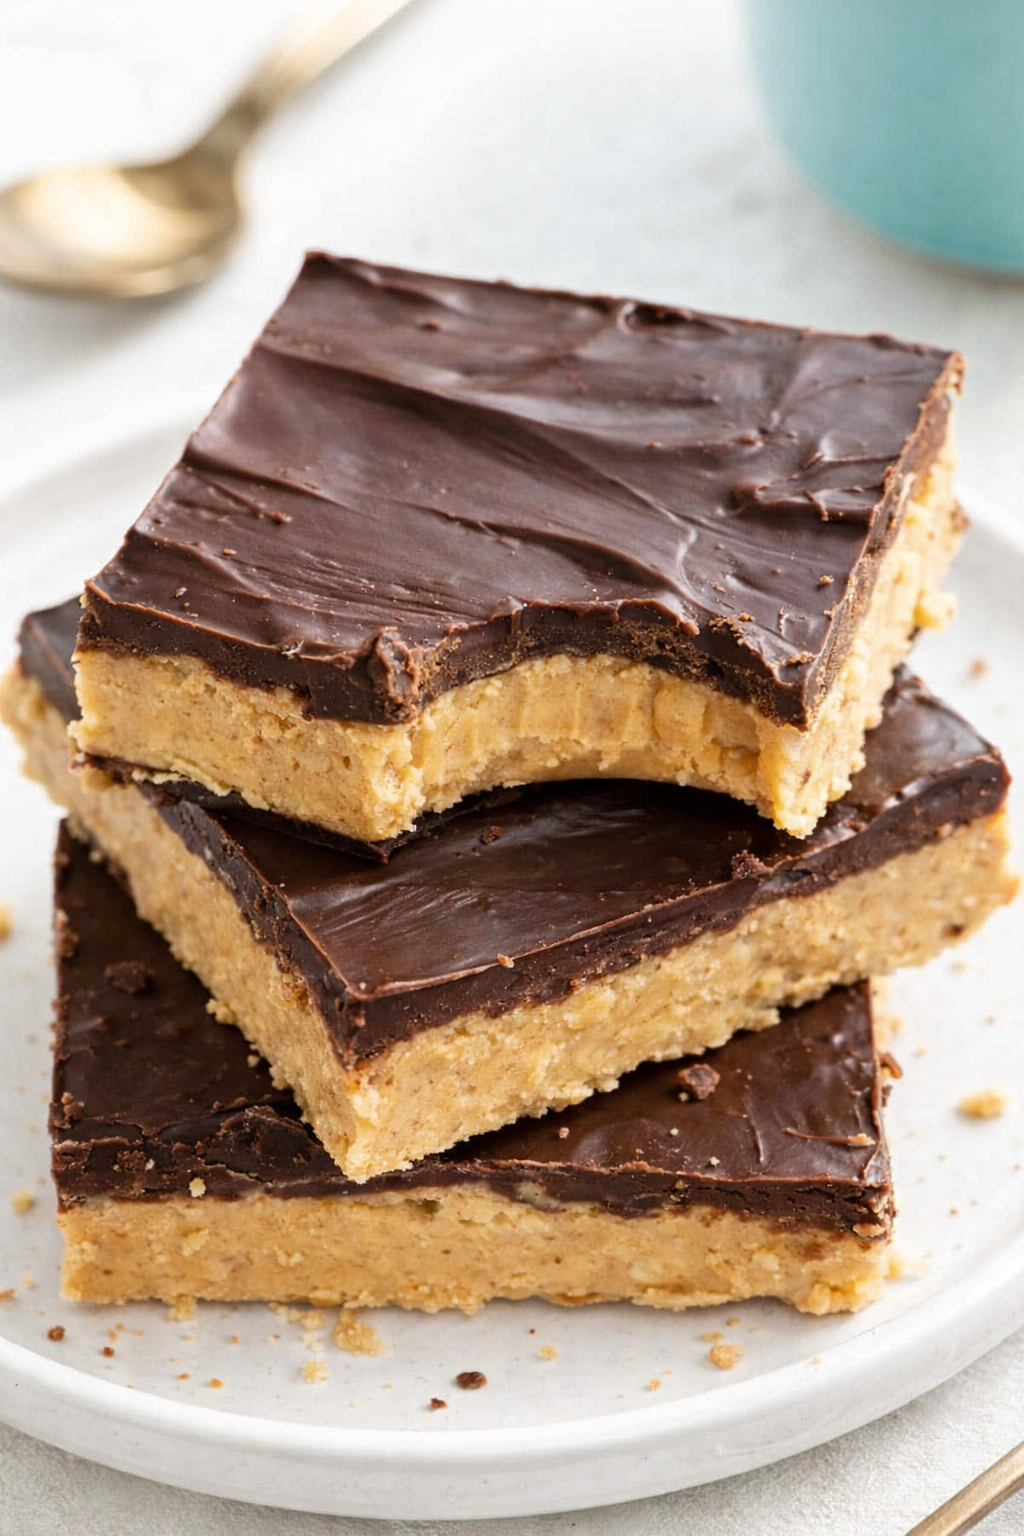
Storing Your No-Bake Peanut Butter Bars
I remember the first time I made these. I was so proud of my pan of bars. Then I realized I had to keep them fresh for a week. It is easy. Store them in a sealed container in the fridge. They will stay firm and tasty for up to a week. You can also freeze them. Just wrap each bar in wax paper. Then put them in a freezer bag. They last for three months that way. When you want one, let it sit on the counter for five minutes. It will soften right up. Why does this matter? Because batch cooking saves you time later. You will always have a sweet treat ready. Have you ever tried storing it this way? Share below!
Three Common Problems and Easy Fixes
Home cooks run into a few small snags with these bars. The first problem is a dry crust. If the mixture feels crumbly, add one extra tablespoon of melted butter. Stir well before pressing into the pan. The second issue is a soft, sticky middle. This happens when you do not press the base firmly enough. Use the bottom of a glass to pack it down tight. The third problem is a chocolate topping that stays soft. I once left my bars on the counter all day. The chocolate never hardened. Pop them in the fridge for 30 minutes. It sets perfectly every time. Why does this matter? Fixing these problems gives you confidence in the kitchen. You also get a better, firmer bite. Which of these problems have you run into before?
Your Quick Questions, Answered
Can I use natural peanut butter in no-bake peanut butter bars?
Yes, you can use natural peanut butter, but be careful. Natural peanut butter has oil that separates. Stir it very well before measuring. The bars might turn out a little softer or more oily. That is okay. You can add a bit more confectioner’s sugar to tighten the dough. If you want a firmer texture, use creamy processed peanut butter instead. I find that processed peanut butter gives a more consistent result for these no-bake bars. Try a small batch first to see what you like best.
How do I make no-bake peanut butter bars vegan or dairy-free?
You can easily make these bars vegan. Swap the regular butter for a plant-based butter or coconut oil. Use a vegan chocolate chip that does not contain milk. The rest of the ingredients are already dairy-free. Peanut butter and confectioner’s sugar have no dairy. Check your brown sugar too, but most brands are vegan. I once made a batch for my granddaughter who does not eat dairy. She loved them. Just make sure to chill them well. They set up nicely without any butter from cows. Give it a try.
What can I use instead of graham crackers for the crust?
This recipe does not use graham crackers. It uses butter, peanut butter, sugar, and confectioner’s sugar. But if you want a crust with crunch, you can add crushed pretzels or crushed vanilla wafers. Just swap one cup of the confectioner’s sugar for one cup of crushed pretzels or wafers. Stir it into the dough. It adds a nice salty crunch. I have done it many times. It tastes like a whole new treat. Try it and see what you think.
How do I get the chocolate topping to set properly without refrigeration?
To set the chocolate topping without a fridge, let it cool slowly at room temperature. Make sure the peanut butter base is completely cool first. Warm base makes chocolate stay soft. Spread the melted chocolate in a thin, even layer. A thick layer takes much longer to harden. Place the pan in a cool, draft-free spot. It can take one to two hours. You can also stir a teaspoon of coconut oil into the melted chocolate. That helps it set faster and gives a nice shine. Patience is key here.
Can I freeze no-bake peanut butter bars for later?
Yes, you can freeze them. They freeze wonderfully. First, cut the bars into squares. Place them on a baking sheet in the freezer for one hour. This is called flash freezing. It keeps them from sticking together. Then wrap each bar in plastic wrap or wax paper. Put them in a freezer-safe bag or container. They stay good for up to three months. When you want one, take it out and let it sit for five minutes. Freezing is great for having treats ready for guests or late-night cravings.
Why are my no-bake peanut butter bars too crumbly or too soft?
Crumbly bars usually need more moisture. Add one extra tablespoon of melted butter or peanut butter. Mix it in well. Soft bars often have too much butter or not enough confectioner’s sugar. You can fix them by adding a quarter cup more confectioner’s sugar. Stir until it feels like play dough. Another reason for soft bars is warm ingredients. Make sure your butter and peanut butter are not too hot. Let them cool slightly before mixing. I learned this the hard way. My first batch fell apart. Now they come out perfect every time.
Which tip will you try first?
A Warm Send-Off from Elowen Thorn
I hope you feel ready to make these delicious bars. They are so simple and fun. I love hearing about your kitchen adventures. Have you tried this recipe? Let me know how it went in the comments below. Every batch is a little different. That is the beauty of homemade treats. Keep experimenting and sharing. Thank you for being part of this cozy little kitchen circle. Remember, cooking is always better when we do it together. Have you tried this recipe? I cannot wait to hear from you.
*Fun fact: Peanut butter was first served as a protein treat for patients in sanatoriums back in the 1890s. Now it is a beloved dessert staple.*
Happy cooking!
—Grace Ellington.
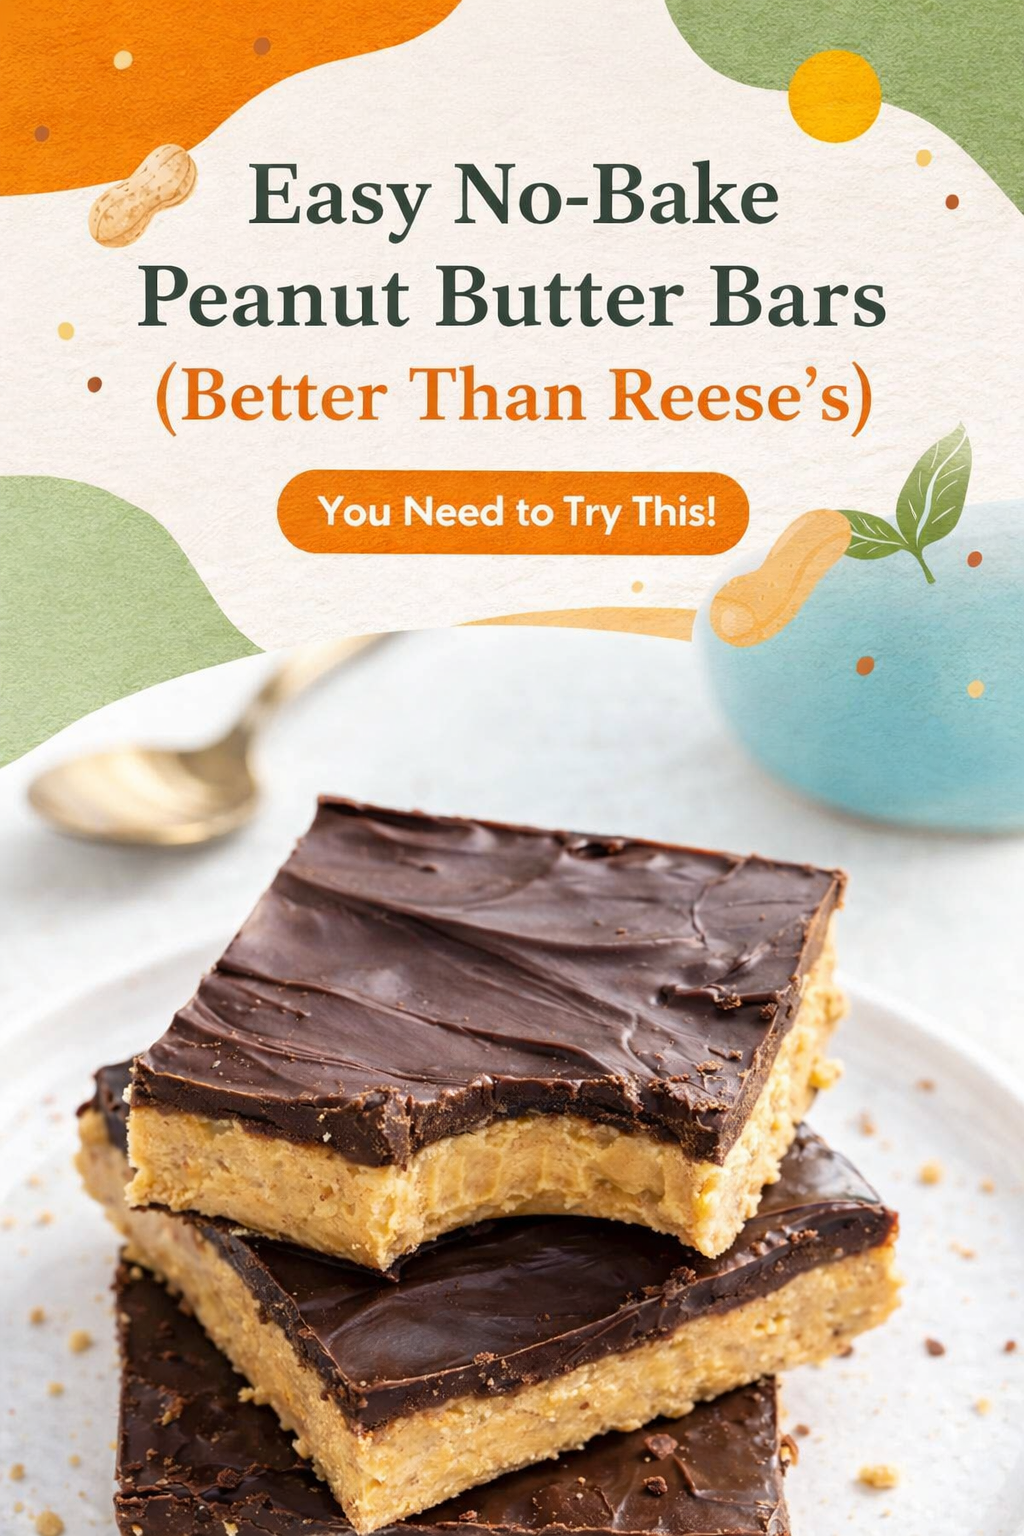
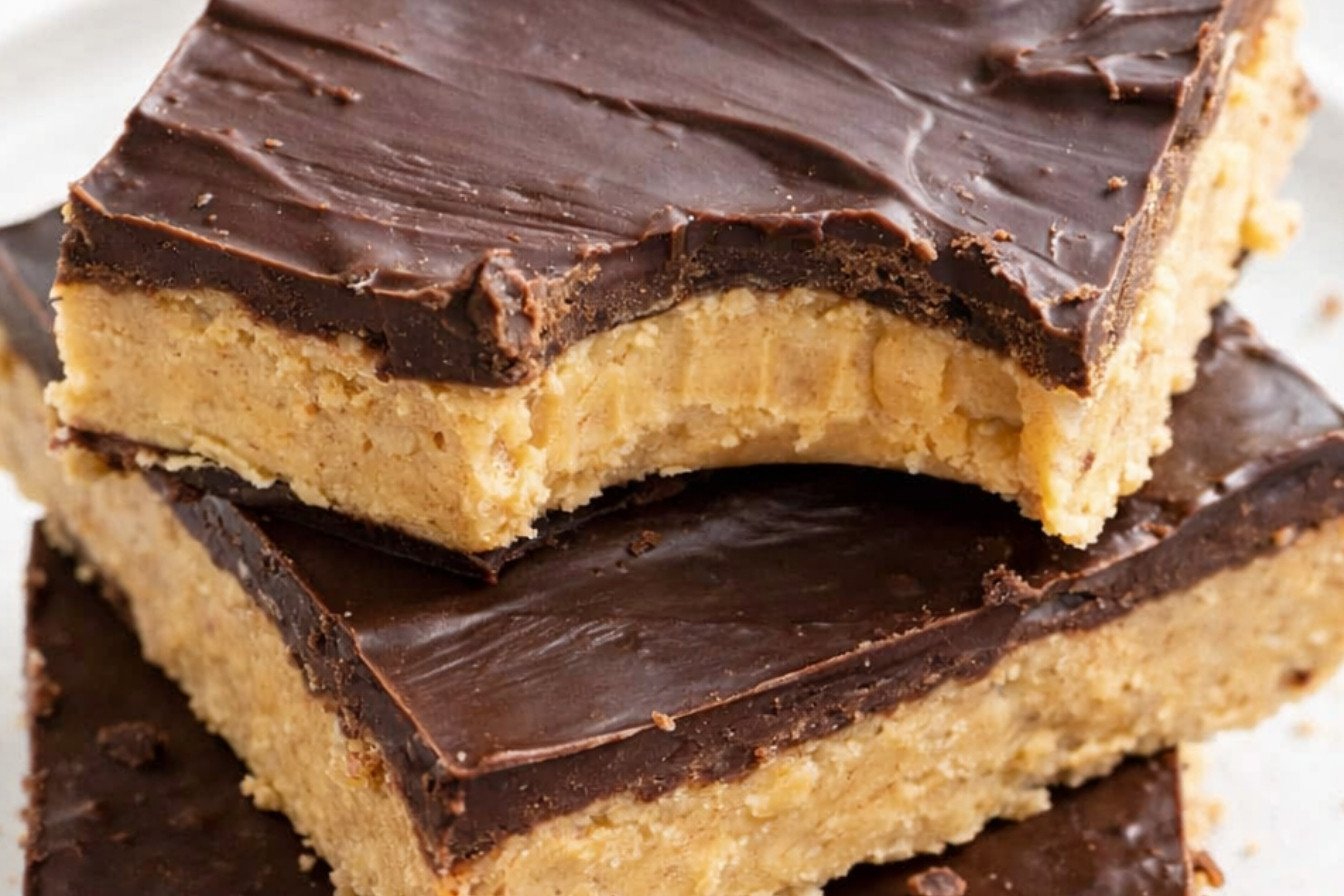
Ultimate No-Bake Peanut Butter Bars Recipe
Description
The perfect no-bake treat with a creamy peanut butter base and a rich chocolate topping.
Ingredients
Instructions
- Place all of the ingredients (except the milk chocolate chips) in a large microwave-safe bowl. Microwave until the butter and peanut butter are melted (1 to 2 minutes). Time will vary by microwave. Remove from the microwave and use a large spoon to stir all of the ingredients together (except chocolate chips) until they form a ball of dough that leaves the side of the bowl. Pat into a 9×13 pan.
- Pour the chocolate chips into another microwave-safe bowl and microwave at 30-second intervals, stirring after each, until completely melted. Spoon over the top of the peanut butter mixture and spread evenly.
- Allow the peanut butter bars to cool completely at room temperature until the chocolate hardens again or place in the refrigerator for faster hardening. Cut into squares and serve to some awfully happy people!
Notes
- Store in an airtight container at room temperature or in the fridge for up to a week.