
A Lemonade Summer Surprise
The first time I made these popsicles, my grandson laughed at me. He said, “Grandma, lemonade is for drinking, not freezing!” I just smiled and handed him one. He took a bite and his eyes went wide. Doesn’t that sound like a good memory? This recipe came from a hot afternoon when I had too many lemons. I thought, why not make something cold for the kids? Now it’s our favorite summer treat that disappears fast. Have you ever tried freezing your favorite drink?The Sweet and Spicy Secret
Here is the part I love most. You can make these sweet, but I add a tiny pinch of heat. A little cayenne pepper or hot honey makes your tongue tingle. It wakes up the lemon flavor in a wonderful way. Why does this matter? Because a small surprise in food makes it unforgettable. I learned this from my neighbor Mrs. Rosa. She always put red pepper flakes in her fruit pies. She said, “Sweet without heat is like a story without laughter.” I still laugh at that. You can try this with our lemon chicken skillet too.How Simple This Really Is
You only need four things. Water, sugar, lemon juice, and a little lemon zest if you want. Heat the water and sugar on the stove until the sugar melts. Let it cool for five minutes, then stir in the lemon juice. Pour everything into your popsicle molds and freeze for 12 to 24 hours. That is it. No fancy machines or complicated steps. My six-year-old granddaughter can make these herself with a little help. This is why simple recipes matter. They give us time to freeze more memories together instead of standing over a hot stove.A Fun Fact for Your Next Party
*Fun fact: Lemon zest has natural oils that make the flavor stronger than juice alone.* That is why I always add a teaspoon of zest. It makes the popsicles taste like sunshine in your mouth. You can skip it if you want, but I think it makes everything better. I once brought these to a family barbecue. Everyone asked for the recipe before they finished their first bite. Even Uncle Frank, who never likes anything sweet, ate three of them. This matters because good food brings people together like dumplings on a Sunday.What Kind of Heat Do You Like?
Now I want to hear from you. Do you like your popsicles just sweet? Or do you want a little spice? I add one teaspoon of hot honey to my batch. My daughter adds a pinch of chili powder. My neighbor uses fresh ginger juice. There is no wrong answer here. Why does this matter? Because cooking is about making things your own. You can start with this simple recipe and change it forever. I love seeing what people come up with. Tell me your favorite flavor twist! You could also try this idea with our freezer jam for a different treat.My Best Tip for Removing Popsicles
Here is something I learned the hard way. Never yank your popsicles out of the mold. Run the outside of the mold under warm water for ten seconds. Then the popsicles slide right out like magic. I learned this after breaking three sticks in a row. My kitchen floor was a sticky lemon mess! That sticky mess taught me patience. And now I always tell people this trick. It makes the whole process easy and fun. Have you ever had a popsicle disaster in your kitchen? Share your story with me! You can store extra popsicles in a bag in the freezer with your chicken tikka for a fun surprise.Your Turn to Make Magic
I hope you try these popsicles on a hot day. They are cold, sweet, and have a little surprise inside. Kids love them. Adults love them. Even picky eaters ask for seconds. That is the kind of recipe I like keeping in my pocket. Now I have one more question for you. What is the most unusual popsicle flavor you have ever tried? Mine was cucumber and mint from a farmer’s market. It was strange at first, but I loved it. Let me know in your heart, and maybe try making your own pumpkin puree popsicles next fall.Instructions
Step 1: In a small saucepan, stir together the water and sugar. Heat it over medium heat until the sugar melts completely. (Don’t walk away—sugar can burn fast.) Doesn’t that sweet smell remind you of summer candies? Step 2: Take the pan off the stove and let it cool for about 5 minutes. Stir in the fresh lemon juice and the lemon zest. I still remember the first time I zested a lemon—I got more on my apron than in the bowl! Step 3: Carefully pour the lemon mixture into your popsicle molds. Leave a little space at the top for the liquid to expand. Insert the sticks straight into the center. What flavor popsicle did you love most as a kid? Share below! Step 4: Place the molds in the freezer for at least 12 hours. Overnight is best—trust me on this one! Patience is hard, but a fully frozen popsicle is worth the wait. Check out my freezer organizer hacks for more space-saving ideas. Step 5: To remove the popsicles, run warm water over the outside of the mold for a few seconds. Gently twist and pull the stick. Share one with a friend—it tastes even better that way. Try pairing this with a slice of frozen cherry ribbon dessert for a double treat.Creative Twists
… Add a pinch of cayenne pepper or chili flakes for a spicy kick. The heat sneaks up on you—just like my grandma’s secret sauce. … Replace half the water with coconut milk for a creamy, tropical version. It feels like a little vacation in your mouth. … Drop a few fresh raspberries or mint leaves into each mold before freezing. They look pretty and taste amazing. Which one would you try first? Comment below!Serving & Pairing Ideas
Serve these popsicles on a hot afternoon with a plate of fresh fruit slices. They also pair wonderfully with a warm slice of creamy lemon chicken skillet for a sweet finish. For a fun summer party, set up a popsicle bar with extra toppings like shredded coconut or crushed graham crackers. Which would you choose tonight?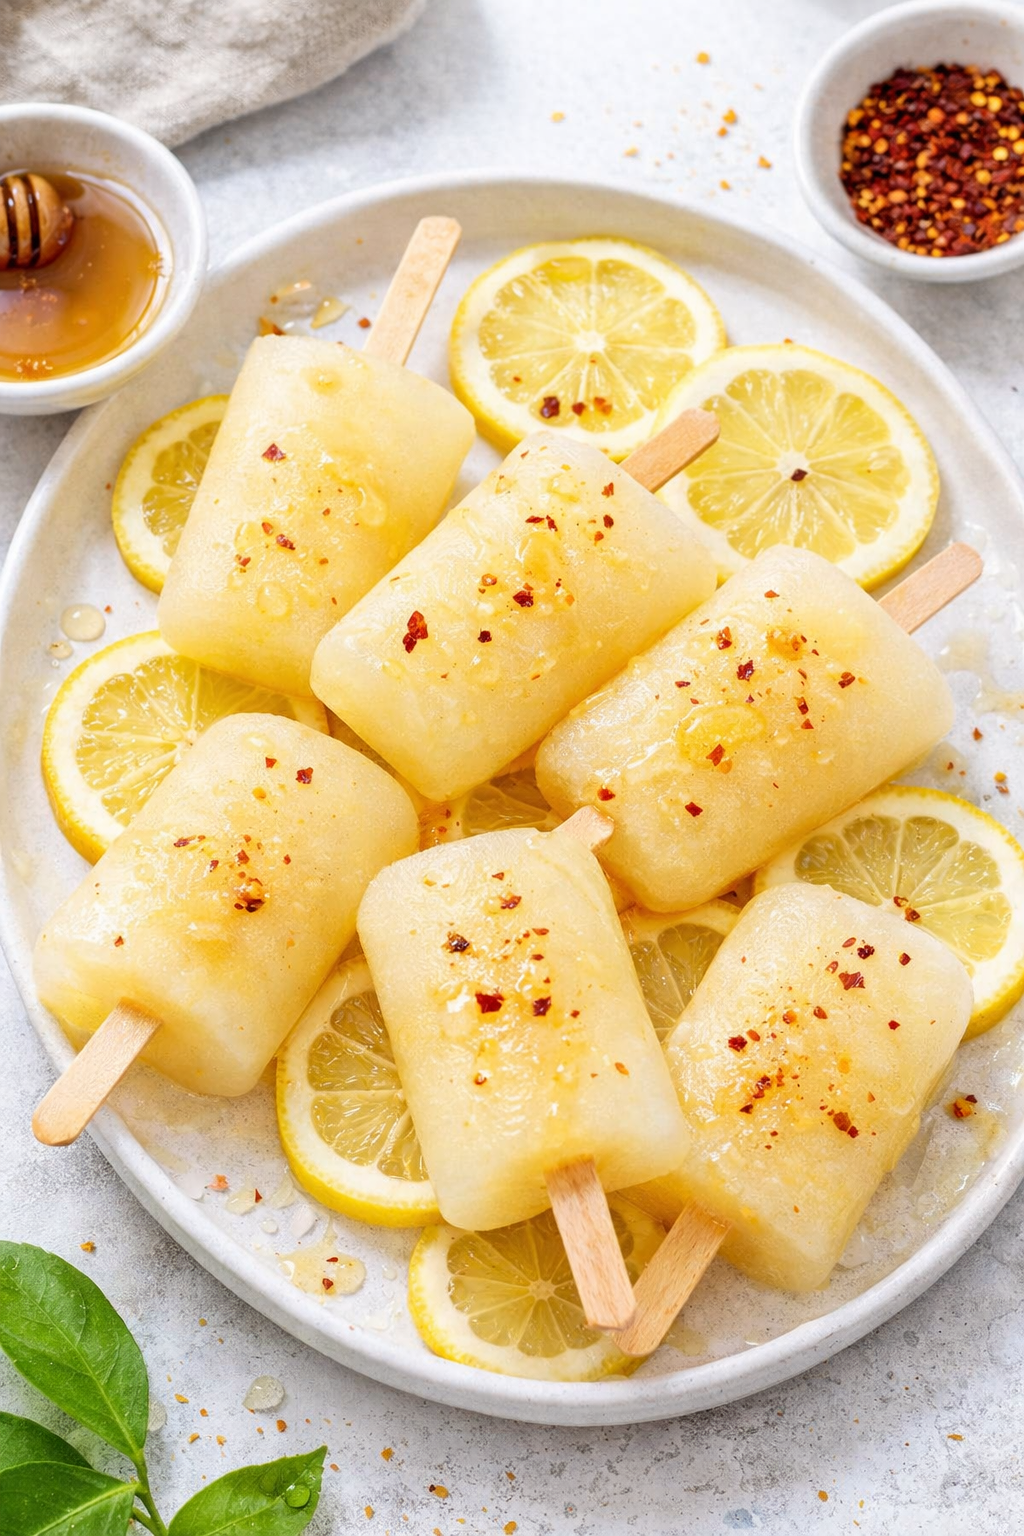
Storing Your Hot Honey Lemonade Popsicles
Let me tell you about my first time making these popsicles. I was so eager I tried to eat one after just four hours. It was a slushy mess, but it still tasted wonderful. Now I know to wait a full 12 to 24 hours for them to freeze solid. This patience makes all the difference in texture. Once they are frozen, you need to store them right. Pop them out of the molds and place them in a freezer-safe bag. Press out all the air before sealing the bag. This keeps freezer burn away and keeps them tasting fresh. I like to label the bag with the date so I remember when I made them. Batch cooking is a lifesaver for busy weeks. Make a double batch of the lemon mixture and freeze it in separate molds. That way, you have a sweet treat ready whenever the craving hits. It also saves you time and energy on hot afternoons. Why does this matter? Because having a stash of homemade popsicles in your freezer means you always have a healthy and fun snack ready. It also helps you use up fresh lemons before they go bad. No waste, just pure flavor waiting for you. Have you ever tried storing it this way? Share below!Three Common Problems and Easy Fixes
I remember when my popsicles came out too icy and not creamy at all. It was such a disappointment. The fix was simple: I added a little extra sugar to the mix. Sugar helps lower the freezing point, so the popsicles stay softer and smoother. You can also try using a little honey for the same effect. Another issue is popsicles that are too watery and bland. I once forgot to add the lemon zest, and the flavor was flat. The zest holds all the bright, zesty oils that make lemonade pop. Always include that teaspoon of zest for the best taste. Sometimes the popsicles are impossible to get out of the mold. Run the mold under warm water for just 10 to 15 seconds. That loosens the sides, and they slide right out. This little trick has saved me from many broken sticks. Why does fixing these problems matter? Because when you get the texture and flavor right, you feel like a real kitchen pro. It builds your confidence to try new recipes. Plus, your family will love the popsicles even more. Which of these problems have you run into before?Your Quick Questions, Answered
How do you make honey lemonade freezer pops? Start by heating 2 cups of water with 1/4 cup of sugar until the sugar dissolves completely. Let it cool for about five minutes. Then stir in 1/2 cup of fresh lemon juice and 1 teaspoon of lemon zest. If you want honey flavor, swap out half the sugar for honey. Pour the mixture into your popsicle molds and insert sticks. Freeze for 12 to 24 hours. When you are ready to eat, run the mold under warm water for a few seconds to release the popsicles. Can you freeze honey lemonade? Yes, you can absolutely freeze honey lemonade. The key is to leave a little room at the top of the container because liquid expands as it freezes. If you are using a jar, leave about an inch of space at the top. When you thaw it, the texture might be a bit different. The honey and sugar help keep it from getting too icy. Just stir it well after thawing, and it will taste just like fresh lemonade. This is perfect for making a big batch and saving some for later. What is the best way to sweeten homemade freezer pops? The best way to sweeten homemade freezer pops is to use a combination of sugar and honey. Sugar dissolves easily and gives a clean sweetness. Honey adds a lovely floral note and also helps prevent large ice crystals from forming. This means your popsicles will be smoother and less icy. Start with a ratio of about 2 tablespoons of sugar to 2 tablespoons of honey for every 2 cups of water. You can adjust the sweetness to your taste, but this mix works wonderfully. How long do homemade freezer pops last in the freezer? Homemade freezer pops will last for about 2 to 3 months in the freezer when stored properly. Make sure you seal them in a freezer-safe bag and squeeze out all the air. This prevents freezer burn, which makes them taste stale. After three months, they are still safe to eat, but the flavor and texture might start to fade. I always try to eat them within the first month for the best taste. It is a good idea to label the bag with the date you made them. Can you use fresh lemons for honey lemonade popsicles? Yes, fresh lemons are the best choice for honey lemonade popsicles. They give you a bright, zesty flavor that bottled juice just cannot match. You will need about 3 to 4 medium lemons to get 1/2 cup of juice. Roll the lemons on the counter before cutting them to get more juice out. Do not forget to grate the zest before you juice the lemons. The zest adds even more lemony goodness to your popsicles. Fresh lemons make all the difference in taste. How do you prevent freezer pops from becoming icy? To prevent freezer pops from becoming too icy, you need to add a little sugar or honey to the mixture. Sugar and honey lower the freezing point of the liquid, which means smaller ice crystals form. Smaller crystals make the popsicles smooth instead of crunchy and icy. Another tip is to stir the mixture a few times during the first hour of freezing. This breaks up any large ice crystals that start to form. Finally, make sure your freezer is cold enough, ideally at 0 degrees Fahrenheit or below. Which tip will you try first?A Sweet Send-Off from My Kitchen
Well, my dear, I hope you feel ready to make these popsicles your own. Remember, cooking is all about joy and sharing with the people you love. Even a simple frozen treat can become a happy memory. I would love to hear how your popsicles turn out. Let me tell you a little *fun fact*. Did you know that honey never spoils? Archaeologists have found pots of honey in ancient tombs that are over 3000 years old. It is truly a magical ingredient for your kitchen. So go ahead, grab some lemons and give this recipe a try. Your freezer will thank you, and so will your taste buds. I am always here in my kitchen corner, cheering you on with every batch. Have you tried this recipe? Happy cooking! —Grace Ellington.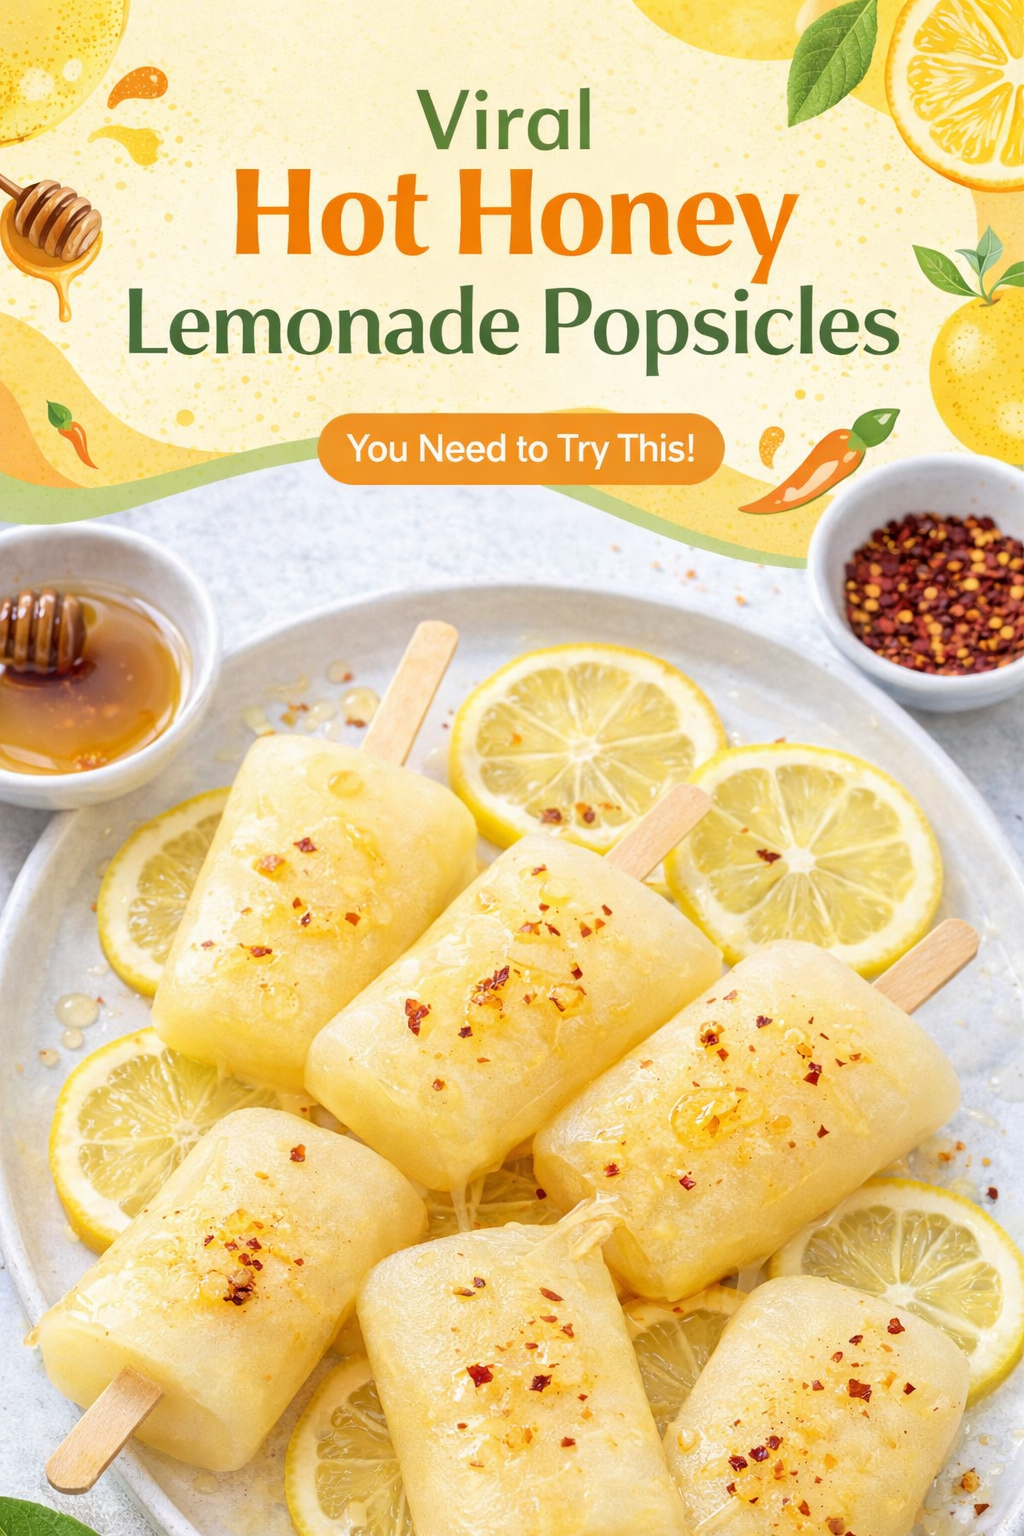
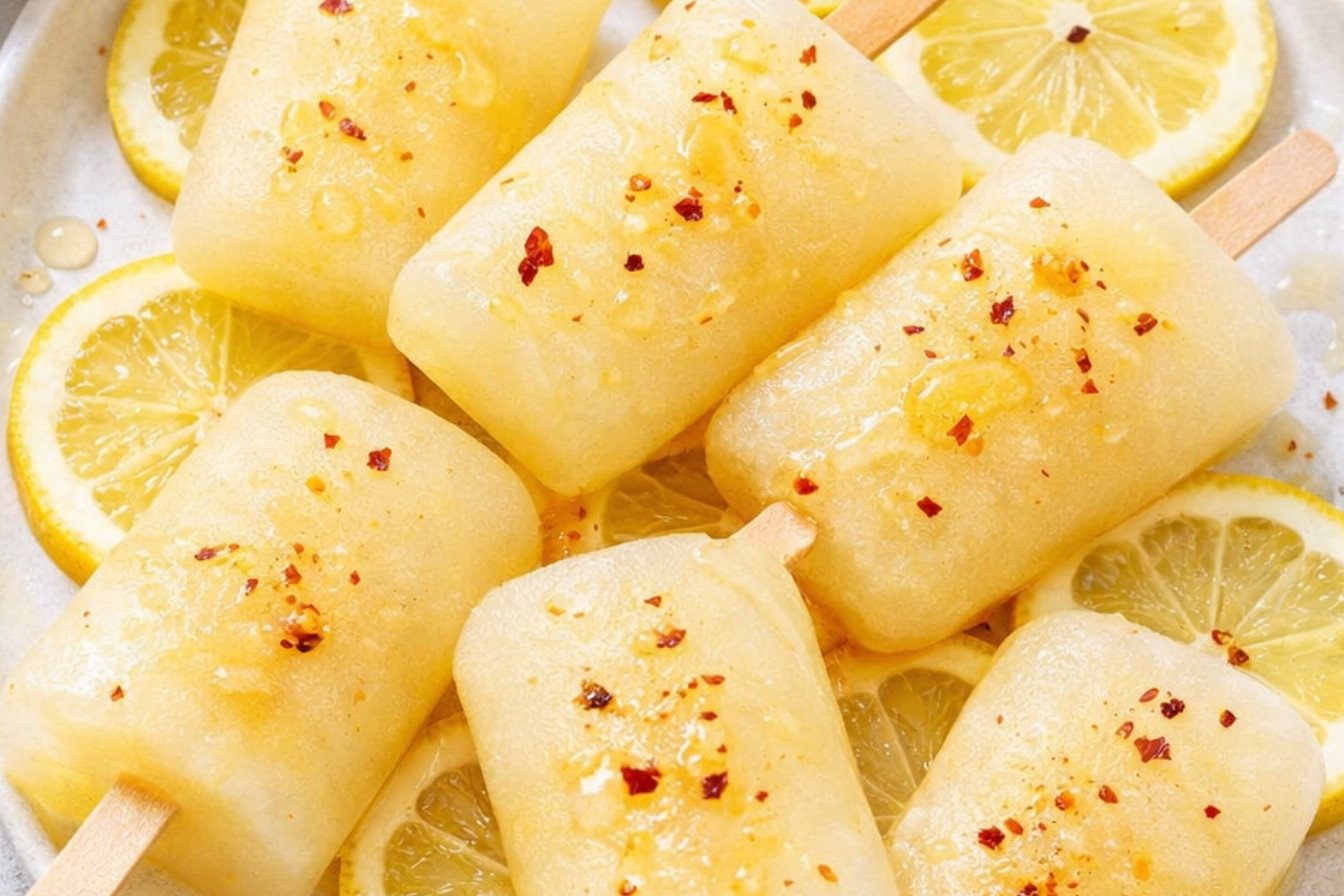
Zesty Honey Lemonade Freezer Pops
Description
Delicious homemade freezer pops with a zesty lemonade flavor.
Ingredients
Instructions
- In a saucepan, heat water and sugar until the sugar fully dissolves.
- Remove from heat and let cool for about 5 minutes.
- Stir in fresh lemon juice and lemon zest.
- Pour mixture into popsicle molds and insert sticks.
- Freeze for 12 to 24 hours until fully set.
- Remove from molds and enjoy cold.
Notes
- For extra flavor, add a splash of honey or a few raspberries to the molds before freezing.
Freezer pops, Lemonade, Lemon, Summer, Popsicles