
My Summer of Sticky Fingers
I remember my grandkids one hot July. They were covered in juice from store-bought popsicles. I thought, we can do better. So we made our own. We used simple lemonade and fresh fruit. The kitchen was a happy mess. I still laugh at that.
These popsicles are more than a treat. They are a way to slow down. You get to pick your favorite fruits. You make something real together. That matters. It turns a hot day into a sweet memory. What was your favorite summer treat as a kid?
Why Fresh Fruit is the Star
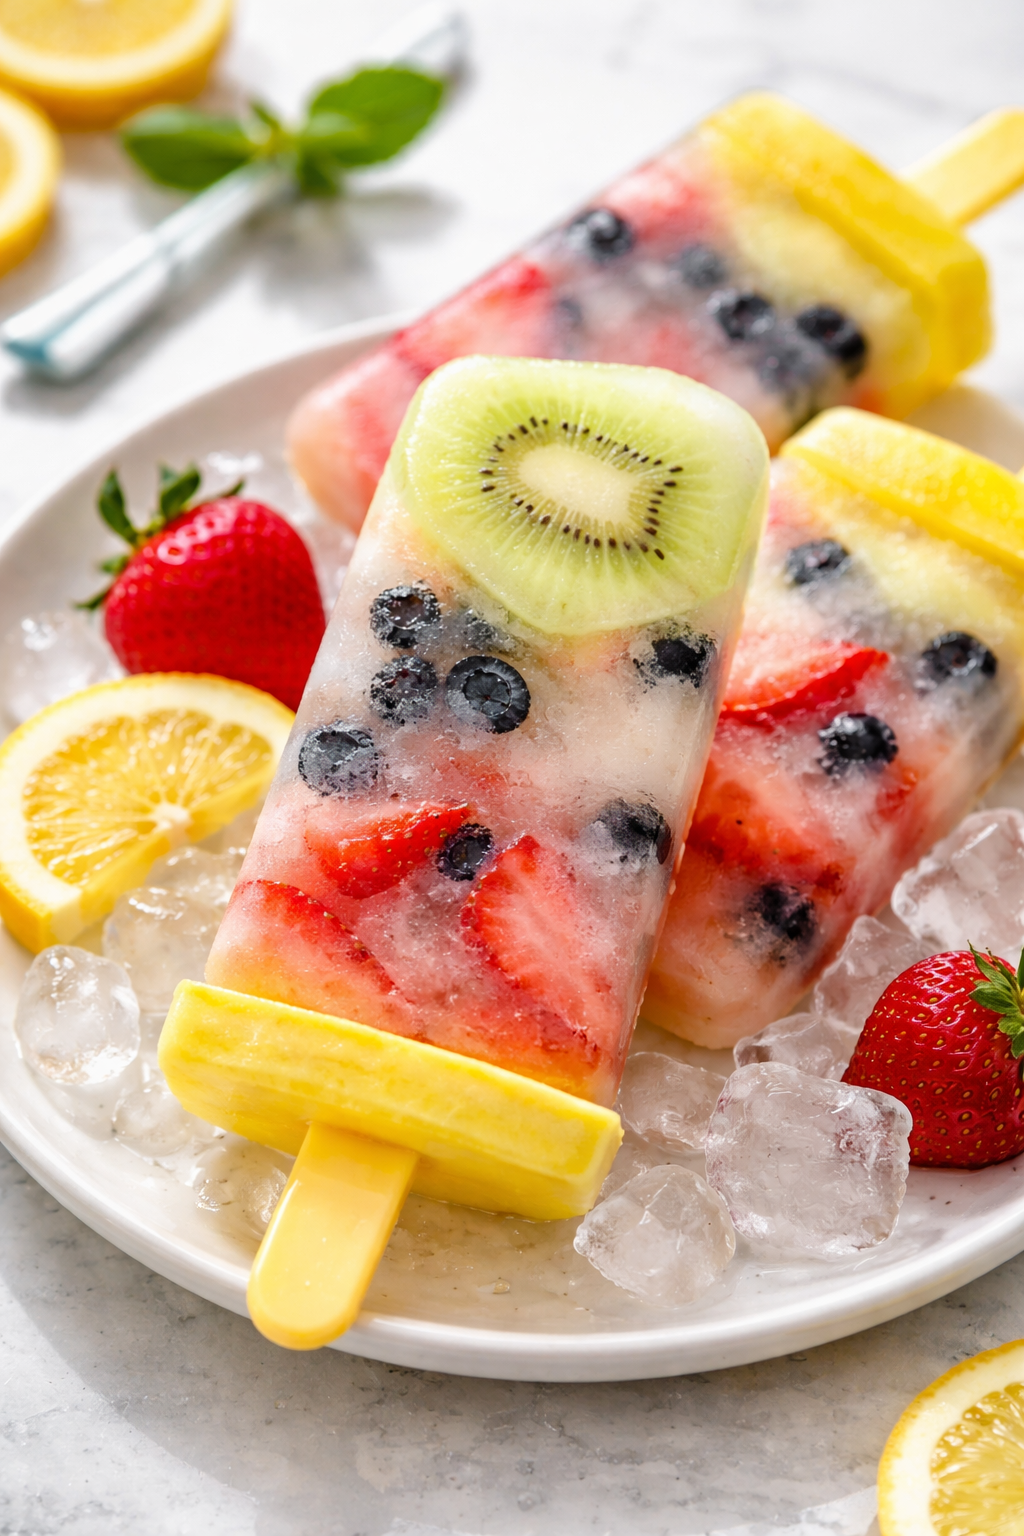
Do not just use any fruit. Use what looks good at the market. Bright berries, sweet peaches, even chunks of mango. The fruit freezes into little jewels. You see them in the ice. It makes the popsicle beautiful and fun to eat.
This matters because you taste the real fruit. Not just sugar and color. You can try a country style strawberry lemonade for your base. Or mix the fruit right in. Each bite is a surprise. *Fun fact*: The cold makes the fruit taste a tiny bit less sweet. So use ripe, juicy fruit for the best flavor.
The Easiest “Recipe” You’ll Ever Make
You just chop and pour. Really. Chop your fruit into small bits. Drop them in the mold. Then pour lemonade over the top. Leave a little space. The lemonade needs room to expand as it freezes.
I love using a perfectly sweet homemade lemonade. It tastes so sunny. But store-bought works fine too. The key is good lemonade. It is the flavor of the whole pop. Do you think you will try homemade or store-bought first?
A Little Secret for Perfect Pops
Patience is the secret ingredient. Freeze them for five hours. Overnight is even better. A solid freeze means they will not melt too fast. When you want one, run warm water on the mold. They slide right out.
This tip matters. It saves you from a sticky, broken popsicle. You get a perfect pop every time. For a fun twist, you could use a raspberry peach lemonade as your base. The colors are just gorgeous in the mold.
More Than Just a Snack
These popsicles feel like a small victory. You made them. You know what is inside. Just fruit and lemonade. It is a healthy choice you can feel good about. Doesn’t that feel nice?
They are also a start. Once you see how easy it is, you will want to try more. Maybe a strawberry mango boba smoothie next. Or even a fizzy, fermented lemonade soda. What other fruits would you love to trap in ice? Tell me your best idea.
Instructions
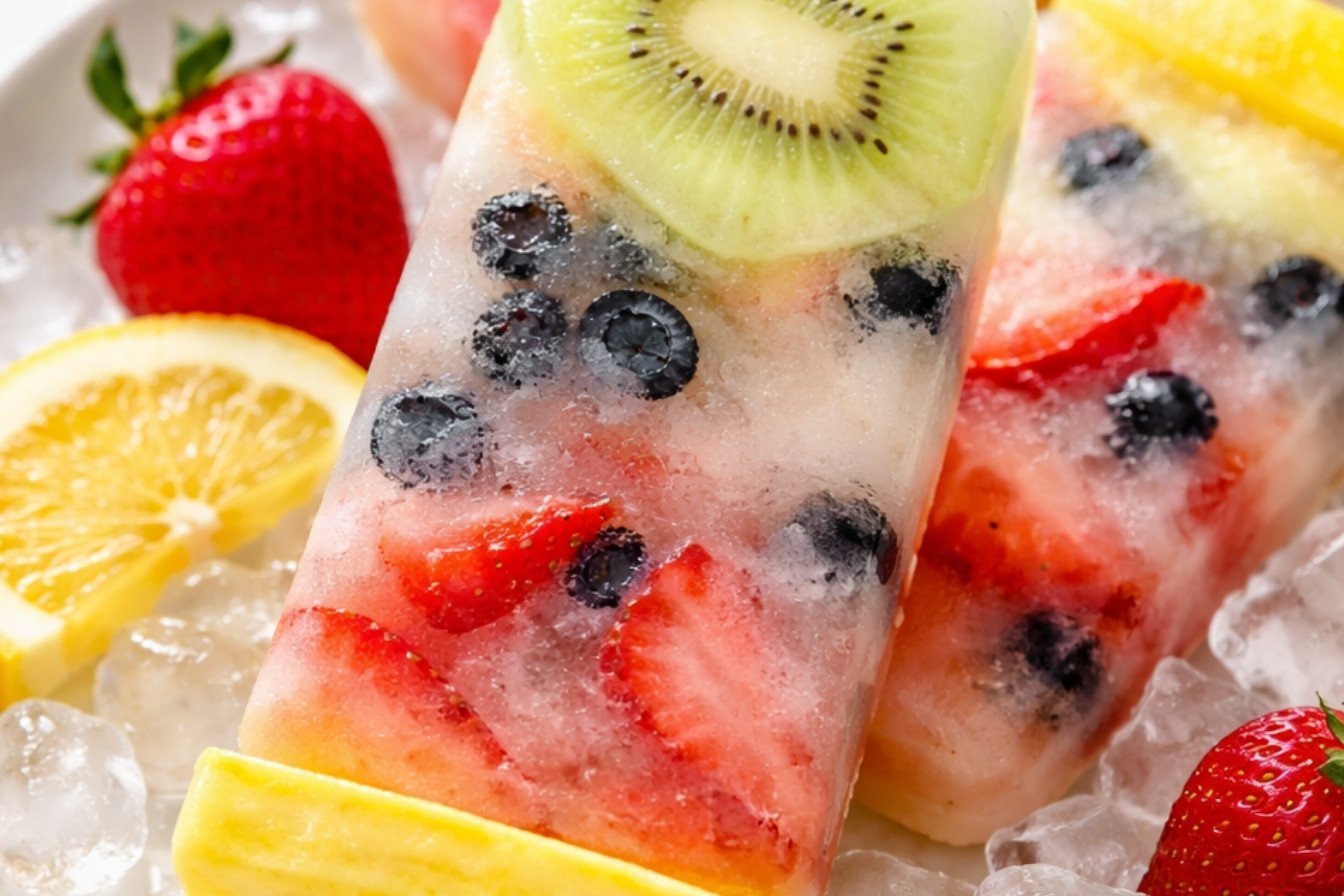
Step 1: First, wash and chop your fresh fruit. I love using strawberries and blueberries. Doesn’t that smell amazing? (Tip: Make your fruit pieces small so they fit nicely.) You could even use a strawberry lemonade base for extra flavor. What’s your favorite summer fruit? Share below!
Step 2: Now, tuck the fruit pieces into your popsicle molds. I still laugh at how my grandson always sneaks a berry. Next, slowly pour your lemonade over the top. Leave a little space so it doesn’t overflow. For a fun twist, try a raspberry peach lemonade mix.
Step 3: Gently place the sticks in the molds. Then, pop them into the freezer. Patience is the hardest part! Let them freeze solid for about five hours. (A hard-learned tip: Lay the molds flat so the sticks stay straight.) Overnight works perfectly, too.
Step 4: Time to enjoy! Run a little warm water over the outside of the mold. The popsicle will slide right out. It’s like magic. I think a perfectly sweet homemade lemonade makes these extra special. Enjoy your cool, fruity treat!
Creative Twists
Herbal Fizz: Use a fizzy, fermented lemonade for a fun tingle.
Yogurt Swirl: Add a spoonful of vanilla yogurt before freezing.
Tropical Splash: Mix in some mango chunks and coconut water.
Which one would you try first? Comment below!
Serving & Pairing Ideas
Serve these popsicles on a hot afternoon. They’re perfect by the pool. For a party, stick them in a big bowl of crushed ice. You could pair them with other lemonade treats, like a refreshing strawberry mango boba smoothie. Which would you choose tonight?
Keeping Your Popsicles Perfect
Let’s talk about storing these sunny treats. Your freezer is your best friend here. Just pop the mold in for five hours or overnight. Once solid, you can transfer pops to a freezer bag. This saves space for more homemade lemonade projects.
I remember my first batch. I was so impatient. I checked the freezer every hour. Waiting makes the first taste so much sweeter. Batch cooking means a cool snack is always ready. This matters on hot, busy days. It brings a little joy straight from your freezer.
Have you ever tried storing it this way? Share below!
Simple Fixes for Common Popsicle Problems
First, fruit sinking to the bottom. The fix is easy. Pour a little lemonade in first. Freeze it for one hour. Then add fruit and the rest of the liquid. Your fruit will stay put.
Second, popsicles that won’t come out. Just run warm water on the mold for ten seconds. They will slide right out. I once pulled too hard and lost the stick. Patience is a kitchen virtue.
Third, flavors that are too weak. Use very ripe fruit or a strong strawberry lemonade base. This matters because bold flavor makes every bite satisfying. Fixing small issues builds your cooking confidence. Which of these problems have you run into before?
Your Quick Questions, Answered
How to make lemonade popsicles with fresh fruit?
It is wonderfully simple. First, chop your fresh fruit into small pieces. Next, place the fruit into your popsicle molds. Then, gently pour lemonade over the fruit. Leave a tiny space at the top. Finally, freeze everything solid for several hours. You will have a frosty, fruity treat.
What are the best fruits to add to lemonade popsicles?
Berries like strawberries and raspberries are classic. Soft fruits like peaches and mangoes work beautifully too. Try a raspberry peach lemonade mix. Even cherries or melon balls are delicious. Use what is sweet and in season. The best fruit is the one you love to eat.
Can you use frozen fruit for homemade lemonade pops?
Yes, you absolutely can. There is no need to thaw it first. In fact, frozen fruit will help the pops freeze faster. It is a great way to use fruit year-round. The texture might be a bit softer. But the flavor will still be fantastic and refreshing.
How long do homemade fruit lemonade pops take to freeze?
Plan for at least five hours. Overnight is even better for a solid freeze. A fun fact: using a metal mold can speed things up. Your freezer’s temperature also affects the time. Be patient. A fully frozen pop is worth the wait.
Are lemonade popsicles a healthy summer snack?
They can be a lighter choice. You control the sugar by making your own country style lemonade. The fresh fruit adds vitamins and a bit of fiber. Compare them to store-bought ice cream. They are often lower in fat and calories. Everything in moderation is a good rule.
How to prevent fruit from sinking in lemonade popsicles?
Try the layer method. Pour a thin layer of lemonade into the mold. Freeze it for one hour until slushy. Then add your fruit and the rest of the lemonade. The semi-frozen base will hold the fruit in place. You will get fruit in every bite.
Which tip will you try first?
From My Kitchen to Yours
I hope you love making these as much as I do. They remind me of slow summer afternoons. The kitchen is a place for happy experiments. Try a cherry lemonade version next time.
I would love to hear about your creations. Did you use a fun fruit mix? Your ideas inspire me. Have you tried this recipe? Tell me all about it in the comments below.
Happy cooking!
—Clara Cooper
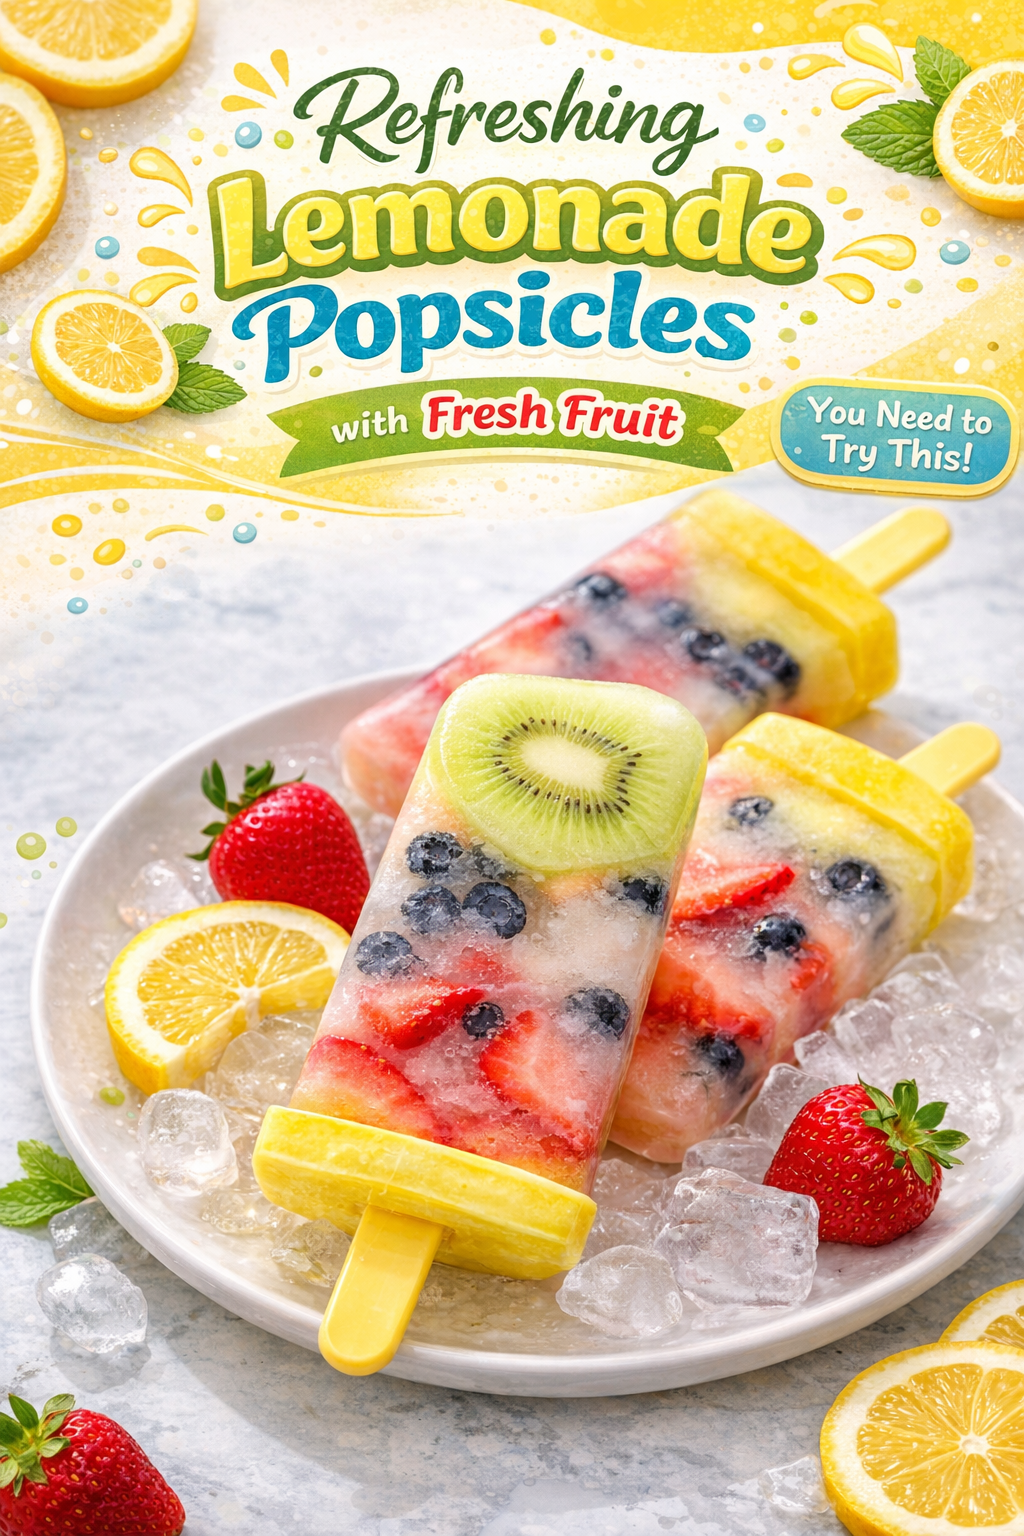
Zesty Lemonade Pops with Summer Fruit
Description
A refreshing and simple summer treat featuring fresh fruit suspended in tangy lemonade.
Ingredients
Instructions
- Prep the fruit. If fruit needs to be sliced or chopped, do that first.
- Assemble. Place the fruit in the popsicle molds and then pour the lemonade, leaving ¼ inch of room at the top.
- Freeze. Let the popsicles freeze for 5 hours or overnight.
- Enjoy! Run water over the mold to separate and enjoy!
Notes
- Nutrition information is an estimate and will vary based on the specific lemonade and fruits used.