

My First Banana Pudding Mess
The first time I made banana pudding, I cried a little. I was just a kid, maybe your age, and I layered everything wrong. The bananas turned brown and the cookies got soggy before we could eat them. I still laugh at that memory. This recipe fixes all those mistakes. It is called The Best No-Bake Banana Pudding Cups Made Easy for a reason. It keeps everything fresh and crunchy until you take your first bite. Doesn’t that sound perfect? Have you ever had a dessert fail in your kitchen? Tell me about it in your head right now. We all have at least one funny story.Why This Pudding is Different
Most puddings get watery or thin. Not this one. The secret is sweetened condensed milk. It makes the pudding thick and creamy like a cloud. You whisk it in right after the box mix. Another trick is using two tubs of Cool Whip. One goes into the pudding. The other stays fluffy for the top layers. This is a *fun fact*: Cool Whip was invented in 1966 and people still argue about it versus real whipped cream. Why this matters: Thick pudding means your bananas stay happy and fresh. Thin pudding makes everything slide around. We want a dessert that holds its shape.Setting Up Your Assembly Line
Before you start, put all your jars in a row. This is your workstation. Lay out the cookies, bananas, pudding, and Cool Whip. This saves time and keeps you from running around the kitchen. I learned this trick from a friend who runs a bakery. She says, “Set it up like a factory, then pretend you are the boss.” I still do this today for everything from Fresh Pico de Gallo to birthday cakes. It makes cooking feel like a game. What would you name your cooking factory? Mine would be called “Clara’s Cozy Kitchen.”The Layer Dance
Start with a cookie on the bottom. Then add banana slices. Then a spoonful of pudding. Then a dollop of Cool Whip. Then do it all over again. Two layers is the magic number. Why this matters: The pudding acts like a shield. It covers the bananas completely so no air can get to them. Air turns bananas brown. No air means pretty, yellow slices all the way through. If you want to try something fun, swap the shortbread cookies for Savory Herb Biscuits? Wait, no. That would be weird. Stick with sweet cookies. Trust grandma on this one.When to Serve and When to Wait
If you are eating within 20 minutes, decorate the tops right away. Add a cookie and a banana slice on top. Serve it with a proud smile. If you are waiting longer, leave the final whipped cream off. Cover the jars tightly and put them in the fridge. Decorate right before serving. This keeps everything looking fresh and pretty. Do you like to make desserts ahead of time or right before eating? I always make mine early so I can relax with my guests.A Slice of Kitchen History
Banana pudding has been a Southern favorite for over a hundred years. Grandmas would bake it in big dishes with meringue on top. This no-bake version is faster but just as loved. The first time I made these cups for my grandkids, they asked for seconds before finishing firsts. That is the highest compliment in my book. It feels like a small win in a busy day. Here is a question for you: Would you rather eat this pudding cold from the fridge or at room temperature? I am a cold-pudding person myself.Your Turn to Try
This recipe is very forgiving. If you mess up a layer, just scoop it back and try again. No one will know. The cookies and pudding hide all mistakes. I hope you make these cups for someone you love. Maybe a parent, a friend, or just yourself. You deserve something sweet and easy. And if you want another no-fuss dinner idea, check out Honey Garlic Skillet Chicken Thighs for a savory balance. What is the first dessert you ever made by yourself? Think back. I bet it was something special, even if it was a little messy.Instructions
Step 1: Grab your jars and line them up like an assembly line. It makes building these cups so much fun. (I still laugh at how messy I was the first time. Lay out paper towels!) Step 2: In a big bowl, whisk the pudding mix, cold milk, and vanilla until it gets thick. This takes about two minutes. Doesn’t that smell amazing? Step 3: Stir in the sweetened condensed milk until it is all silky and smooth. Then fold in one tub of Cool Whip. Save the other tub for the top. Step 4: Slice your bananas into thin rounds, about as thick as a coin. Now crumble a shortbread cookie into the bottom of each jar. Which cookie do you love most? Share below! Step 5: Layer banana slices over the cookie, then spoon pudding on top to cover them. This keeps the bananas from turning brown. (A hard-learned tip: always cover bananas completely with pudding.) Step 6: Add a dollop of Cool Whip and spread it to the edges. Repeat all the layers again. If serving soon, top with a cookie and a banana slice. Step 7: If you wait longer than 30 minutes, leave off the top whip. Cover the jars tight and decorate just before serving. Store them cold until you are ready.Creative Twists
… Swap shortbread for crunchy vanilla wafers. They soak up the pudding in the best way.… Drizzle a little caramel sauce over the top layer. It adds a sweet, buttery surprise.
… Toss in a handful of toasted coconut flakes between the pudding layers for a tropical crunch.
Which one would you try first? Comment below!
Serving & Pairing Ideas
These cups are perfect for a picnic or a light dessert after dinner. Serve them with a tall glass of cold milk for a classic combo. You could also pair them with a cup of hot coffee for the grown-ups. Garnish each jar with a tiny mint leaf for a pop of color. It makes them look pretty as a picture. Which would you choose tonight?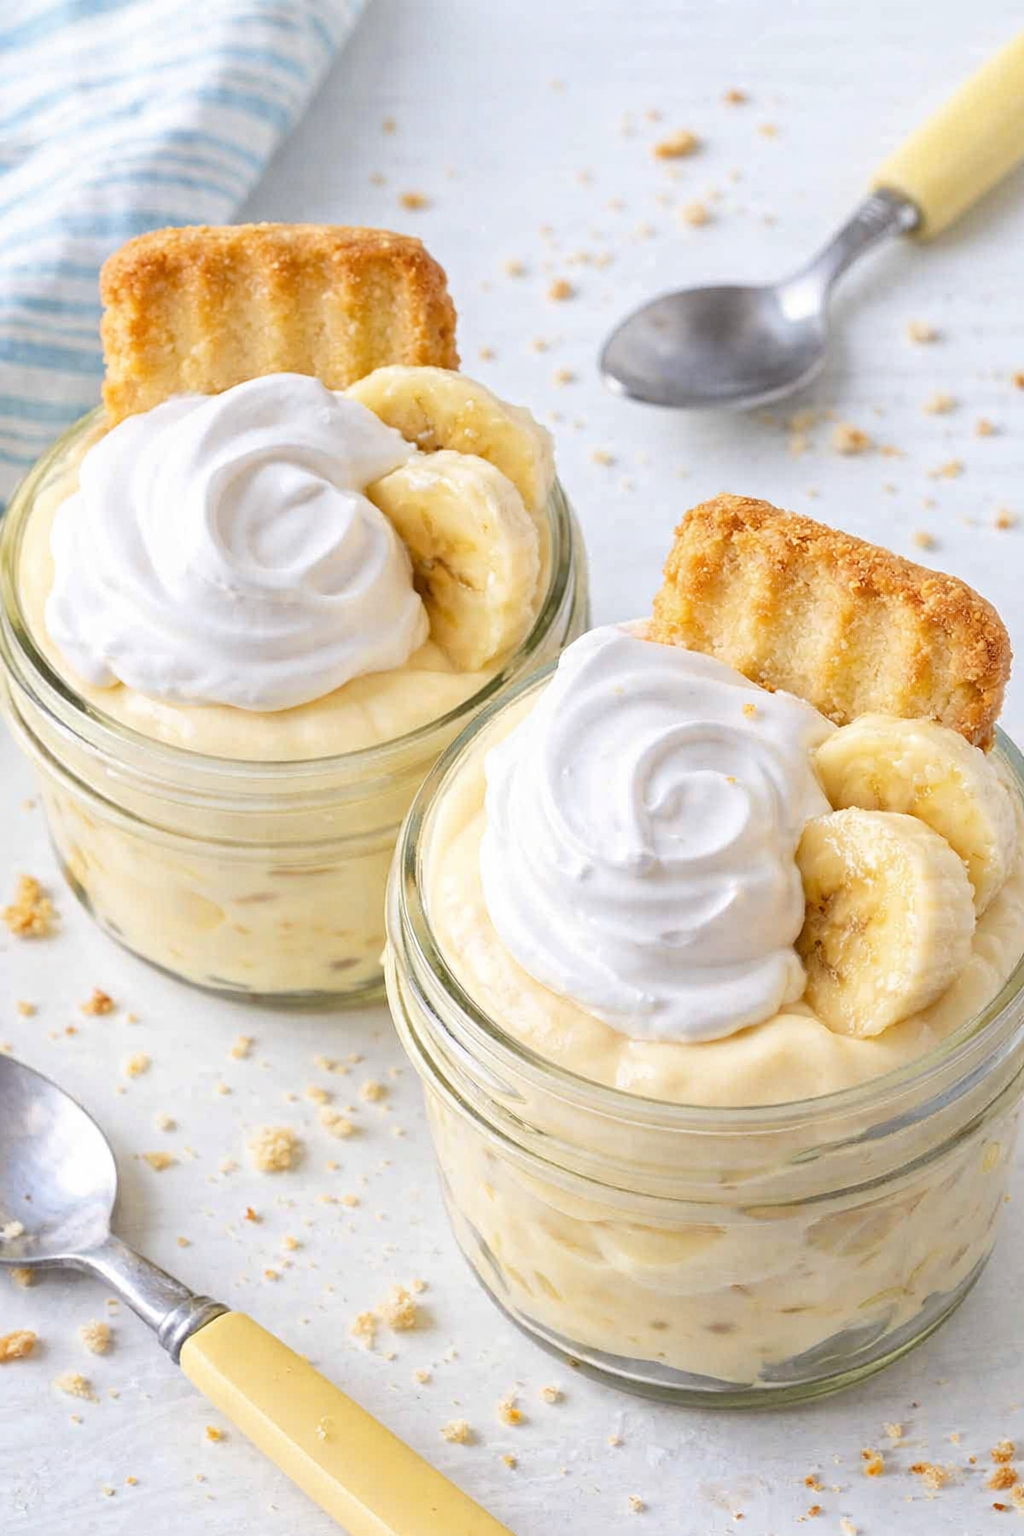
How to Store Your Banana Pudding Cups Just Right
I remember the first time I made these for a church picnic. I stacked them in a basket and hoped they would survive the drive. They did—but only because I kept them cold and covered tightly. That is the secret. Always store your banana pudding cups in the fridge. The cold milk and pudding mix need to stay chilled to keep the layers from turning mushy. Cover each cup with plastic wrap or a lid. This stops the bananas from turning brown and the cookies from getting too soft. If you are making these for a party later, do not add the final cookie and banana slices on top until just before serving. That way, they stay crisp and pretty. Batch cooking these cups is a smart move. You can make a whole tray of them on a Saturday and enjoy them all week. The flavors actually get better after a day or two in the fridge. So why does this matter? It saves you time and stress later. You get to spend more time with your family and less time in the kitchen. Have you ever tried storing it this way? Share below!Three Common Problems and Easy Fixes
Sometimes your pudding comes out too runny. I once forgot to add the sweetened condensed milk, and it was like soup. Here is the fix: make sure you whisk the pudding mix and milk for a full two minutes. Let it sit for five minutes to set before adding the Cool Whip. Another issue is the bananas turning brown too quickly. Slice your bananas right before you layer them. And always cover them completely with pudding or Cool Whip so no air touches them. I learned this trick from my neighbor Martha, who never has a sad-looking pudding cup. A third problem is the cookies getting too soggy. If you love a little crunch, add the cookies just before serving. Or use shortbread cookies like the recipe says—they stay firmer than Nilla wafers. Why does this matter? Fixing these little bumps makes you feel like a real cook. It also makes every bite taste just right. Which of these problems have you run into before?Your Quick Questions, Answered
Can I use vanilla wafers instead of Nilla wafers? Yes, you can. Vanilla wafers and Nilla wafers are very similar in taste and crunch. The main difference is the brand name. Nilla wafers are made by Nabisco, while vanilla wafers can be any store brand. They both work perfectly in this recipe. Just break them into large pieces to cover the bottom of each cup. They soften a little in the fridge, which gives you that classic banana pudding texture. Feel free to use whatever you have on hand. How do I make this banana pudding thicker? If you want a thicker pudding, use cold whole milk and whisk the pudding mix for a full three minutes. Let it sit for five minutes to set before adding the Cool Whip. You can also add an extra tablespoon of pudding mix if you have a box lying around. Another trick is to fold in the Cool Whip gently but thoroughly. This keeps the air in the mixture and helps it hold its shape. The result is a creamy, spoonable pudding that stays put in your layered cups. Can I make this recipe sugar-free? Yes, you can make this recipe sugar-free. Use sugar-free instant banana pudding mix and sugar-free sweetened condensed milk. You can also use light Cool Whip or a sugar-free whipped topping. Just check the labels to make sure everything fits your needs. The taste will be a little less sweet, but still creamy and delicious. Bananas add natural sweetness too. This is a great option if you are watching your sugar or cooking for someone who is. Your family will still love every spoonful. What can I use instead of cream cheese? This recipe does not use cream cheese. It uses Cool Whip and sweetened condensed milk for creaminess. If you want a tangier pudding, you can add 4 ounces of softened cream cheese to the pudding mixture. Just beat it with a mixer first until smooth. Then add the other ingredients. This will make the pudding richer and a little thicker. It tastes wonderful and reminds me of a cheesecake banana pudding. Just try it if you want a new twist on an old favorite. How long does no-bake banana pudding last in the fridge? No-bake banana pudding lasts about 3 to 4 days in the fridge when stored properly. Make sure each cup is tightly covered with plastic wrap or a lid. The bananas will start to brown after a couple of days, but the pudding stays good to eat. If you want it to look fresh, add new banana slices on top before serving. This is perfect for making ahead for a weekend gathering. Just remember to enjoy it within a few days for the best taste and texture. Can I freeze no-bake banana pudding? Freezing no-bake banana pudding is not recommended. Bananas get mushy and watery when frozen and thawed. The pudding can also separate and lose its creamy texture. If you want to prep ahead, freeze only the pudding mixture without the bananas and cookies. Then thaw it in the fridge and layer it fresh with bananas and cookies when you are ready to serve. This saves time and keeps everything tasting like you just made it. Which tip will you try first?A Warm Goodbye and an Invitation
Thank you for sitting with me in my little kitchen today. I hope these tips help you make the best banana pudding cups for the ones you love. Remember, cooking is about sharing small joys. Every layer you build is a little gift to someone you care about. *Fun fact: Bananas are technically berries, but strawberries are not.* I would love to hear from you. Have you tried this recipe? Did you add your own twist? Drop a comment below and tell me all about it. Your stories make this kitchen feel full of friends. Until next time, keep stirring up kindness and good food. Happy cooking! —Grace Ellington.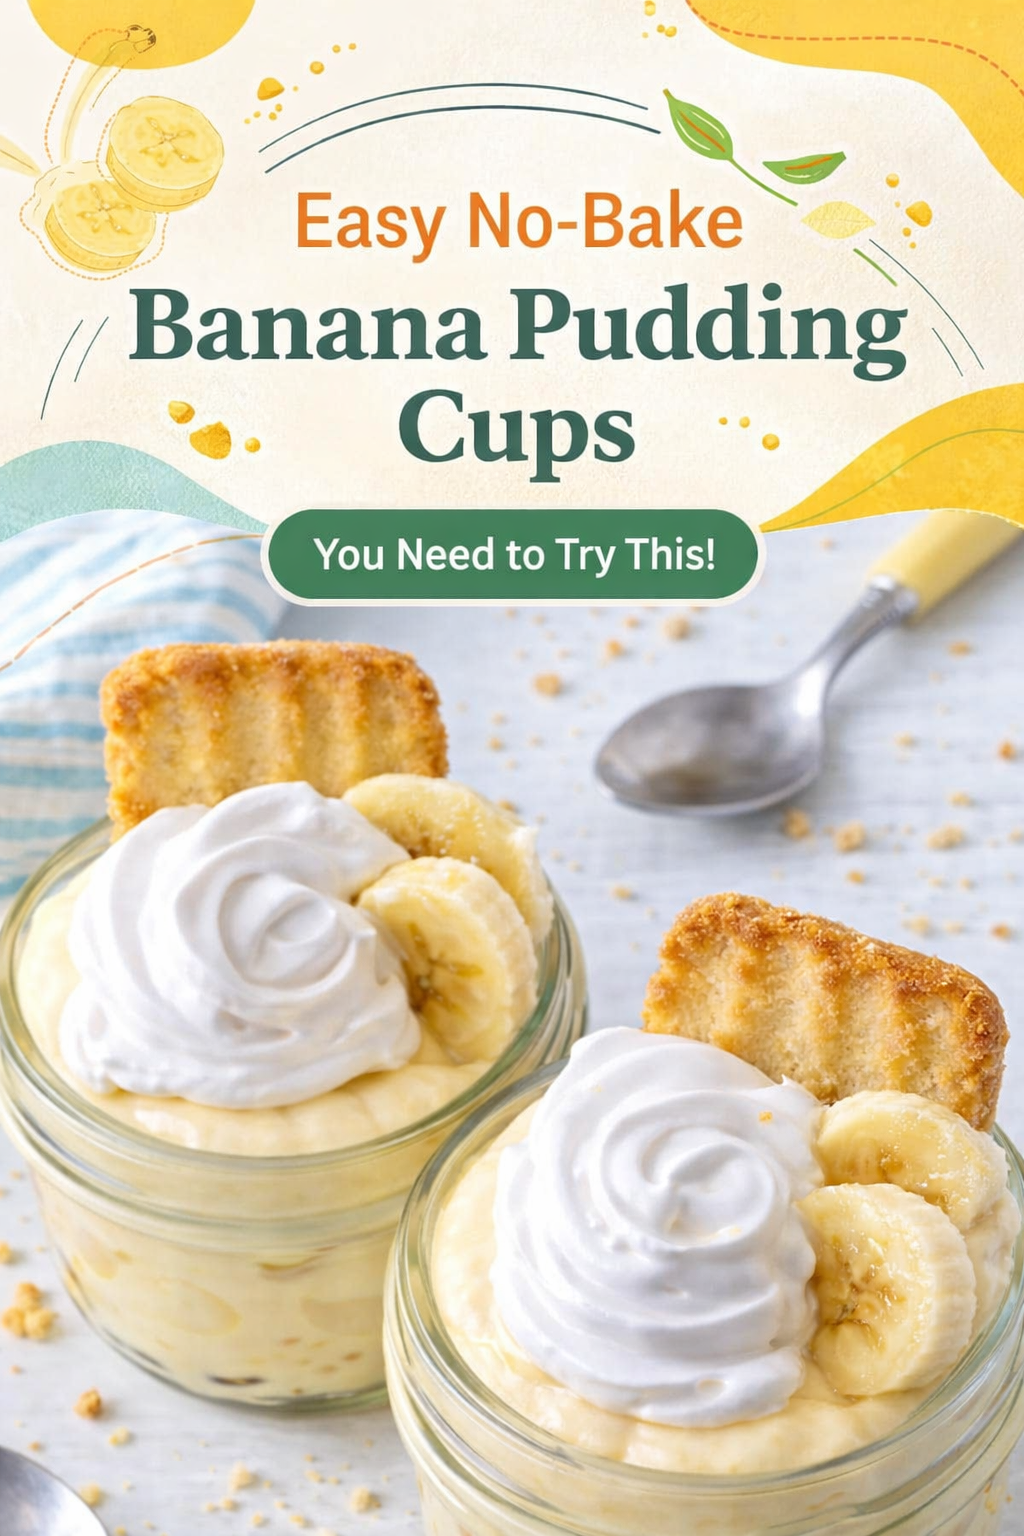

Quick No-Bake Banana Pudding Treats
Description
Quick and easy no-bake banana pudding treats layered in jars with creamy pudding, fresh bananas, and shortbread cookies.
Ingredients
Instructions
- Organize your jars or cups into an assembly line workstation, and then start your pudding.Pour the banana pudding mix, cold milk and vanilla extract in a large mixing bowl and whisk until thoroughly combined and thickened.Whisk in the sweetened condensed milk.Dump 1 tub of Cool Whip into the pudding mixture. Fold together until fully combined. Save the second tub of Cool Whip for layering and decorating the top. You will have some left over at the end.Slice the bananas into 1/4-inch thick rounds.Take the cookies, pudding and remaining Cool Whip to the assembly line workstation you created.
- Cover the bottom of each jar with a cookie. Lay one or more cookies in the bottom or break the cookies into large pieces and cover the bottom of the jar.Add a layer of banana slices to cover the cookie.Spoon in a layer of banana pudding. Cover the bananas completely so no air can reach them.Place a dollop of Cool Whip over the pudding and spread to the edges of the jar.Repeat all the layers – cookie, bananas, pudding and whipped topping.
- If you will serve them immediately, decorate the tops with another shortbread cookie and a couple banana slices and serve within 20 – 30 minutes.If you will not be serving the banana pudding cups for 30 minutes or more, leave off the final dollop of whipped cream, cover tightly and wait to decorate the tops until just before serving.Store the finished mini banana pudding cups tightly covered in the refrigerator until ready to decorate and serve.
Notes
- Nutrient Information is provided as a courtesy only. Nutrient values are estimates only based on this specific calculator. Each one uses its own database. Calculators, and the results they produce, can vary widely due to use of a different brand of product, the manner of food preparation, ingredient origins, freshness of ingredients and other factors. Please do your own due diligence.
Banana pudding, no-bake dessert, pudding cups, easy dessert, Cool Whip